Gardening is a rewarding hobby, but it comes with its fair share of challenges. There’s nothing more frustrating than planting seeds or seedlings with high hopes, only to watch them struggle or fail. One common disappointment for home gardeners is cabbage—a nutritious, versatile vegetable that seems simple to grow, yet often refuses to cooperate. If your cabbage has failed to grow, you’re not alone. Understanding the reasons behind this can save you time, money, and heartache, and help you achieve a successful harvest in the future.
Understanding Cabbage Growth Requirements
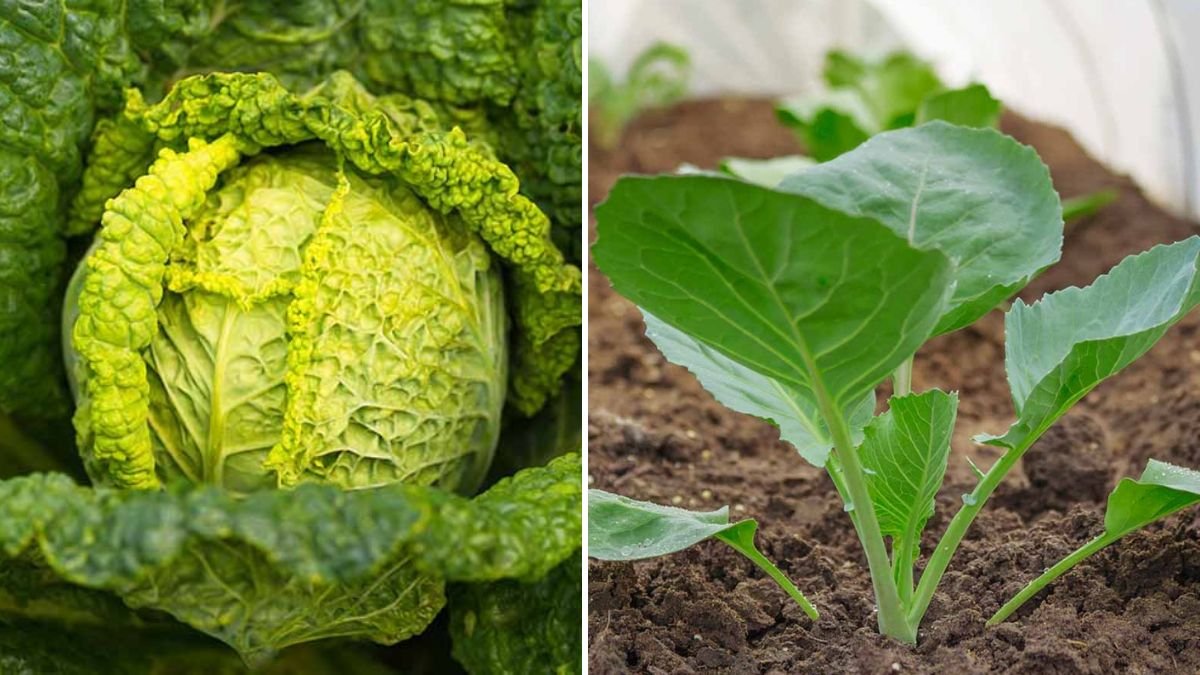
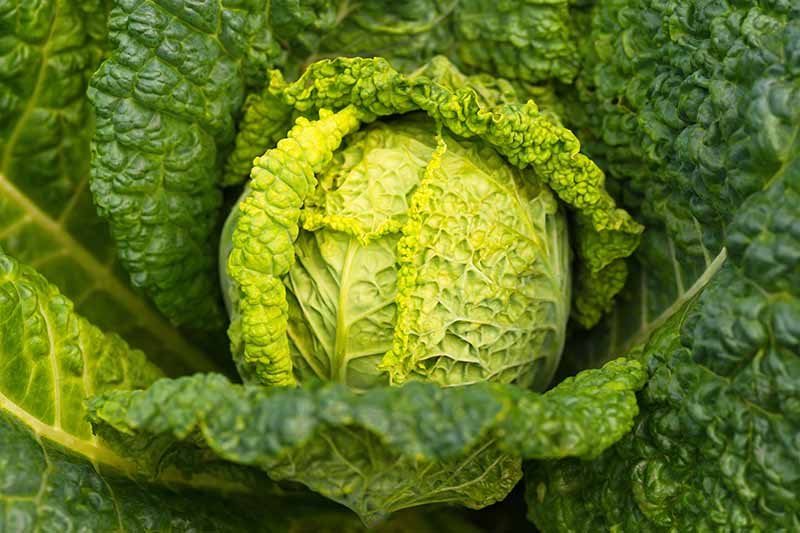
Cabbage is a cool-season crop, thriving in moderate temperatures and fertile, well-draining soil. Its growth cycle includes several stages—seed germination, seedling development, and head formation. Problems can occur at any stage, and identifying the exact cause is crucial to prevent repeated failures.
Key growth requirements include:
- Temperature: Cabbage grows best between 15–21°C (60–70°F). Extreme heat can cause bolting or slow growth.
- Sunlight: Requires at least 6 hours of direct sunlight daily. Insufficient light results in weak, spindly plants.
- Soil: Prefers loamy, nutrient-rich soil with a slightly acidic to neutral pH (6.0–7.0).
- Water: Consistent moisture is essential; both drought and waterlogging can stunt growth.
- Spacing: Adequate spacing allows the head to form fully and reduces competition for nutrients.
Failing to meet these basic requirements often leads to underdeveloped cabbage or total crop loss.
Common Reasons Cabbage Fails to Grow
- Poor Seed Quality
Old, improperly stored, or low-quality seeds often result in poor germination. If your seeds didn’t sprout, or seedlings were weak, the issue likely began here. Always purchase fresh seeds from a reliable source and store them in a cool, dry place until planting. - Incorrect Planting Time
Cabbage is sensitive to temperature. Planting too early in a cold snap can freeze seedlings, while planting during hot weather can cause bolting (premature flowering), leading to small, bitter heads. Understanding your region’s climate and timing planting accordingly is essential. - Soil Problems
Cabbage requires fertile, well-draining soil. Common issues include:
- Nutrient Deficiency: Lack of nitrogen can cause slow growth and yellow leaves.
- Compacted Soil: Prevents roots from expanding, reducing nutrient and water uptake.
- Improper pH: Too acidic or alkaline soil affects nutrient absorption.
Testing and amending your soil before planting can prevent these problems.
- Watering Mistakes
Both overwatering and underwatering can cause failure:
- Overwatering: Leads to root rot, fungal diseases, and poor oxygen availability.
- Underwatering: Causes stress, slow growth, and tough, bitter leaves.
Consistent, even moisture is critical, especially during the head-forming stage.
- Pest and Disease Pressure
Cabbage is vulnerable to pests like cabbage worms, aphids, and flea beetles. Diseases such as clubroot, black rot, and downy mildew can also hinder growth. Early detection, preventive measures, and organic pest control are crucial to success. - Crowding and Poor Spacing
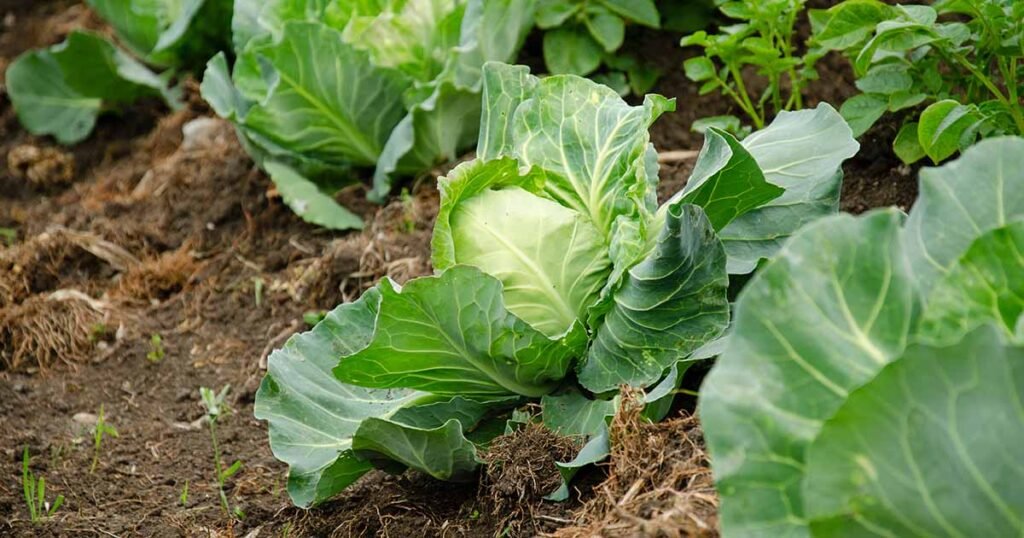
Cabbage heads need room to develop fully. Overcrowding leads to competition for nutrients and light, resulting in small, underdeveloped plants. Maintaining recommended spacing (12–18 inches between plants) allows heads to form properly. - Lack of Sunlight
Cabbage requires at least 6 hours of sunlight daily. Shaded areas or densely planted beds limit photosynthesis, leading to weak growth and poor head formation.
How to Diagnose What Went Wrong
To prevent future failures, careful observation and record-keeping are essential:
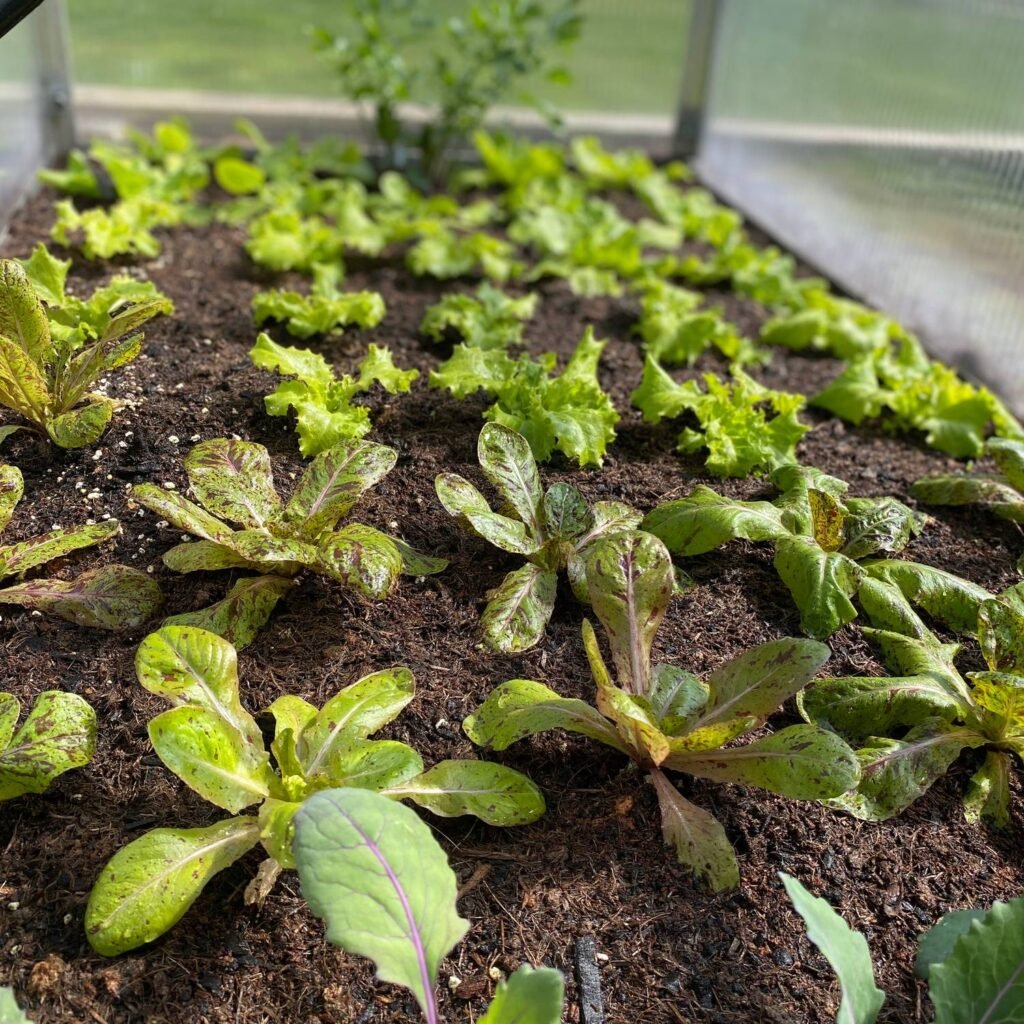
- Seedling Stage: Weak, spindly seedlings often indicate poor seeds or insufficient light.
- Leaf Appearance: Yellowing may suggest nutrient deficiencies or overwatering.
- Growth Speed: Extremely slow growth could be due to soil compaction, low fertility, or temperature stress.
- Root Health: Check for rot, pests, or poor development. Healthy roots should be white and firm.
- Environmental Factors: Document temperature fluctuations, rainfall, and sunlight exposure.
By systematically analyzing each factor, you can pinpoint the main causes and take corrective action.
Solutions and Preventive Measures
- Use Quality Seeds
Always choose fresh, certified seeds suited to your local climate. Consider starting seeds indoors to ensure healthy seedlings before transplanting. - Time Planting Properly
Plan planting according to local seasonal conditions:
- Spring Crop: Sow seeds 4–6 weeks before the last frost date.
- Fall Crop: Sow seeds 10–12 weeks before first expected frost.
- Prepare the Soil
- Test pH and nutrient levels.
- Add compost or well-rotted manure to enrich the soil.
- Loosen compacted soil for better root penetration.
- Water Consistently
- Maintain even moisture throughout the growth cycle.
- Mulch around plants to retain moisture and reduce temperature stress.
- Protect Against Pests and Diseases
- Inspect plants regularly.
- Use row covers to prevent insect damage.
- Apply organic treatments like neem oil or insecticidal soap as needed.
- Maintain Proper Spacing
- Thin seedlings to recommended spacing (12–18 inches apart).
- Ensure good airflow between plants to reduce disease risk.
- Optimize Sunlight
- Place plants in full sun whenever possible.
- Avoid planting in shaded or partially shaded areas unless using supplemental grow lights for indoor cultivation.
Learning from Failure
Garden failures can be discouraging, but they are also invaluable learning opportunities. Every setback teaches a lesson:
- Observation is Key: Regularly monitor plants and take notes on growth patterns.
- Soil Health Matters: Healthy soil leads to strong plants—never underestimate its importance.
- Adaptation Improves Results: Adjust watering, fertilization, and spacing based on plant response.
- Patience is Critical: Cabbage takes time to mature. Rushing or neglecting stages can cause problems.
By treating mistakes as lessons rather than failures, gardeners build knowledge that leads to future success.
Tips for a Successful Cabbage Harvest
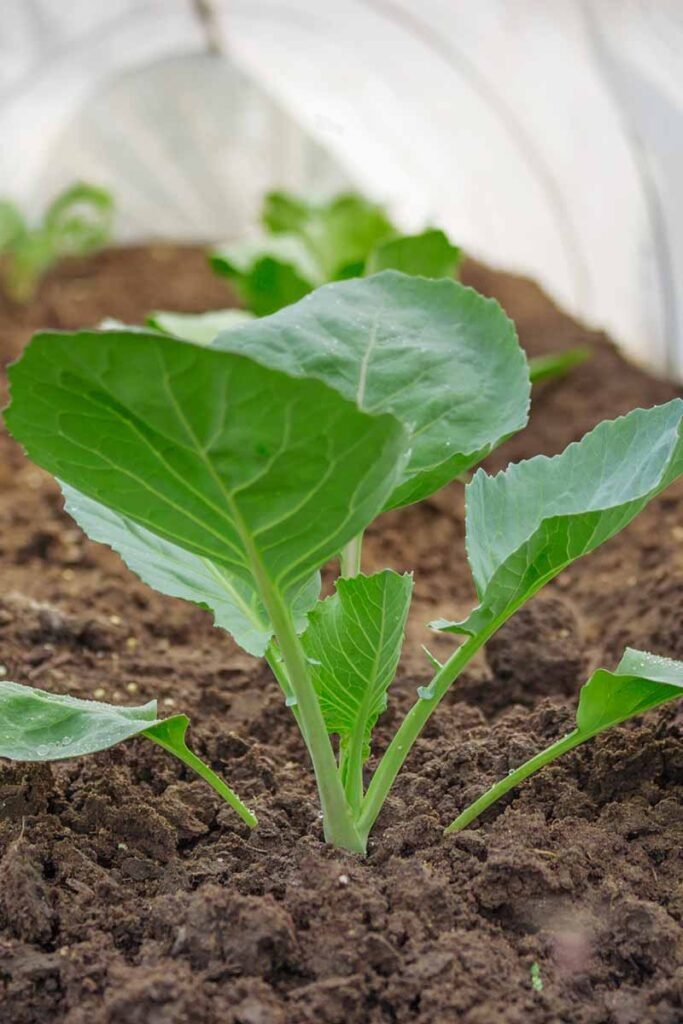
- Start with Healthy Seedlings: Use strong seedlings for transplanting rather than weak, spindly ones.
- Fertilize Strategically: Side-dress with nitrogen-rich fertilizers when leaves are forming to promote strong growth.
- Mulch: Retain moisture, regulate soil temperature, and reduce weeds.
- Monitor Climate: Protect plants from heat spikes or frost using shade cloth or row covers.
- Harvest at the Right Time: Don’t wait too long—overmature cabbage becomes tough and less flavorful.
Implementing these practices dramatically increases the likelihood of healthy, vigorous cabbage heads.
Conclusion
The question, “Why did my cabbage fail to grow?” is one that every gardener may face at some point. Often, the causes are a combination of seed quality, soil health, watering practices, sunlight, pest pressure, and environmental conditions. By understanding these factors and taking corrective action, you can turn past failures into future success.
Cabbage is a rewarding crop, providing fresh, nutritious heads when grown under the right conditions. Learning from mistakes, observing carefully, and adjusting cultivation techniques will ensure your next planting produces healthy, robust cabbage. Remember, gardening is as much about patience and learning as it is about harvests. With persistence and the right knowledge, your garden can flourish—even after setbacks.
From weak seedlings to thriving heads, the journey of growing cabbage teaches resilience, observation, and the importance of preparation. With these lessons, failure becomes merely a stepping stone to success.