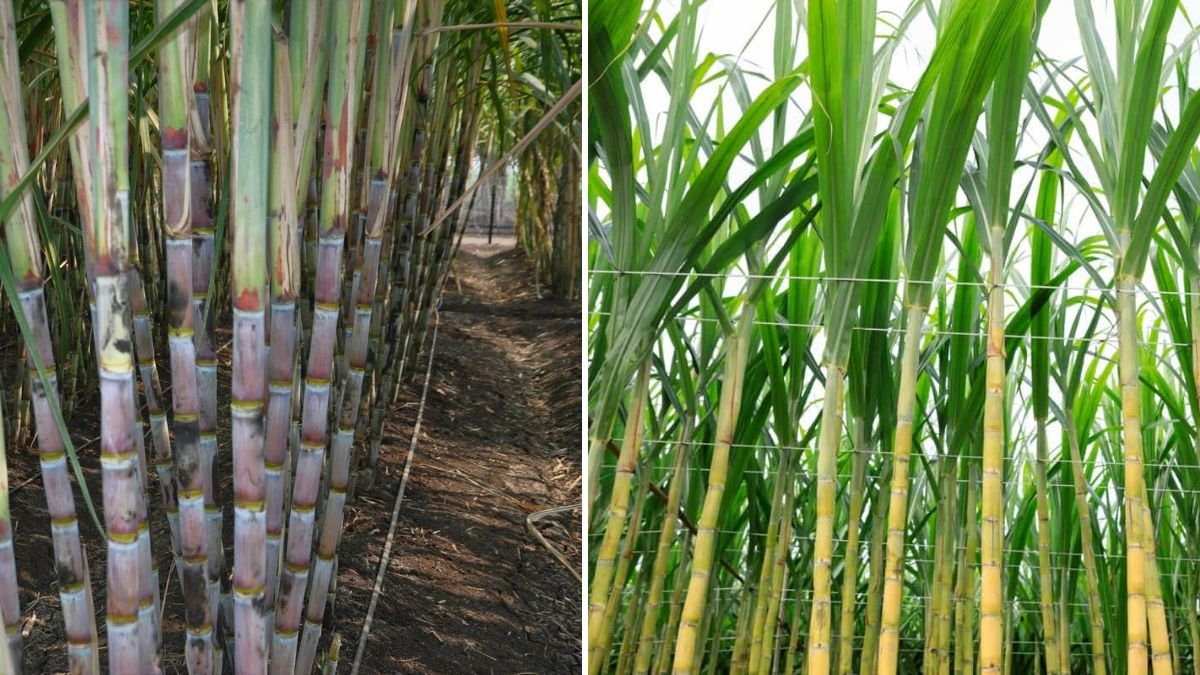
Sugar cane might look like a crop that only thrives in large farms, but the truth is—you can successfully grow it right at home, even in containers. With the right setup, sugar cane grows vigorously in pots, looks beautiful in your garden or balcony, and gives you fresh, chemical-free harvests for months. Whether you’re a beginner gardener or an experienced planter, this guide will walk you through everything you need to know—from preparing cuttings to harvesting tall, juicy canes.
Why Grow Sugar Cane in Containers?

Growing sugar cane in pots is not only possible but surprisingly practical. Here’s why many home gardeners are choosing this method:
1. Space-Friendly
You don’t need a farm—just one large pot is enough to grow several tall canes.
2. Easy Maintenance
Containers allow better control over soil, water, and nutrients, reducing problems like pests or fungal infections.
3. Beautiful Appearance
Sugar cane’s tall, slender stalks add a tropical look to balconies, rooftops, and terraces.
4. Fresh and Organic
Home-grown cane juice and jaggery taste far better than store-bought cane that often contains chemicals.
Best Varieties for Container Growing
Choose a variety known for strong growth and adaptability. Ideal choices include:
- CO 86032 – High yield and sweet juice
- CO 0238 – Fast-growing and disease-resistant
- Black Sugar Cane (Purple Cane) – Beautiful color and good flavor
- Chewing Cane Varieties – Softer texture for fresh eating
All these varieties grow well in pots when provided with proper nutrients and sunlight.
Step 1: Choosing the Right Container
Sugar cane needs space for roots to spread and for stalks to grow tall. Select:
Recommended Pot Size
- Minimum 50–60 liters
- Depth: 18–24 inches
- Width: 16–20 inches
Bigger containers = thicker and taller canes.
Best Container Types
- Plastic drums cut in half
- Fabric grow bags (50–100 L)
- Large cement or clay pots
- PVC barrels
Make sure the pot has good drainage holes to avoid waterlogging.
Step 2: Preparing the Ideal Soil Mix
Sugar cane loves rich, loose, and nutrient-dense soil. Avoid heavy clay.
Best Soil Mix Recipe (Highly Recommended)
- 40% garden soil
- 30% compost or cow manure
- 20% cocopeat
- 10% sand
Mix in Additional Boosters
- A handful of neem cake – prevents soil pests
- Bone meal or rock phosphate – supports root and stalk development
- Vermicompost – improves nutrition
A fertile, well-draining medium ensures faster sprouting and stronger cane growth.
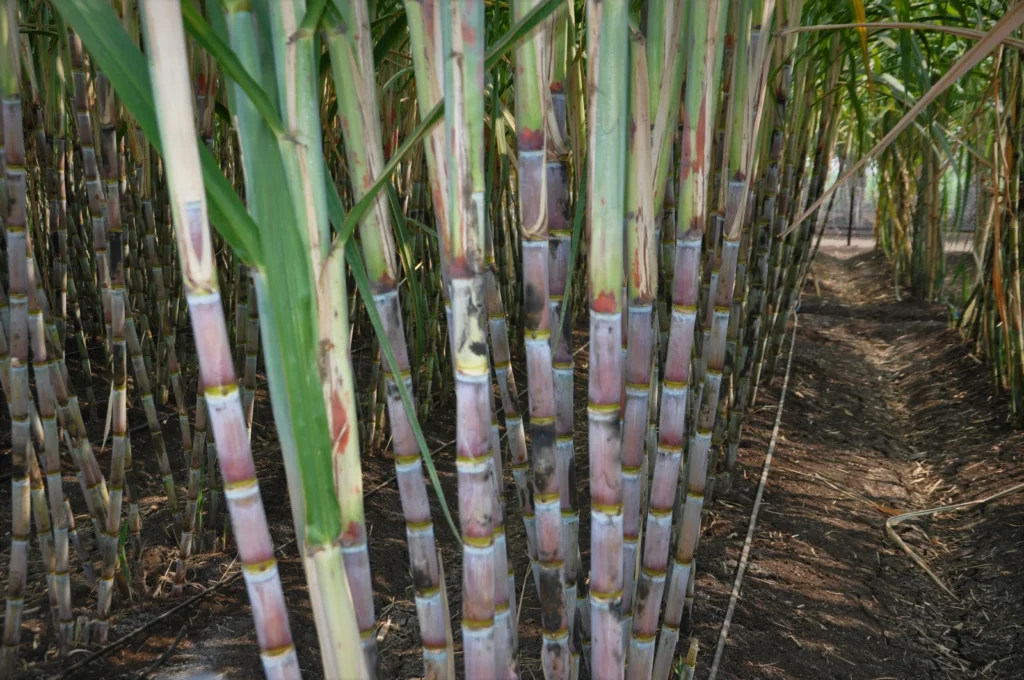
Step 3: Preparing and Planting Sugar Cane Cuttings
Use fresh, disease-free cane cuttings for best results.
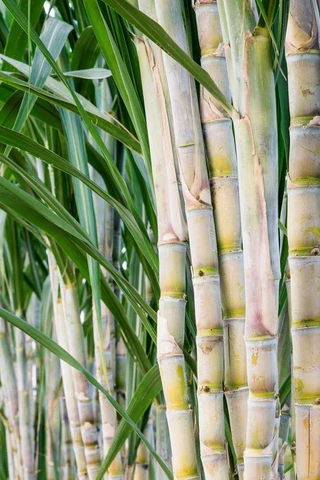
How to Select Cuttings
- Choose canes that are 1-year old, healthy, and green.
- Each cutting should have 2–3 nodes (eye buds).
Before Planting
- Soak cuttings in water for 6–8 hours to increase moisture.
- Dip them in fungicide solution (or turmeric water) to prevent fungal issues.
Planting Method
Sugar cane has two planting styles in containers:
1. Horizontal Planting (Best Method)
- Lay the cutting flat on the soil surface.
- Cover lightly with 2–3 cm soil.
- Water thoroughly.
This method results in more shoots per cutting.
2. Vertical Planting
- Insert the cutting vertically with at least one node below soil and one above.
- Firm the soil around it.
Both methods work, but horizontal planting increases germination rate.
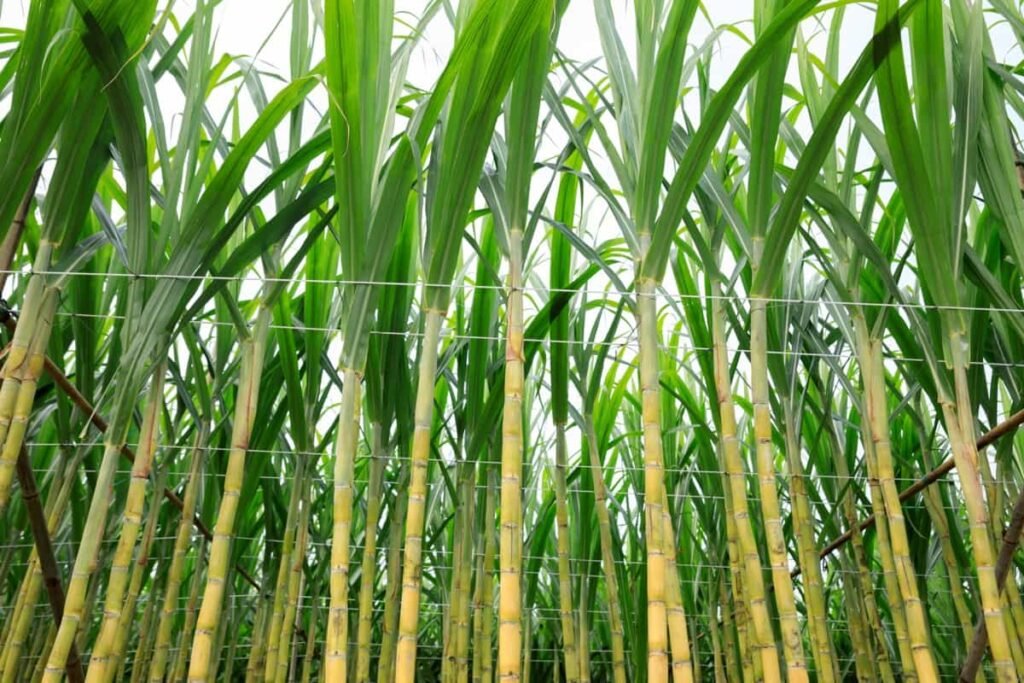
Step 4: Sunlight Requirements
Sugar cane is a tropical plant—it thrives in full sun.
Daily Sunlight Needed
- 6–8 hours minimum
- The more sun, the sweeter the cane.
Place pots on a south-facing balcony, terrace, or open garden area.
Step 5: Watering the Right Way
Sugar cane is a heavy drinker but hates stagnant water.
Watering Tips
- Keep the soil consistently moist but not soggy.
- In summer, water daily or every alternate day.
- In winter, reduce watering to 2–3 times a week.
A layer of mulch (dry leaves, straw, coco chips) keeps the soil cool and reduces water loss.
Step 6: Fertilizing for Fast and Healthy Growth
Sugar cane requires regular feeding for tall and juicy stalks.
Monthly Fertilizer Schedule
Month 1–2: Establishment Phase
- Vermicompost or cow manure
- Mustard cake fertilizer (water-soaked)
- Seaweed extract spray
Month 3–6: Growth Phase
- Nitrogen-rich fertilizer (cow dung, compost tea)
- Banana peel fertilizer
- Epsom salt (1 tbsp/month)
Month 6–10: Thickening Phase
- Potash-heavy fertilizers
- Wood ash or banana peel powder
- Jaggery water (very effective)
Tip:
Avoid chemical fertilizers in containers—they can burn roots easily.
Step 7: Caring for Growing Cane
Sugar cane grows fast. With proper care, you’ll see tall stalks in no time.
Essential Care Tips
- Remove weeds regularly.
- Add support if the stalks become heavy.
- Trim dry leaves to encourage fresh growth.
- Keep the pot clean to prevent ants or pests.
Common Pests & Organic Solutions
Sugar cane grown in containers is less prone to pests, but you may encounter:
1. Aphids
- Spray neem oil weekly.
2. Red Mites
- Use soap water + neem oil.
3. Termites
- Add neem cake to soil.
- Use turmeric water.
4. Fungal Issues
- Avoid overwatering.
- Improve sunlight exposure.
How Long Does Sugar Cane Take to Grow?
- Early growth: 20–40 days
- Stalk formation: 90–120 days
- Thickening: 6–10 months
- Harvest: 10–14 months
Container-grown cane may mature a little earlier with good care.
Harvesting Sugar Cane from Containers
You know your sugar cane is ready when:
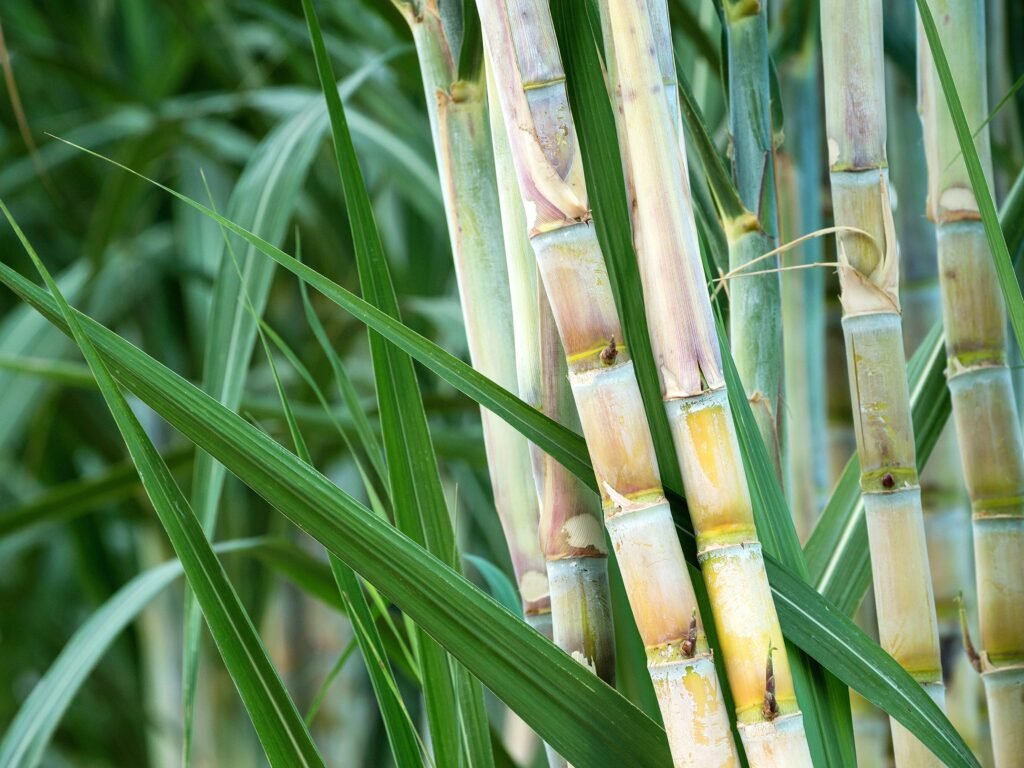
- The stalks turn firm, juicy, and glossy
- Lower leaves start drying naturally
- Nodes become clearly visible
How to Harvest
- Cut stalks from the base using a sharp knife or garden pruner.
- Remove leaves and enjoy fresh!
Fun Uses
- Fresh cane juice
- Chewing sugar cane
- Making jaggery or syrup
- Replanting cuttings for the next batch
Can Sugar Cane Be Regrown After Harvest?
Yes!
Leave 2–3 stalks in the pot, and new shoots (ratoons) will grow again.
But after 2–3 ratoon cycles, replace the soil for better productivity.
Final Thoughts
Growing sugar cane in containers is a fulfilling experience. It requires patience, sunlight, and consistent watering—but rewards you with fresh, organic sugar cane right from your home garden. Whether you’re growing it for juice, as a natural sweetener, or simply for its beautiful look, container-grown sugar cane is an excellent addition to any home garden.