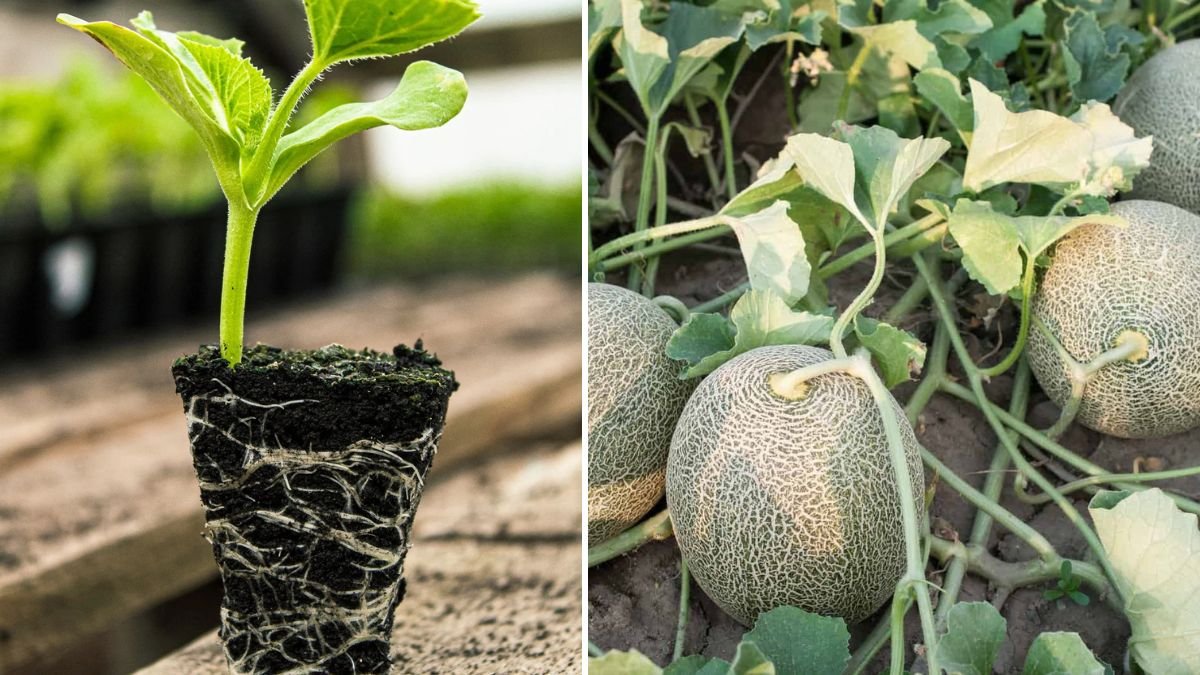
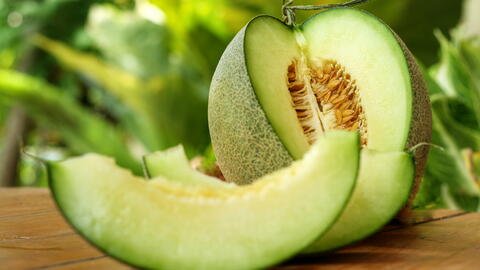
Winter melon, also known as ash gourd or wax gourd, is a versatile vegetable widely used in soups, stews, and desserts. While it’s traditionally grown in open fields, container gardening makes it possible to grow winter melons at home—even if you don’t have a backyard. With proper care, this method allows urban gardeners to enjoy fresh, chemical-free melons from seed to harvest. This guide provides a detailed, step-by-step approach to growing winter melon in containers successfully.
Why Grow Winter Melon in Containers?
Container gardening is becoming increasingly popular for several reasons:
1. Space-Efficient
Even small balconies, terraces, or patios can accommodate a container-grown winter melon plant.
2. Soil Control
You can manage the soil type, moisture, and fertility, which helps reduce disease and pest problems.
3. Mobility
Containers can be moved for optimal sunlight or protection from harsh weather.
4. Fresh and Organic
Home-grown melons are chemical-free and fresher than store-bought options.
Step 1: Choosing the Right Container
Winter melon vines are large and need plenty of space for root growth.
Container Recommendations
- Size: At least 50–60 liters
- Depth: 18–24 inches
- Material: Plastic, fabric grow bags, or large clay pots
Drainage
Drill multiple holes in the bottom of the container to prevent waterlogging and root rot. A layer of small stones at the bottom improves drainage further.
Step 2: Preparing the Soil Mix
Winter melon thrives in rich, well-draining soil.
Ideal Soil Mix
- 40% garden soil
- 30% compost or well-rotted cow manure
- 20% cocopeat or sand (for aeration)
- 10% vermicompost
Additional Boosters
- Neem cake: prevents soil pests
- Bone meal or rock phosphate: strengthens roots
- Wood ash: increases potassium for better fruiting
Mix all ingredients thoroughly to ensure a nutrient-rich medium.
Step 3: Selecting and Sowing Seeds
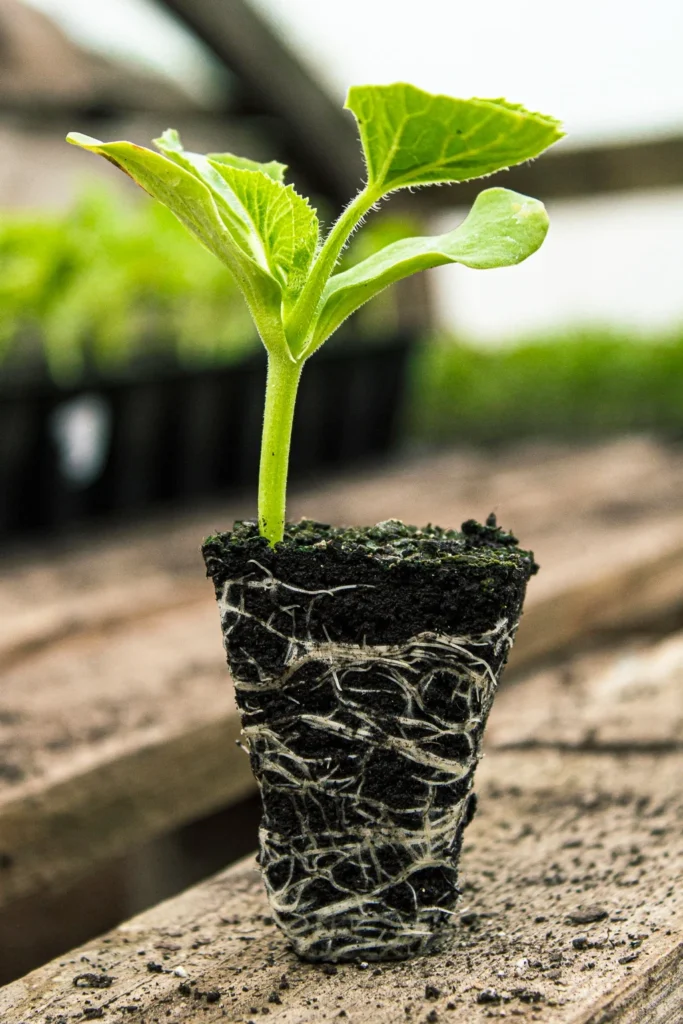
Winter melon seeds should be fresh and healthy for faster germination.
Seed Preparation
- Soak seeds in warm water for 12–24 hours to improve germination.
- Optionally, soak seeds in a mild fungicide solution to prevent seed rot.
Sowing Method
- Fill the container with the soil mix, leaving 2–3 inches at the top.
- Sow 2–3 seeds per hole at a depth of 1 inch.
- Space sowing points 18–24 inches apart to accommodate vine growth.
- Water gently after sowing.
Germination
Seeds usually sprout within 7–10 days under optimal conditions.
Step 4: Sunlight Requirements
Winter melon is a sun-loving plant.
- Provide 6–8 hours of direct sunlight per day
- In extremely hot areas, some afternoon shade can prevent leaf scorching
Position your container where the plant receives maximum sunlight exposure.
Step 5: Watering Winter Melon
Consistent moisture is crucial for healthy growth.
Watering Tips
- Water regularly, keeping the soil moist but not waterlogged
- Increase watering during hot summer months
- Reduce watering slightly when fruits start maturing to improve sweetness
Mulching
Apply straw or dry leaves on the soil surface to conserve moisture and reduce weeds.
Step 6: Fertilizing for Maximum Yield
Winter melon is a heavy feeder and benefits from frequent nutrition.
Fertilizer Recommendations
- Organic: Vermicompost, cow dung slurry, compost tea
- Balanced Fertilizer: NPK 10:10:10 (half-strength)
- Natural Boosters: Banana peel powder, fish emulsion, wood ash
Fertilizing Schedule
- Vegetative phase (0–30 days): Nitrogen-rich fertilizers to promote leaf growth
- Flowering phase (30–60 days): Balanced fertilizer to support vine and flower development
- Fruit development phase (60+ days): Potassium-heavy fertilizers for bigger, sweeter melons
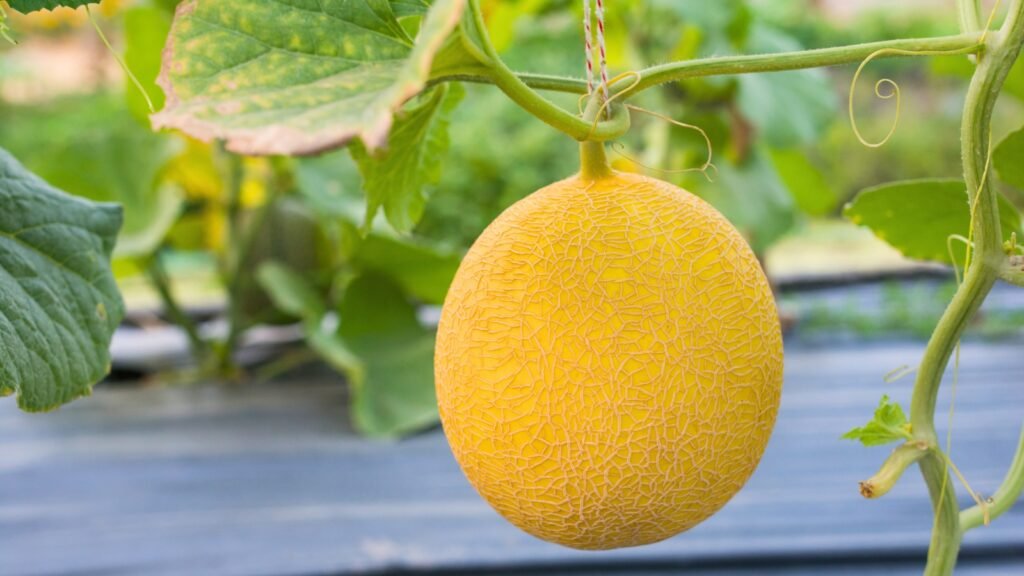
Step 7: Supporting the Vine
Winter melon vines are long and heavy, and proper support ensures healthy growth.
Support Tips
- Use a trellis or vertical support for the main vine
- Allow lateral branches to spread on the ground or provide soft netting for fruit support
- Tie heavy fruits loosely with cloth slings to prevent them from breaking off
Step 8: Pest and Disease Management
Container-grown winter melon is less prone to pests, but vigilance is still necessary.
Common Pests
- Aphids: Spray neem oil or insecticidal soap
- Red mites: Use neem oil or water spray
- Fruit flies: Cover young fruits with cloth bags
Common Diseases
- Powdery mildew: Improve air circulation and spray neem or milk solution
- Fusarium wilt: Avoid overwatering and rotate soil after 2–3 seasons
Step 9: Flowering and Pollination
Winter melon flowers are typically unisexual (male and female).
- Male flowers appear first; female flowers follow 2–3 weeks later
- Bees and insects naturally pollinate flowers
- In container gardens with limited pollinators, hand pollination can help: gently transfer pollen from male flowers to female flowers using a soft brush
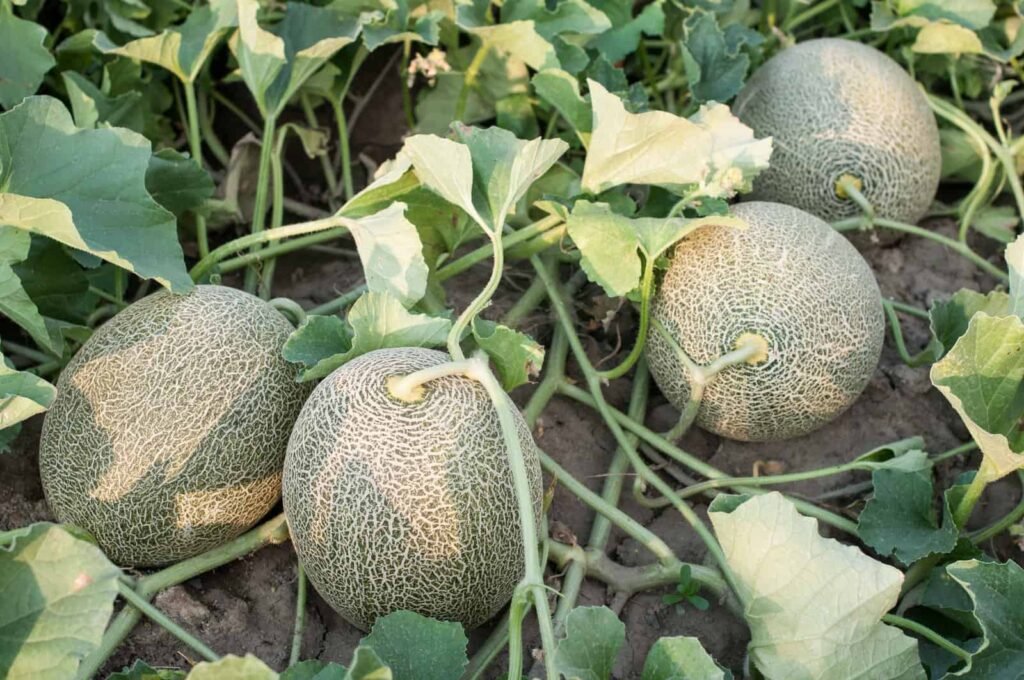
Step 10: Harvesting Winter Melon
Winter melons usually take 3–4 months from sowing to harvest, depending on the variety.
Signs of Maturity
- Fruit skin turns waxy white or light green
- Stems begin to dry at the attachment point
- Fruit size is typical for the variety (e.g., 6–12 inches long)
Harvesting Method
- Cut the fruit from the vine using a sharp knife
- Leave a few inches of stem attached to prolong storage life
Storage Tips
- Can be stored for 2–3 months in a cool, dry place
- Avoid bruising the fruits during handling
Advantages of Container Winter Melon Gardening
- Space-Saving: Ideal for terraces, balconies, or urban gardens
- Controlled Growth: Less risk of soil-borne diseases and pests
- Mobility: Containers can be moved to optimize sunlight or avoid storms
- Higher Yield per Plant: With proper support and nutrition, each vine can produce multiple fruits
- Continuous Growth: By staggering sowing, you can enjoy winter melons year-round
Bonus Tips for Success
- Paint containers white to reflect heat and protect roots from overheating
- Prune excessive lateral branches to focus energy on fruiting
- Use slow-release fertilizers for long-term nutrition
- Water in the morning to prevent fungal growth in the evening
Conclusion
Growing winter melon in containers is a practical and rewarding method for home gardeners. With careful planning, proper soil, regular watering, and support for the vine, you can harvest fresh, organic winter melons right from your balcony or terrace. From seed sowing to fruiting and harvest, this step-by-step guide ensures that even urban gardeners can enjoy the full flavor and benefits of this nutritious vegetable.
Container-grown winter melon is not only a space-saving solution but also a fun and fulfilling gardening experience. By following these steps, you can enjoy home-grown melons all year round, adding a fresh, healthy, and sustainable touch to your meals.