Green onions—also known as spring onions, scallions, or hari pyaaz—are among the easiest and fastest vegetables to grow at home. But did you know you can grow them beautifully in hanging plastic pots, even if you have very limited space? Whether you live in an apartment, have a tiny balcony, or just want a cleaner, pest-free way to grow onions, hanging pots are a game-changer.
In this comprehensive 1200-word guide, you’ll learn exactly how to grow green onions from seed all the way to harvest using simple, affordable hanging plastic pots. This space-saving method is perfect for beginners, urban gardeners, and anyone who wants fresh green onions within arm’s reach.
Let’s begin your hanging onion garden adventure!
Why Grow Green Onions in Hanging Plastic Pots?
Growing green onions in hanging pots isn’t just practical—it’s smart gardening. Hanging containers offer several advantages that ground pots can’t.
Space-Saving Design
Ideal for balconies, windows, terraces, or verandas where floor space is limited.
Better Airflow & Fewer Pests
Hanging pots minimize risks of soil insects, snails, and fungal infections.
Easy to Maintain
Watering, pruning, and harvesting are much more convenient at waist height.
Aesthetic & Functional
Green onion leaves grow upright and create a beautiful green curtain effect.
Perfect for Continuous Harvest
You can snip leaves anytime and the plant keeps growing.
Step 1: Choosing the Right Hanging Plastic Pot
The first step is selecting a pot that matches the needs of green onions, which have shallow root systems.
Ideal pot size
- Width: 10–12 inches
- Depth: 6–8 inches
- Hanging type: rope, chain, or wall-mounted pot
Drainage is essential
Green onions hate stagnant water. Look for pots with:
- At least 4–5 drainage holes
- A sturdy base
- Stable hanging support
If needed, drill extra holes yourself.
Pot color
Light-colored pots reflect heat and stay cooler, especially during summer.
Step 2: Preparing the Perfect Soil Mix
Green onions thrive in loose, fertile, well-draining soil.
Best soil mix recipe
- 40% garden soil or red soil
- 30% compost or cow dung
- 20% cocopeat
- 10% sand or perlite
Why this mix works:
- Cocopeat keeps moisture balanced for young roots
- Compost promotes leafy, green, fast growth
- Sand/Perlite prevents root rot
Before filling the pot, place a small piece of mesh over the drainage holes so soil does not escape.
Step 3: Starting Green Onions from Seeds
Growing onions from seed is economical and rewarding.
Seed Preparation
Green onion seeds germinate quickly but have a short life. So use:
- Fresh seeds
- Good-quality, disease-free packets
You can optionally soak the seeds in water for 4 hours to boost germination.
How to sow seeds
- Fill your hanging pot with prepared soil mix.
- Sprinkle seeds evenly across the surface.
- Cover lightly with a thin layer of soil (0.5 cm).
- Mist gently with a spray bottle.
Spacing
No need for wide spacing—green onions grow well in clusters.
Germination time
- 5 to 10 days in warm weather
Keep the pot in partial shade until seeds sprout.
Step 4: Placing Your Hanging Pot in the Right Spot
Once seedlings appear, location matters a lot.
Sunlight needs
Green onions require:
- 4–6 hours of sunlight daily
- Partial shade during extreme summer heat
Ideal Hanging Locations:
- Balcony grill
- Window railing
- Terrace hook
- Pergola
- Balcony ceiling rods
Make sure the pot hangs securely and does not sway too much in strong winds.
Step 5: Watering Green Onions the Right Way
Green onions love consistent moisture but dislike waterlogging.
Watering schedule:
- Daily light watering during hot days
- Every 2–3 days during cooler months
Watering method:
Use a watering can or spray bottle to avoid splashing soil. Keep the soil moist but not soggy.
Tip:
Touch the soil before watering—if the top 1 inch feels dry, water. If it feels moist, wait another day.
Step 6: Feeding Your Green Onions for Faster Growth
Green onions respond well to regular, mild feeding.
Best fertilizers:
- Liquid seaweed spray
- Vermicompost tea
- Cow dung slurry
- Diluted fish emulsion
- Mustard cake liquid (use monthly)
Feeding schedule:
- Feed every 10–14 days during active growth
- Increase feeding if leaves look pale or thin
Avoid high-nitrogen chemical fertilizers—they can burn delicate roots in hanging pots.
Step 7: Thinning and Maintaining Seedlings
When seedlings reach 3–4 inches:
Thin overcrowded seedlings
Remove some seedlings to avoid poor airflow, but don’t waste them—you can replant or use them as microgreens.
Mulching (Optional but helpful)
Add a thin layer of cocopeat or dried leaves to maintain moisture.
Step 8: Managing Pests & Diseases
Hanging pots naturally reduce pests, but still keep an eye out.
Common issues:
- Black fungus from overwatering
- Aphids
- Thrips
- Leaf tip yellowing (nutrient deficiency)
Natural solutions:
- Neem oil spray (weekly)
- Garlic-chili spray
- Avoid wetting the leaves excessively
- Improve sunlight and airflow
Because the pots are elevated, soil insects like snails, slugs, and cutworms rarely cause damage.
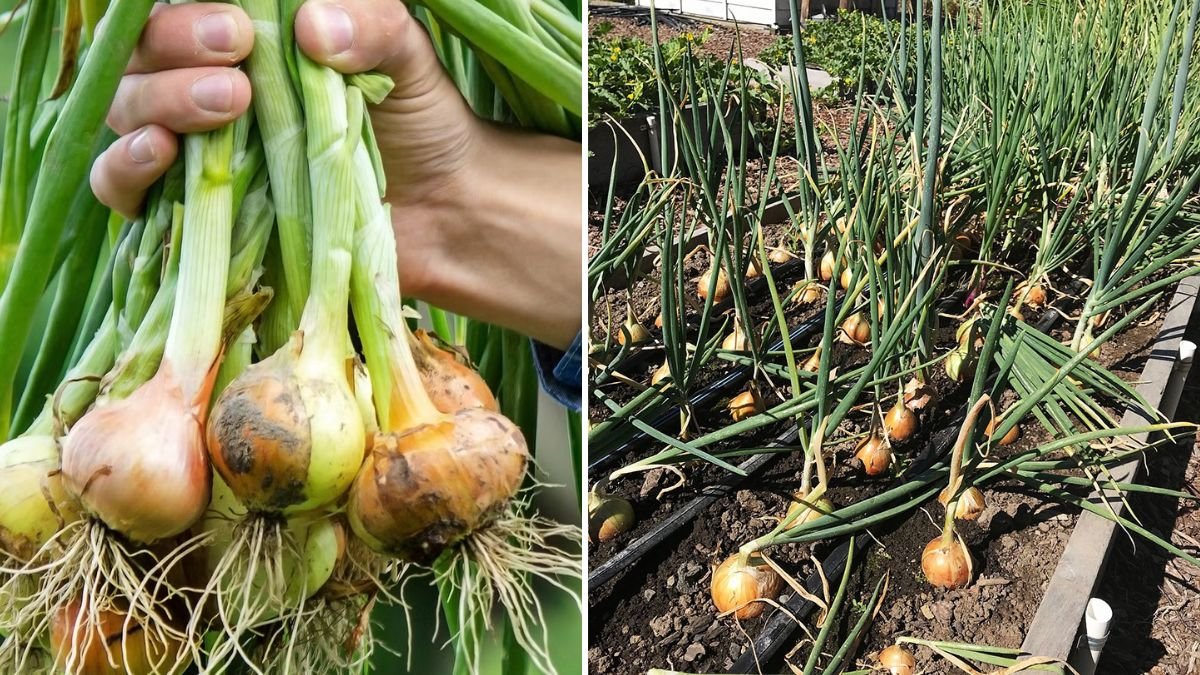
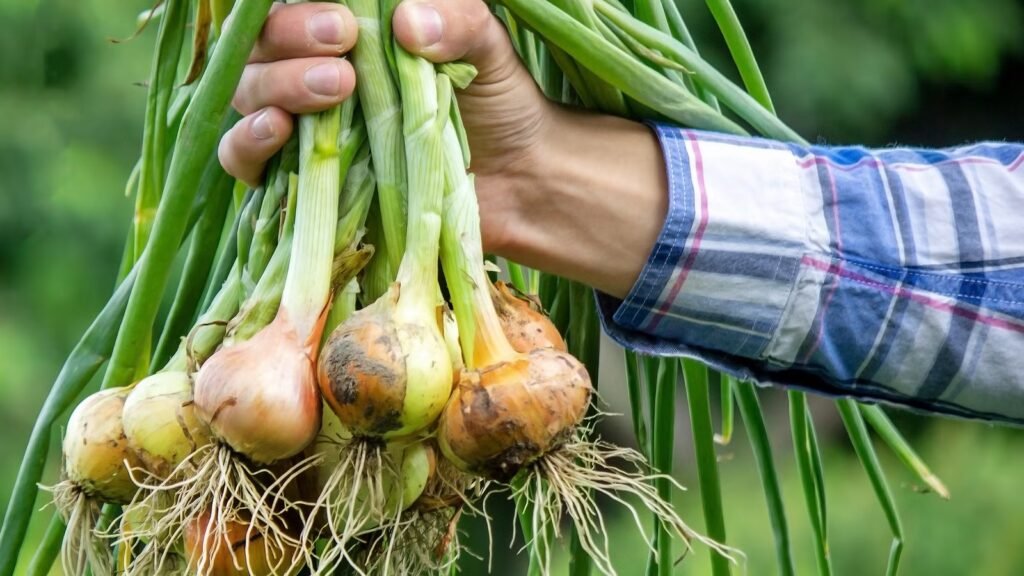
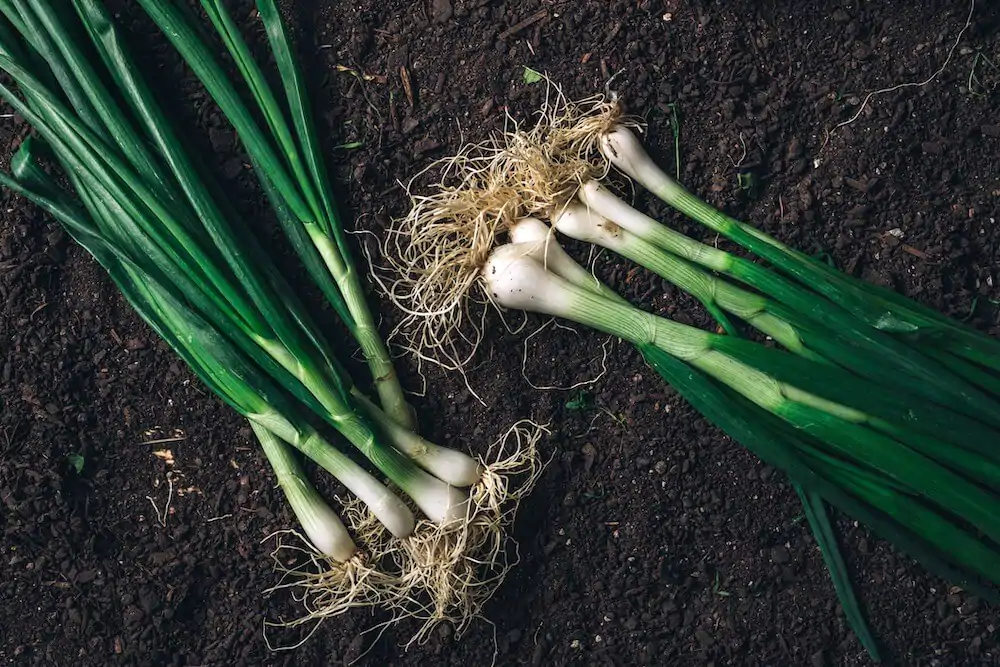
Step 9: When and How to Harvest

Green onions grow quickly and can be harvested multiple times.
Harvest timeline:
- First harvest: 35–45 days after sowing
- Full mature stage: 60–70 days
Harvesting method:
You have two choices:
1. Cut-and-grow method
Snip the leaves 2 inches above soil level.
→ Plant regrows in just 7–10 days.
2. Pull-out harvest
Pull entire plants when needed for cooking.
→ Thin the bed while harvesting.
Fun fact:
Green onions in hanging pots can keep producing for 3–5 months continuously with proper care!
Extra Tips for Maximum Harvest
Tip 1: Plant in batches every 15 days
This ensures a continuous supply of fresh green onions.
Tip 2: Combine with other herbs
Hanging pots can also grow:
- Coriander
- Chives
- Garlic greens
- Mint
Perfect for a mini balcony herb garden.
Tip 3: Avoid overfertilizing
Excess nitrogen can cause floppy leaves and weak stems.
Tip 4: Use self-watering hanging pots
Great for gardeners who travel or forget to water.
Tip 5: Rotate the pot every week
This ensures even sunlight on all sides and prevents bending.
Conclusion: Your Hanging Onion Garden, Made Simple
Growing green onions in hanging plastic pots is one of the easiest urban gardening hacks. With just a handful of quality seeds, a lightweight container, and a sunny spot, you can enjoy a fresh, endless supply of green onions right from your balcony.
From seed germination to harvesting juicy green stalks, each step is simple, practical, and perfect for beginners. Plus, the hanging design keeps your plants cleaner, safer, and more productive.
With this guide, you’re ready to create your own sky garden—and harvest flavorful, organic green onions all year long!