Propagating plants can seem intimidating for beginners, but the truth is, it can be easy, fun, and incredibly rewarding. Imagine turning a single plant into multiple healthy plants without spending a fortune. With the right techniques, you can grow your own indoor garden, backyard orchard, or even start a small plant nursery.
In this guide, we’ll reveal an easy method to propagate plants successfully, along with tips, tricks, and expert advice to ensure your new plants grow fast and healthy.
Why Propagation is a Game-Changer
Propagation is the process of creating new plants from existing ones, and it’s one of the most useful skills for gardeners. Here’s why:
- Save Money: No need to buy new plants—you can multiply what you already have.
- Preserve Plant Quality: Cuttings from mature plants maintain the same traits, like flower color, fruit flavor, or leaf patterns.
- Quick Growth: Propagated plants, especially from cuttings, can produce flowers or fruits faster than seeds.
- Fun and Educational: It’s satisfying to watch life sprout from a simple leaf or stem.
The EASY Way to Propagate
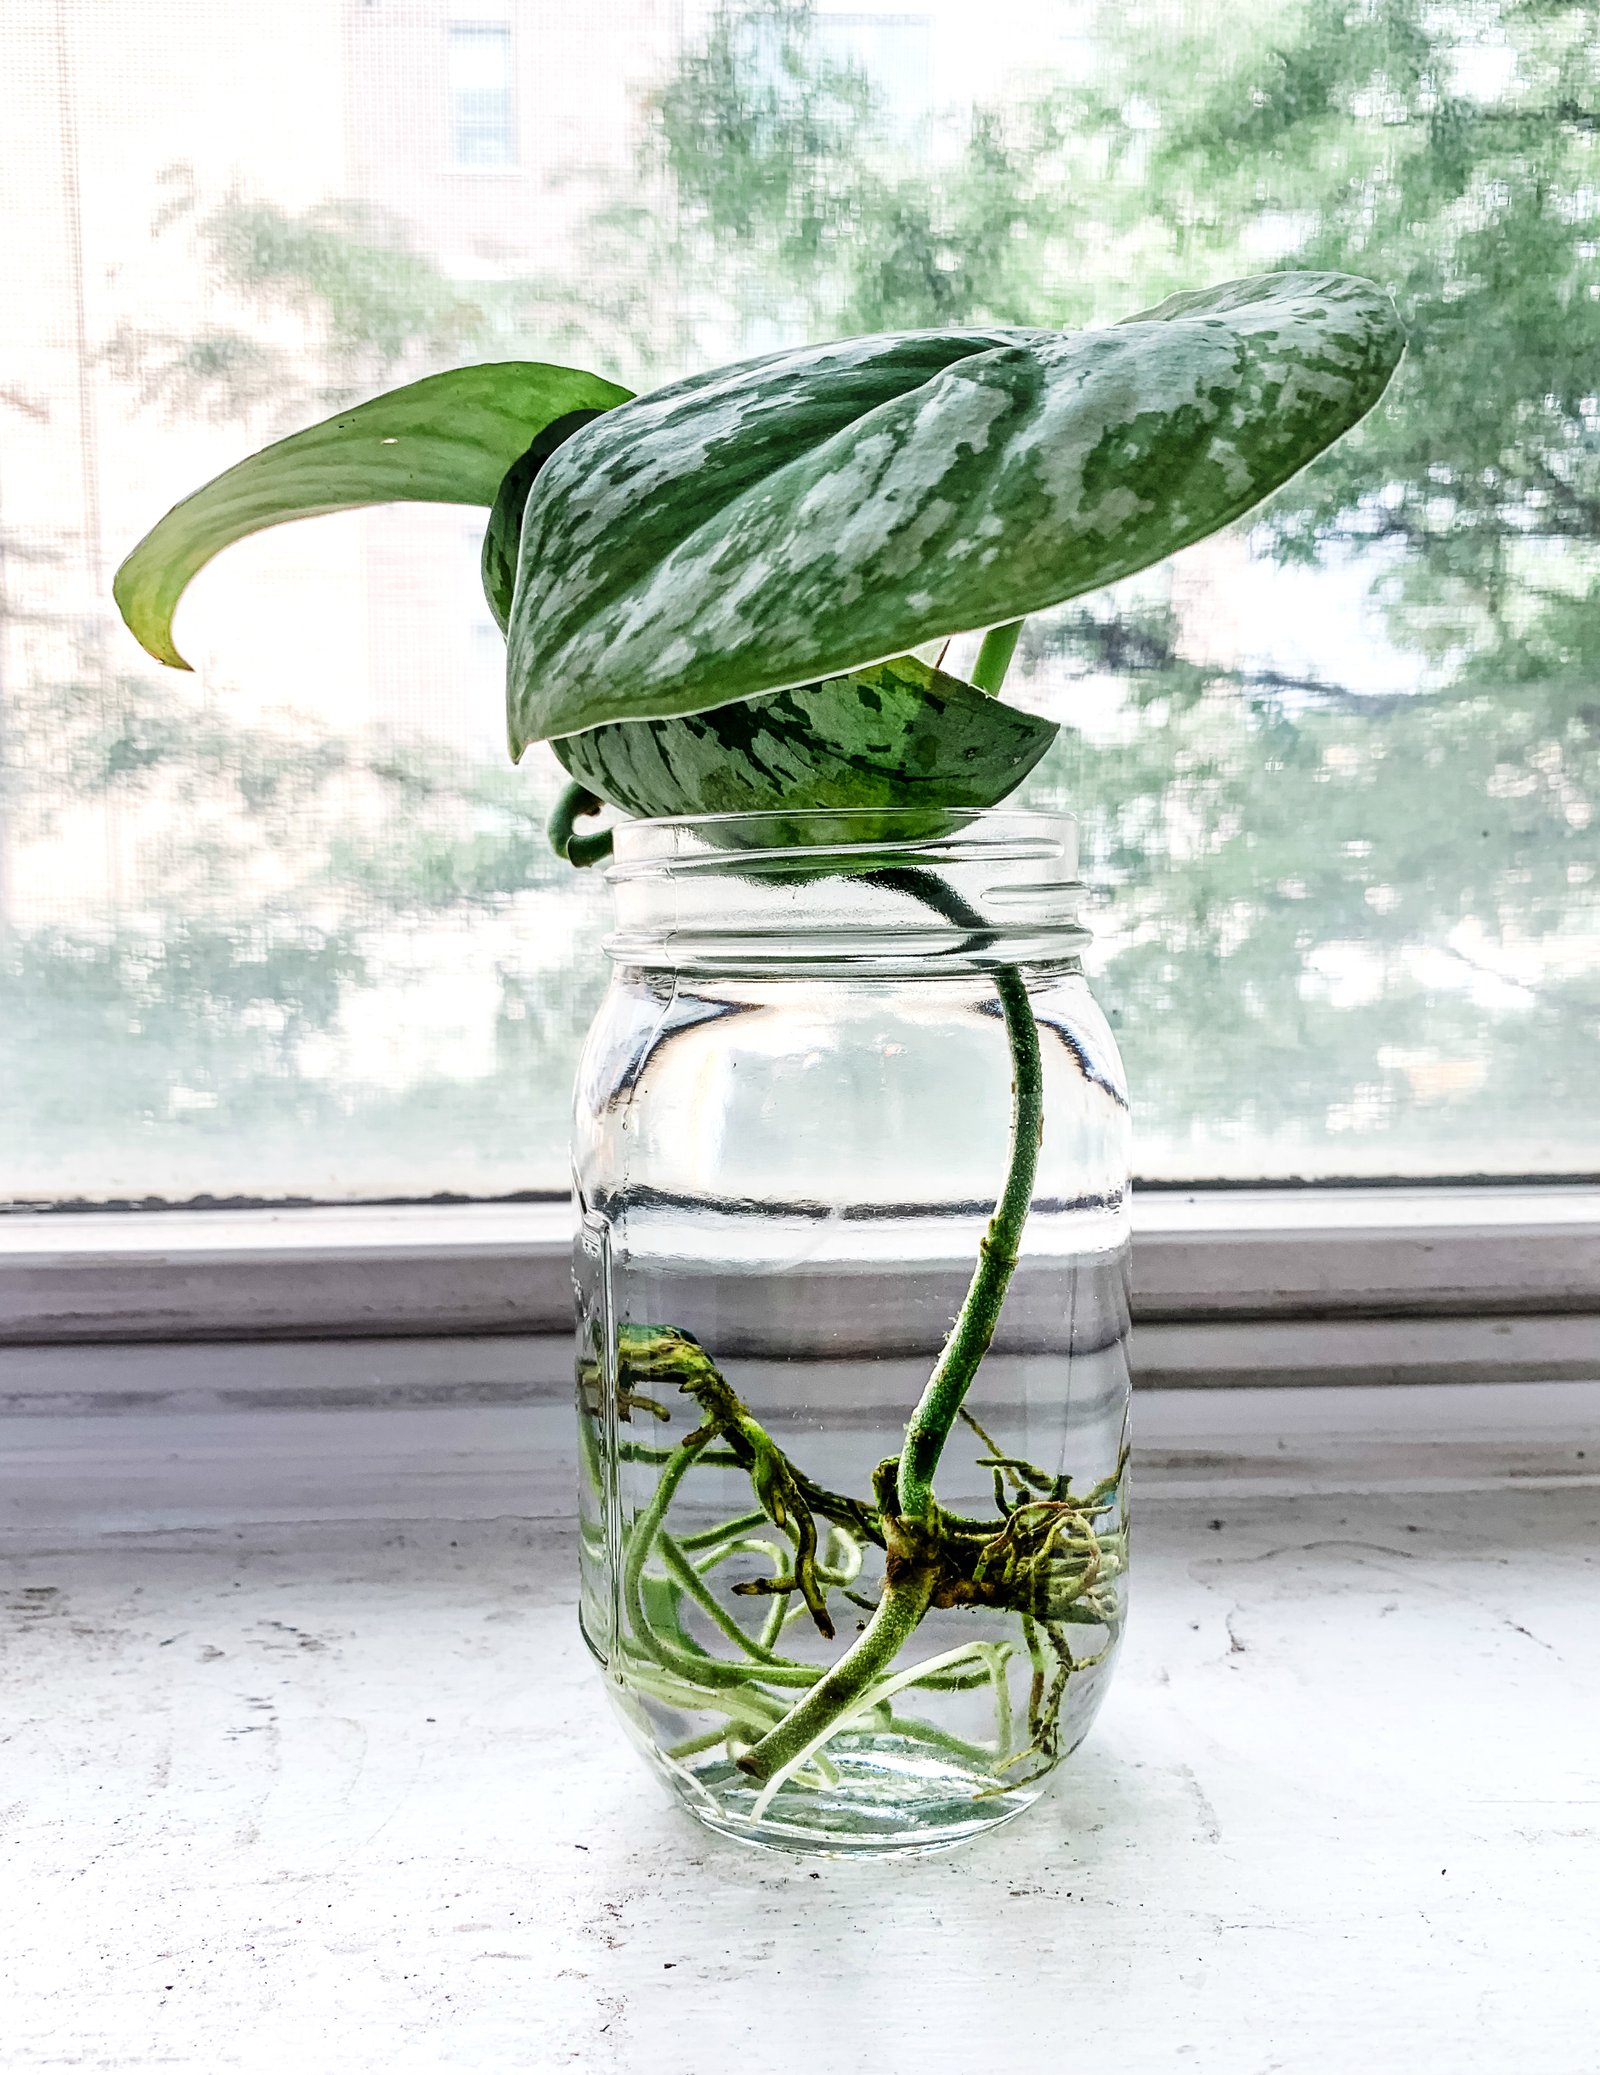
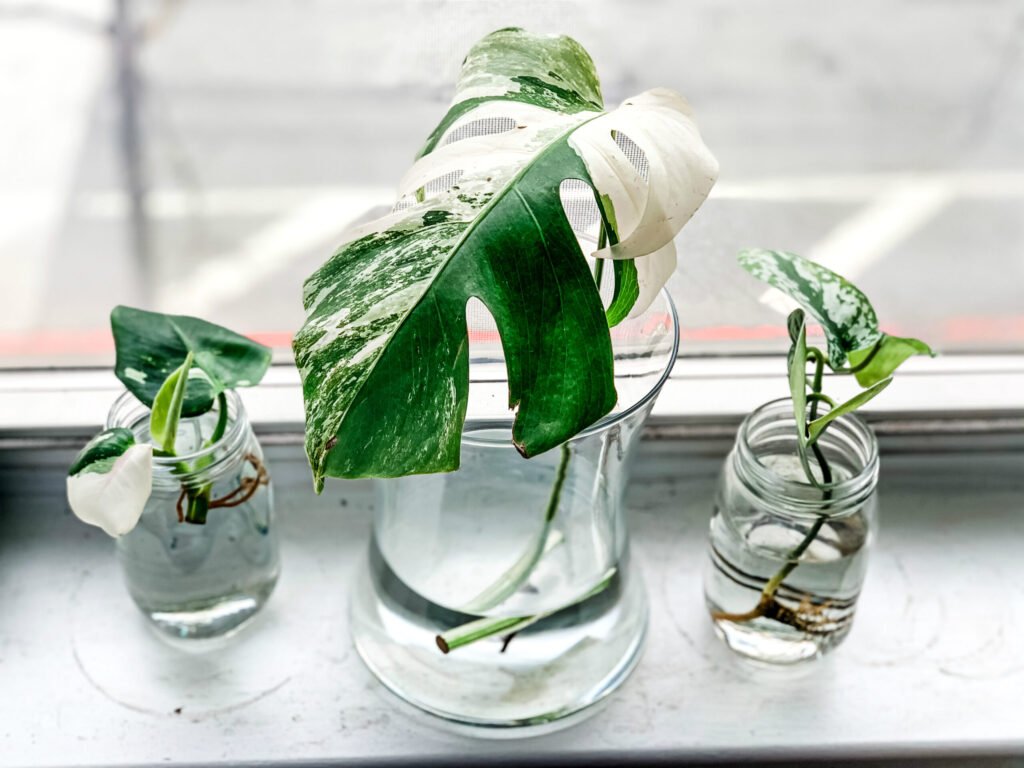
The easiest way to propagate most plants is through stem or leaf cuttings using a simple potting medium and minimal tools. No fancy equipment or chemicals are needed, making it perfect for beginners.
Step 1: Choose the Right Plant
Not all plants propagate the same way. Some of the easiest plants for beginners include:
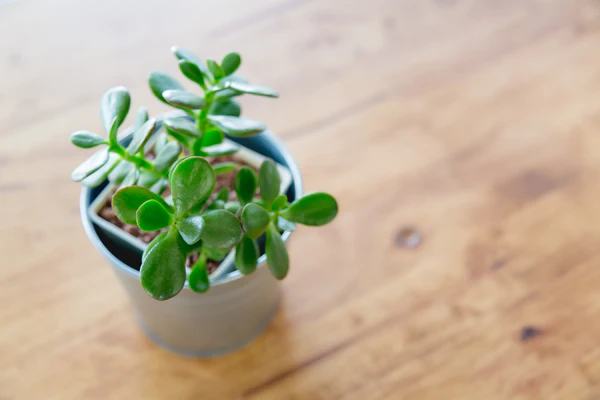
- Foliage plants: Pothos, Philodendron, Dieffenbachia, Coleus
- Fruit plants: Lemon, Guava, Papaya (stem cuttings work well)
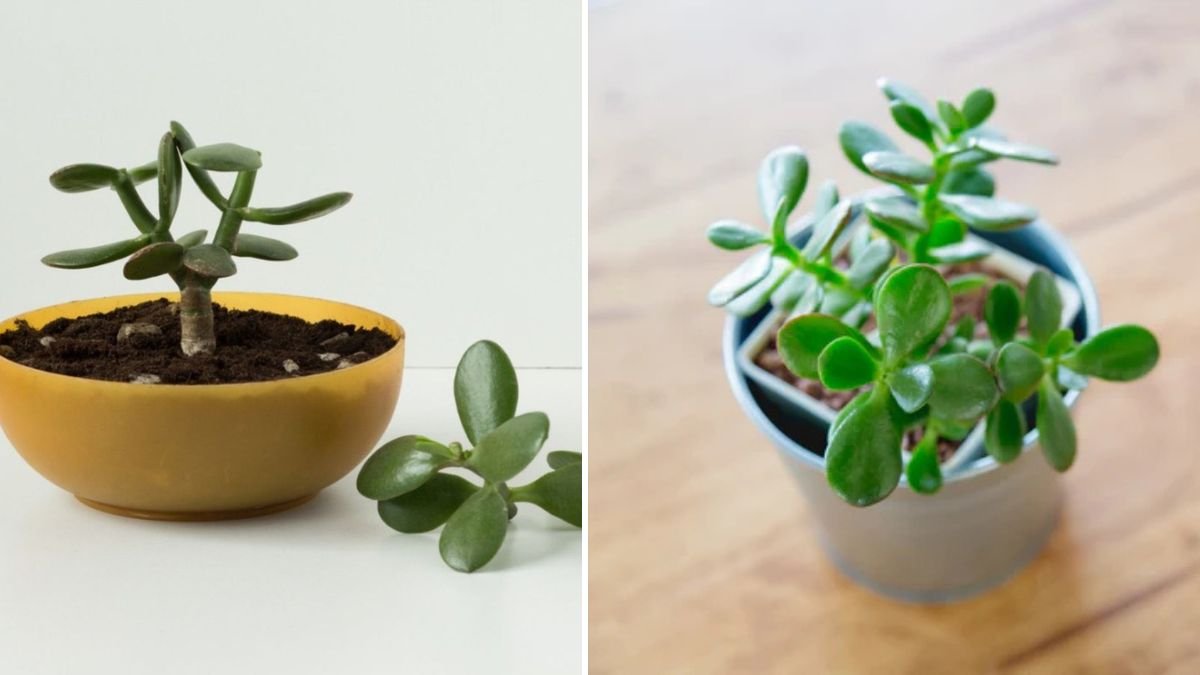
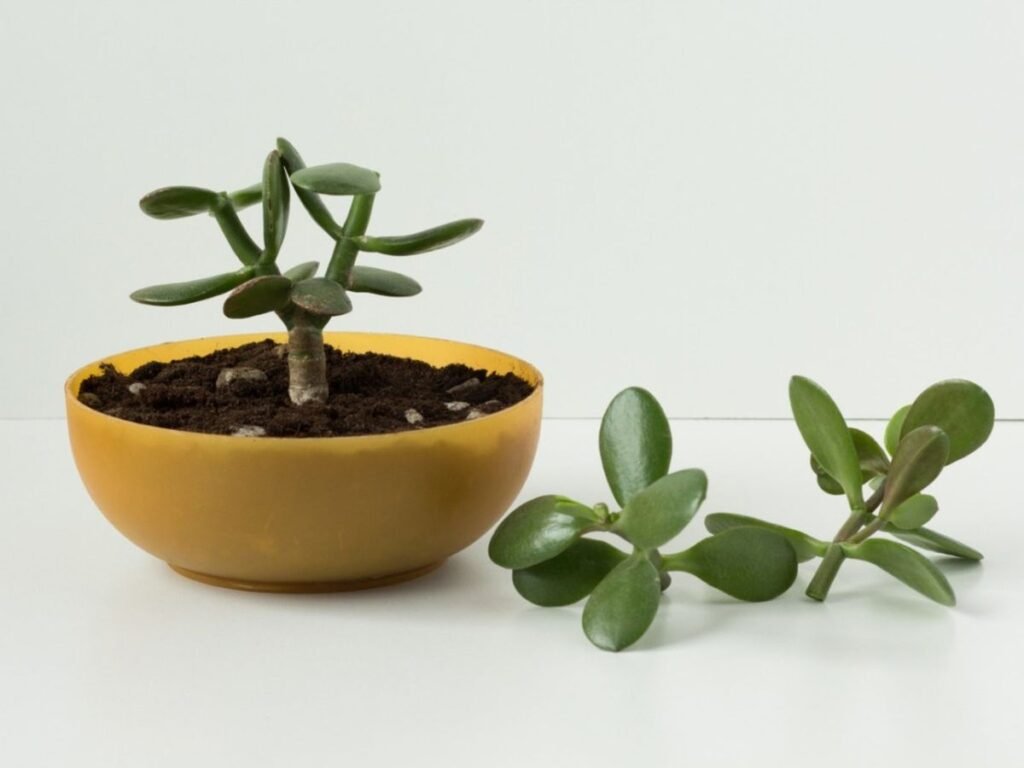
- Succulents and cacti: Aloe vera, Jade plant, Echeveria
Tip: Healthy, disease-free plants produce the best cuttings. Avoid branches with pests or wilted leaves.
Step 2: Select the Perfect Cutting
The key to fast propagation is the right cutting:
- Length: 4–8 inches depending on the plant
- Nodes: Choose cuttings with 2–4 nodes (points where leaves or roots will grow)
- Leaves: Keep top leaves intact but remove lower leaves to reduce water loss
- Health: Avoid soft, weak shoots or very woody stems
Step 3: Prepare the Cutting
Proper preparation increases your success rate:
- Use sterilized scissors or pruning shears to make a clean cut.
- Cut at a 45-degree angle just below a leaf node to maximize rooting surface.
- Optional: Dip the base in rooting hormone or aloe vera gel. This encourages faster root development and prevents fungal growth.
Step 4: Choose the Right Medium
Plants need a well-draining, aerated medium to root quickly. Some easy options include:
- 50% cocopeat + 50% perlite
- 40% garden soil + 30% sand + 30% compost
- For succulents: sand or gritty soil works best
Pro Tip: Lightly moisten the soil before planting to help the cutting stay hydrated.
Step 5: Plant the Cutting
- Make a small hole in the medium using a pencil or stick.
- Insert the cutting 2–3 inches deep.
- Firm the soil gently around the base.
- Ensure the leaves remain above the soil.
Step 6: Create Optimal Conditions
The easiest way to ensure success is by providing a humid, warm environment:
- Cover the cutting with a clear plastic bag or mini greenhouse dome to retain humidity.
- Place in bright, indirect sunlight—direct sun can scorch the leaves.
- Maintain a temperature between 22–28°C (72–82°F) for tropical plants.
Step 7: Watering and Care
- Mist the cutting every 2–3 days to maintain humidity.
- Keep the soil lightly moist, not soggy.
- Avoid overwatering to prevent root rot.
Tip: Some plants, like succulents, prefer dry conditions and should only be watered lightly when the soil dries out completely.
Step 8: Root Development
Roots usually start forming in 2–6 weeks, depending on the plant type. You can check by:
- Gently tugging the cutting—if it resists, roots are forming.
- Leaves may start looking fresher as the roots take hold.
Once roots are established, gradually remove the plastic cover to acclimate the plant to normal conditions.
Transplanting the New Plant
After the cutting has rooted, it’s time to move it to a larger pot or garden bed:
- Choose a pot with drainage holes and nutrient-rich soil.
- Carefully transplant the rooted cutting, covering the roots completely.
- Water lightly and apply a thin layer of mulch to retain moisture.
- Keep the plant in bright, indirect light for a few days to reduce transplant shock.
Tips for Fast and Healthy Growth
- Use healthy parent plants to ensure vigorous new growth.
- Maintain proper humidity using misting or a humidity dome.
- Rotate pots to ensure even light exposure.
- Fertilize lightly once roots establish—use liquid fertilizer or organic compost.
- Prune occasionally to encourage bushy growth.
- Monitor for pests like aphids, mealybugs, or fungal infections.
Common Mistakes to Avoid
- Overwatering: Leads to root rot and wilting.
- Poor light: Too little sunlight slows growth; too much burns leaves.
- Weak cuttings: Using old, diseased, or soft stems reduces success rate.
- Rushing: Avoid disturbing the cutting too soon; patience is key.
When Will You See Results?
- Most plants start rooting within 2–6 weeks.
- New growth appears shortly after roots form.
- Some fast-growing plants, like Pothos or Coleus, can double in size within a few months.
- With proper care, your propagated plants will thrive and become full, healthy plants ready to decorate your home or garden.
Why This Method Works
The reason this method is so effective is that it combines three key factors:
- Healthy cuttings from mature plants
- Optimal growing medium and humidity
- Consistent care and observation
Together, these factors allow the plant to focus on root development first, which is critical for rapid growth.
Conclusion
Propagating plants doesn’t have to be complicated. The easy method of using stem or leaf cuttings in a moist, well-draining medium allows anyone—even beginners—to grow multiple plants quickly. With patience, proper care, and attention to light, water, and humidity, you can multiply your favorite plants in weeks rather than months.
Start today, and you’ll be amazed at how quickly your propagated plants grow into lush, vibrant greenery, bringing life and beauty to your home and garden.