Air layering is one of the oldest and most effective plant propagation methods used by gardeners worldwide. Whether you’re growing lemon, guava, mango, lychee, pomegranate, or ornamental plants, air layering allows you to produce clone plants that grow faster, fruit earlier, and remain true to the parent tree. Unlike seed propagation, which may produce unpredictable results, air layering gives you a genetically identical plant—one that mirrors the parent’s fruit quality, growth habit, and overall character.
In this comprehensive guide, you’ll learn what air layering is, why it works so well, when to do it, what materials you need, and a detailed step-by-step method to help you successfully air-layer nearly any woody plant. By the end, you will be ready to produce strong, healthy new trees from your favourite plant in just a few weeks.
What Is Air Layering?
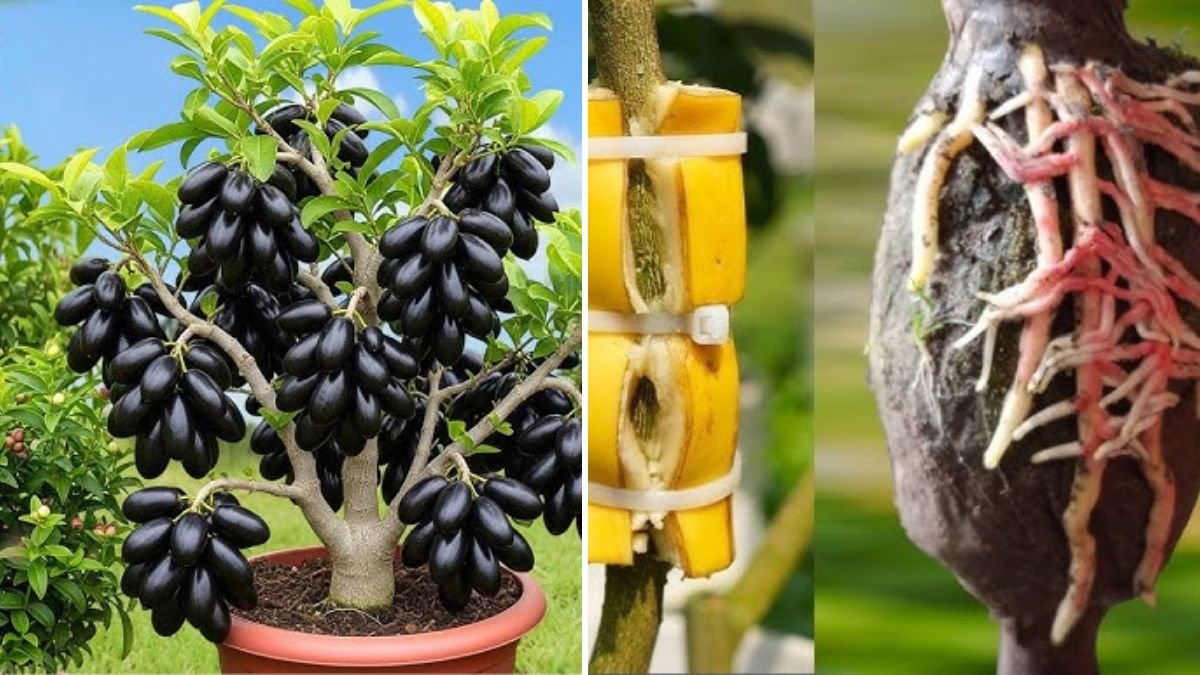
Air layering (also called marcotting) is a propagation method where roots are encouraged to form on a branch while it is still attached to the parent plant. Once roots develop, the rooted section is cut off and planted as a new tree.
This technique has been used for centuries in Asia and continues to be popular because:
- It doesn’t require advanced tools
- It works on mature branches
- It gives plants that fruit and grow faster
- It has a high success rate compared to cuttings
Air layering is ideal for fruit trees like lemon, guava, lychee, mango, fig, mulberry, jackfruit, pomegranate, and many ornamentals such as rubber plants and dracaena.
Why Choose Air Layering?
Air layering provides several advantages over other propagation techniques:
1. Faster Rooting
Roots develop directly on a mature branch, allowing the new plant to establish quickly once planted.
2. Guaranteed Cloning
The new plant will have the same fruit taste, size, aroma, and growth capacity as the parent.
3. Works on Large Branches
You can propagate thick or medium-sized branches that may not root well from cuttings.
4. Higher Success Rate
With the right moisture and protection, air layering can reach 80–95% success.
5. Fruiting Starts Early
Because the layered branch is mature, it often produces fruits within 1–2 years, compared to 4–6 years from seeds.
Best Time for Air Layering
Air layering works best when the plant is actively growing.
Ideal Seasons:
- Spring (February to April)
- Monsoon / Rainy Season (June to August)
- Early Autumn (September)
Avoid cold winters, as root formation slows down.
Materials You Need for Air Layering
You don’t need expensive tools. Simple, everyday materials are enough:
- A healthy branch from the parent tree
- Sharp knife or pruning cutter
- Rooting hormone (optional but helpful)
- Moist sphagnum moss, cocopeat, or garden soil
- Plastic wrap, polythene, or cling film
- Jute rope, thread, or tape
- Aluminum foil (optional for sunlight protection)
- Water spray bottle
Once you have these, you’re ready to begin.
Step-by-Step Guide: How to Air Layer a Plant
Below is the most reliable method used by both home gardeners and professional nurseries.
Step 1: Select the Perfect Branch
Choosing the right branch is crucial.
Ideal branch characteristics:
- Thickness of your finger
- Healthy, green, and disease-free
- 1–2 years old
- Has plenty of leaves
- Not too young or too woody
Branches receiving good sunlight root faster.
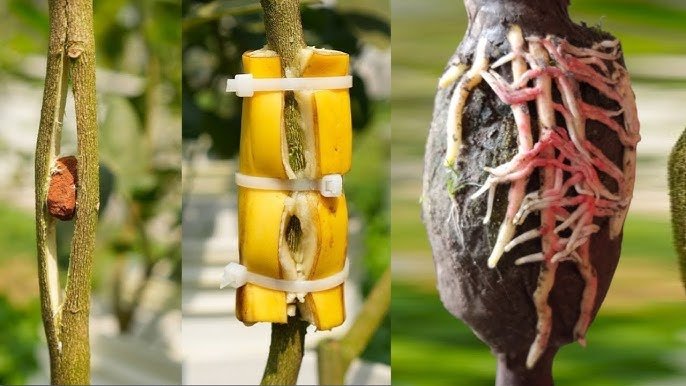
Step 2: Make a Clean Cut or Girdle
There are two popular methods:
Method A: Ring Barking (Girdling)
- Choose a point 12–18 inches from the tip.
- Make two circular cuts 1 inch apart around the branch.
- Connect the cuts with a vertical slit.
- Remove the ring of bark completely.
- Scrape the green layer gently until the wood turns whitish.
This prevents the plant’s nutrients from flowing back down, forcing roots to grow at that spot.
Method B: Diagonal Cut (Flap Method)
- Make a slanted upward cut halfway through the branch.
- Insert a small piece of stick or toothpick to keep the cut open.
This method is suitable for softer branches.
Step 3: Apply Rooting Hormone
Applying rooting hormone increases success.
Options:
- Commercial rooting gel
- Powder rooting hormone
- Natural alternatives like honey, cinnamon, or aloe vera
Though optional, hormones speed up root formation.
Step 4: Prepare the Rooting Medium
The medium must hold moisture and allow air circulation.
Best options:
- Sphagnum moss (most preferred)
- Cocopeat
- A mixture of soil + compost
Moisten the medium until it is damp but not dripping.
Step 5: Wrap the Branch with the Medium
- Take a handful of moist sphagnum moss.
- Place it around the wound on the branch.
- Cover the moss fully around the cut portion.
Make sure no part of the wound is exposed.
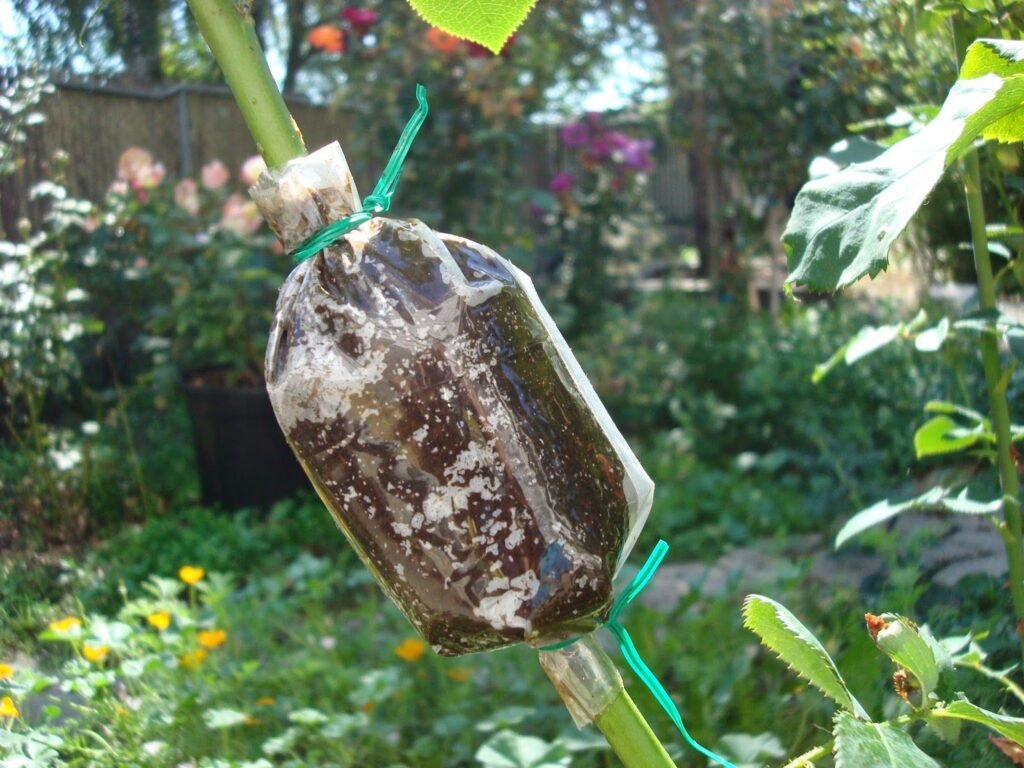
Step 6: Cover with Plastic and Tie Securely
- Wrap the moss with plastic tightly.
- Seal both ends to prevent moisture loss.
- You can add aluminum foil around the plastic to protect from sunlight and heat.
This creates a mini “greenhouse” that holds humidity—the key to successful rooting.
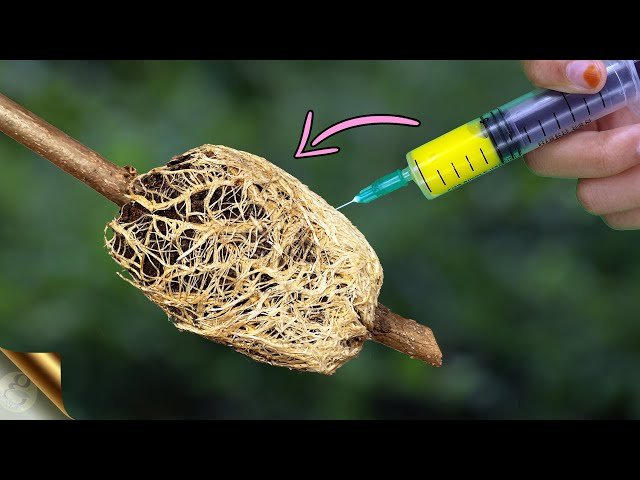
Step 7: Maintain Moisture
Check the moss every 1–2 weeks.
If it feels dry:
- Open the top a little
- Mist some water
- Seal it again
Moisture is crucial, but avoid making it soggy.
Step 8: Wait for Roots to Form
Depending on the plant and season, rooting takes:
- 3–6 weeks for fast growers like lemon, guava, mulberry
- 6–12 weeks for mango, lychee, pomegranate
Signs of successful rooting:
- White roots visible inside the plastic
- New leaves forming
- Moss feels firm and full
- The branch looks swollen near the moss
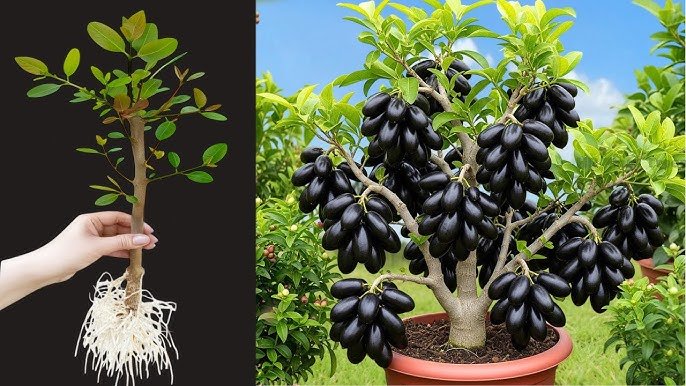
Once roots are visible, the plant is ready for separation.
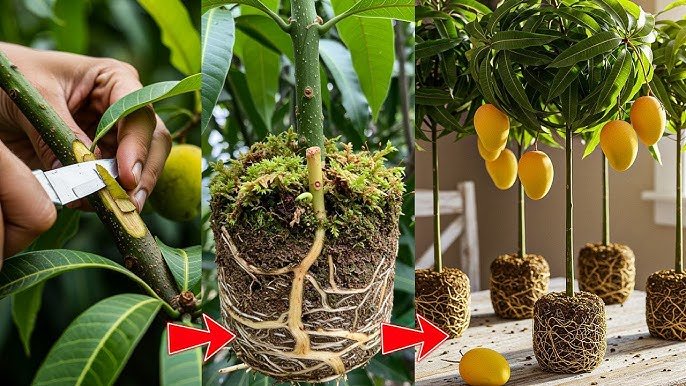
Step 9: Cut and Plant the New Tree
- Use a sharp cutter to cut the branch just below the rooted section.
- Remove the plastic carefully without disturbing the roots.
- Plant the rooted ball in a pot with nutrient-rich soil:
- 40% garden soil
- 30% compost
- 20% sand
- 10% cocopeat
- Water thoroughly.
- Place the new plant in partial shade for 1–2 weeks.
Once the plant settles, shift it to full sunlight.
How to Care for Your Air-Layered Plant
After planting, proper care is essential for healthy growth.
Sunlight
- First 2 weeks: Partial shade
- After that: 4–6 hours of direct sunlight
Watering
- Keep the soil slightly moist.
- Avoid overwatering—lemons, guavas, and mangoes hate wet feet.
- Water deeply once the top layer dries.
Fertilization
Feed your new plant monthly with:
- Organic compost
- Cow dung manure
- Vermicompost
Every 2–3 months:
- A pinch of Epsom salt (for green leaves)
- Citrus or fruit-tree fertilizer
Pruning
Prune to:
- Encourage branching
- Maintain shape
- Remove diseased or weak shoots
This boosts growth and improves fruiting.
When Will the Air-Layered Plant Bear Fruit?
Air layering produces mature clones, so fruiting starts much earlier.
Average fruiting time:
- Lemon: 1–2 years
- Guava: 1 year
- Lychee: 2–3 years
- Mango: 3 years
- Pomegranate: 1 year
This is far faster than seed-grown plants, which may take 5–10 years.
Common Air Layering Mistakes to Avoid
To ensure maximum success, avoid these common errors:
- Using dry or soggy moss
- Layering during winter
- Using newly grown soft shoots
- Not sealing the plastic tightly
- Exposing the root ball to harsh sunlight
- Cutting branch too early before roots form
- Making shallow cuts that don’t remove the full bark ring
Following the correct method ensures 90% success or more.
Final Thoughts
Air layering is one of the most powerful propagation techniques every gardener should master. With almost no tools and minimal cost, you can convert a single branch into a strong, healthy new tree that fruits much sooner than traditional methods. Whether you’re expanding your garden, sharing plants with friends, or growing your orchard, air layering is the perfect technique to multiply your favourite fruit trees.
Start today—and within weeks, you’ll see roots forming. Within months, you’ll be planting your new tree. And soon enough, you’ll enjoy the satisfaction of harvesting fruits from a plant that you yourself propagated.