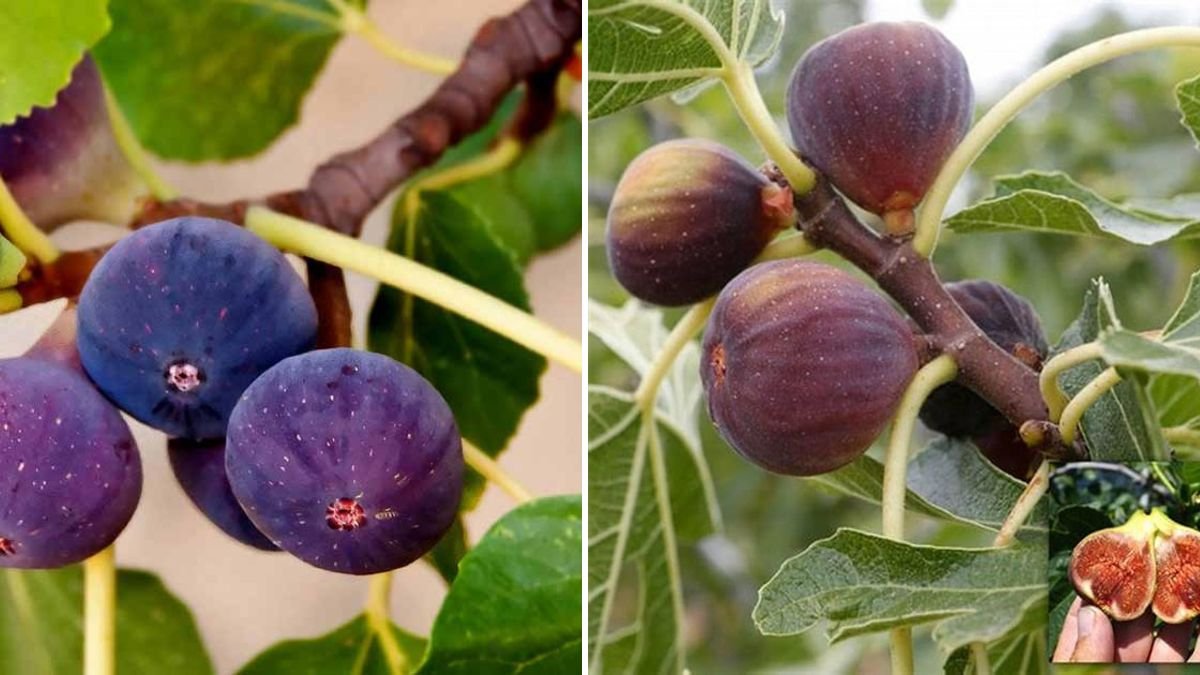
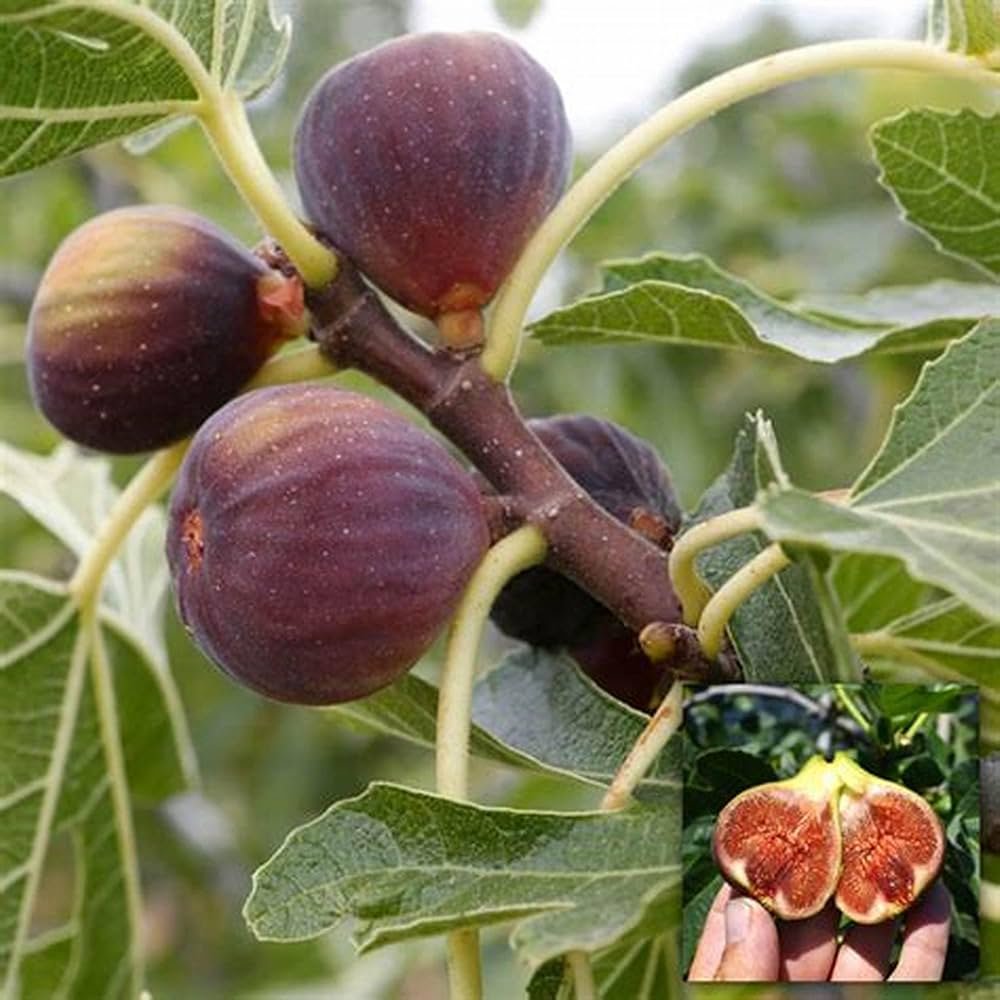
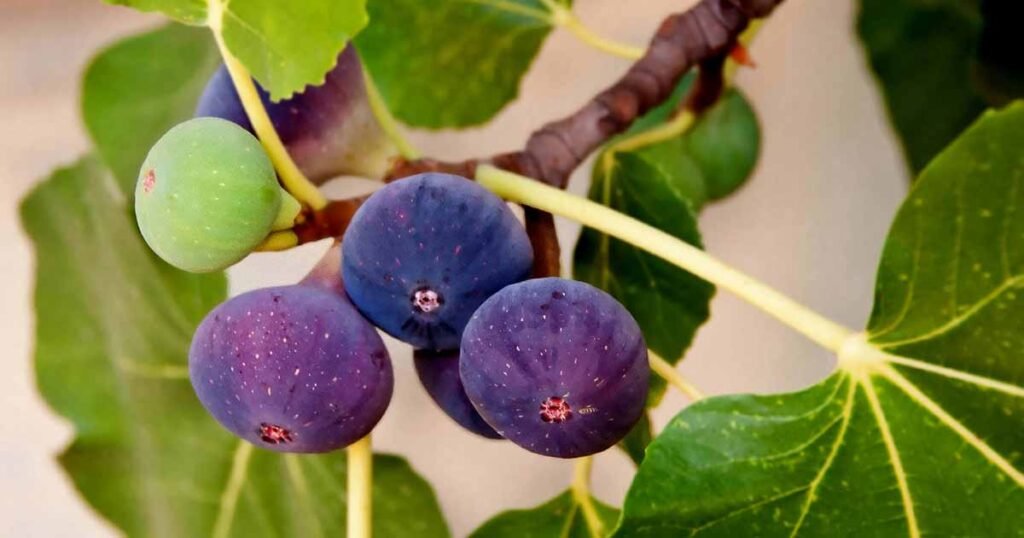
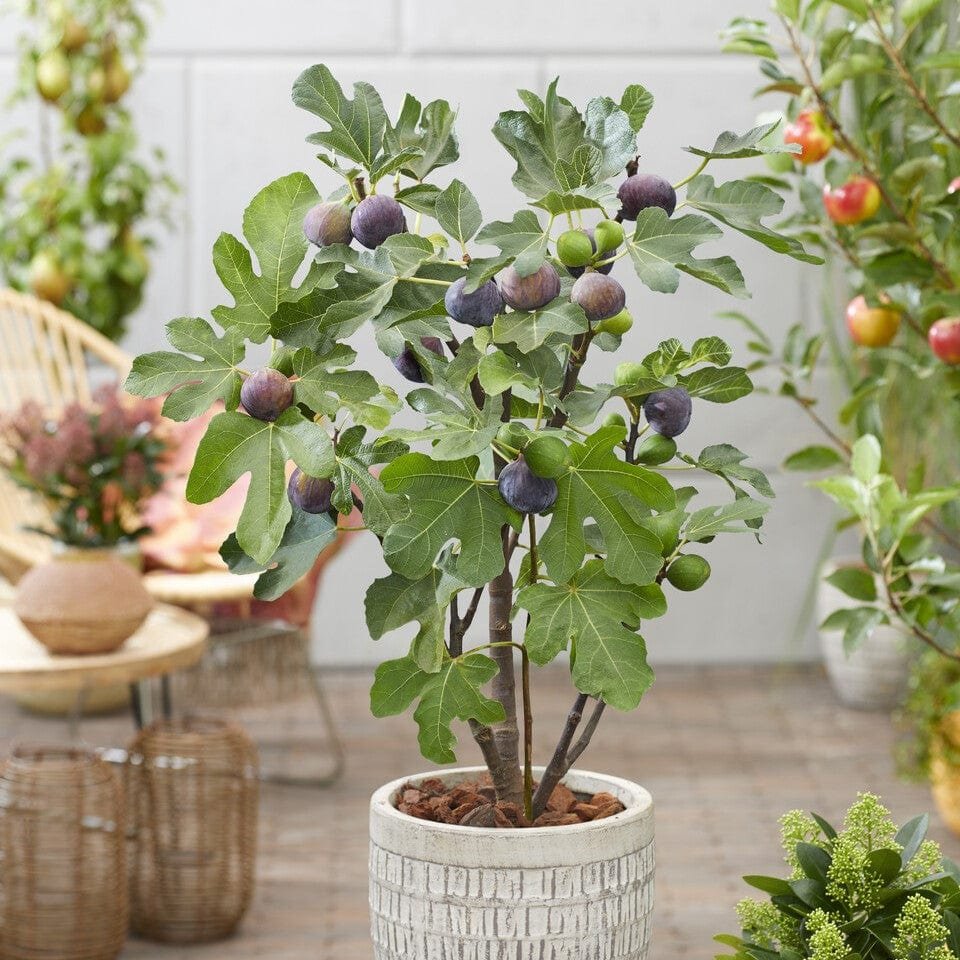
Fig trees (Ficus carica) are beloved for their sweet, soft fruit and beautiful foliage. Whether you grow them in a garden or a pot, figs add charm and productivity to any space. But growing a fig tree from seeds can take years, and the fruit quality is often unpredictable. Fortunately, there is a method that allows you to propagate fig trees quickly, reliably, and without specialized tools — and that method is air layering.
Air layering is one of the most effective vegetative propagation techniques used by gardeners worldwide. By encouraging roots to grow on a branch while it is still attached to the parent plant, this technique produces new fig plants that are genetically identical, stronger, and capable of fruiting much earlier than seed-grown plants.
In this complete 1200-word guide, you will learn:
What air layering is
Why it works exceptionally well for fig trees
Step-by-step instructions
Tools you need
Common mistakes
Aftercare
How fast your new fig plant will fruit
Let’s begin your journey toward multiplying fig trees effortlessly!
Why Air Layering Is Perfect for Fig Trees
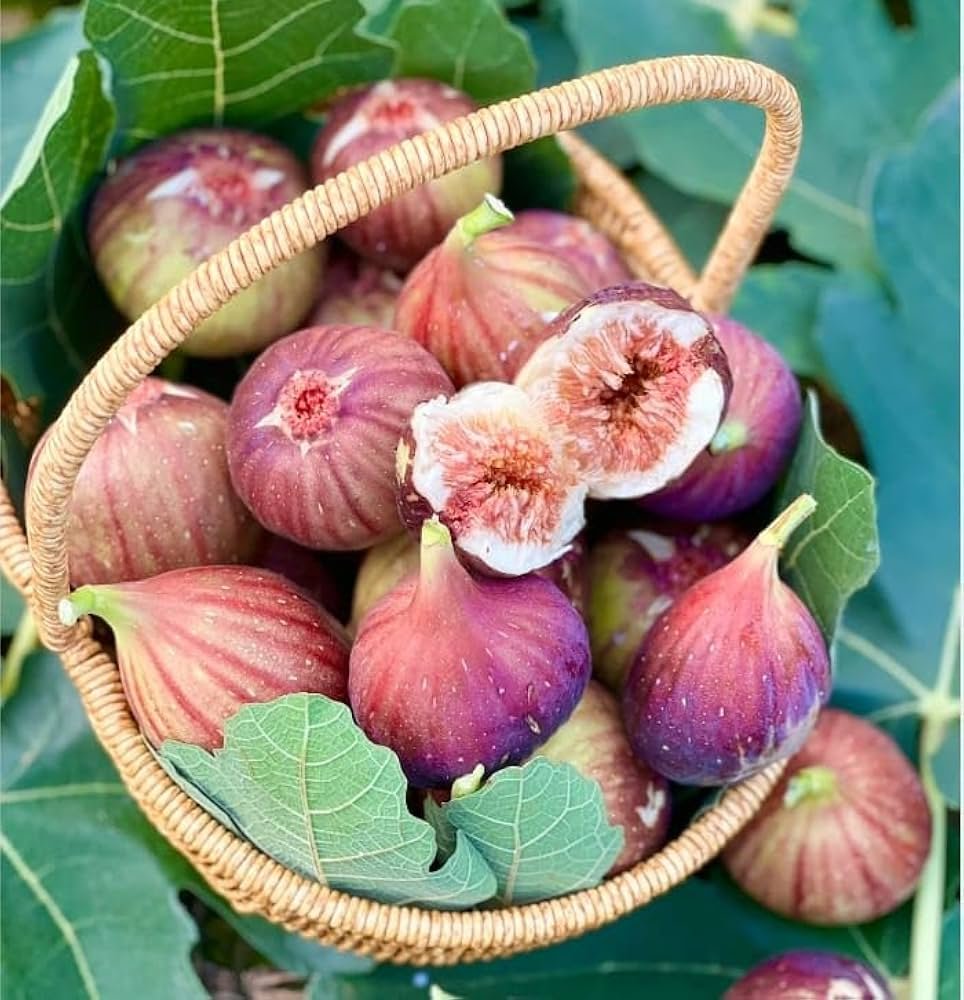
Fig trees respond extremely well to vegetative propagation because they naturally produce roots from wounded stems. This makes them ideal candidates for air layering.
Advantages of air layering fig trees:
- Very high success rate (80–95%)
- Produces strong, healthy plants
- New plants fruit earlier
- No need for grafting skills
- Works on older or mature trees
- Cost-free and simple
- Ideal for beginners
Compared to seeds or cuttings, air layering gives faster root formation and stronger plants.
Best Time to Air Layer Fig Trees
Fig trees root best when they are actively growing.
Ideal seasons:
- Spring (March–April)
- Early summer (May–June)
- Monsoon (July–September)
During these periods:
- Sap flow is strong
- Branches are flexible
- Humidity helps root formation
- Healing happens quickly
Avoid air layering in winter because growth slows down.
Tools & Materials You Need
You don’t need expensive tools. Gather these simple items:
- Sharp knife or pruning blade
- Moist sphagnum moss or cocopeat
- Plastic wrap or polythene sheet
- Twine, rubber band, or zip tie
- Rooting hormone (optional but helpful)
- Clean water
- Gloves (optional)
Everything is easily available at home.
Step-by-Step Guide: Air Layering Fig Trees
Follow these steps carefully for maximum success.
Step 1: Choose the Right Branch
Select a branch that is:
- 1–2 cm thick
- Healthy
- Not too old
- Not too young
- Growing in sunlight
- Free from pests
Semi-hardwood branches work best.
Branches that are too soft rot, and very woody branches root slowly.
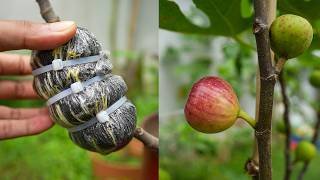
Step 2: Make a Clean Ring Cut (Girdling)
This is the most important step.
- Choose a spot about 12–18 inches from the tip
- Cut a 1-inch wide ring of bark
- Remove the bark completely
- Lightly scrape the exposed wood
You should see a greenish layer (cambium).
Scraping prevents the bark from healing back and forces the plant to grow roots.
Step 3: Apply Rooting Hormone (Optional)
Rooting hormone speeds up root formation.
- Dust powder or
- Apply gel
This step improves success by 20–30%.
Step 4: Wrap With Moist Medium
Use:
- Sphagnum moss (best)
- Or cocopeat
- Or a mix
Ensure the material is:
✅ Moist
❌ Not dripping
If it drips, roots will rot.
Pack the moss tightly around the wound.
Step 5: Cover With Plastic Wrap
Wrap the moss with plastic:
- Cover completely
- Remove air pockets
- Tie both ends tightly
The plastic creates a greenhouse-like environment with constant humidity.
Step 6: Protect From Direct Sun
Sunlight overheats the area and dries the moss.
You can wrap aluminium foil over the plastic for extra protection.
Step 7: Wait for Roots to Form
Roots usually appear in:
- 3–6 weeks in warm weather
- 6–10 weeks in cooler weather
You will see:
- White roots
- Moss turning brown (normal)
- Branch becoming heavier
Once roots fill the entire moss ball, the plant is ready.
Step 8: Cut and Plant the New Fig Tree
Cut the branch 1 inch below the root ball.
Carefully remove the plastic.
Plant it in a pot or directly in the soil.
Recommended soil mix:
- 40% garden soil
- 40% compost
- 20% sand
Water gently.
Caring for the Newly Layered Fig Plant
Your new plant is delicate initially.
1. Shade for 2–3 weeks
Avoid direct sun until the plant stabilizes.
2. Watering
Keep the soil moist but not soggy.
3. Mulching
Mulch helps retain moisture.
4. Fertilizing
Start after 4–6 weeks:
- Vermicompost
- Banana peel fertilizer
- Organic compost
Feed once every 30 days.
Full Sun After Recovery
Once the plant shows new leaves:
- Move it to full sun
- Provide 6–8 hours of sunlight
- Ensure good drainage
Fig trees thrive in sunlight.
When Will Your Air-Layered Fig Tree Fruit?
Air-layered figs fruit MUCH faster than seed-grown plants.
Seed-grown: 4–6 years
Cuttings: 2–3 years
Air layered: 1.5–2 years
Because the plant is already mature, fruiting happens earlier.
Common Problems & How to Avoid Them
1. Moss dries out
Cause: Not enough moisture
Fix: Re-wrap or moisten
2. Roots rot
Cause: Moss too wet
Fix: Use slightly damp moss
3. No roots formed
Causes:
- Branch too old
- Wrong season
- Cut healed
- No hormone
4. Branch falls
Cause: Roots not strong
Fix: Wait longer
Tips for Maximum Success
✅ Choose sunny, healthy branches
✅ Keep moss moist
✅ Avoid overwatering
✅ Wrap tightly
✅ Shade the air layer
✅ Be patient
✅ Use rooting hormone
✅ Perform layering in warm months
Why Air Layering Is the Best Method for Fig Trees
Because fig trees naturally root easily, air layering gives:
- Stronger roots
- Higher survival rate
- Earlier fruiting
- Identical fruit quality
- Healthy plants
- No need for grafting skills
Many commercial fig nurseries use this exact method.
Final Thoughts
Air layering fig trees is one of the simplest, most efficient, and most rewarding propagation techniques you can learn. With minimal tools and a little patience, you can multiply your fig trees, share plants with friends, and enjoy fresh, homegrown fruit much sooner.
Whether you have a backyard tree or a potted fig plant, air layering helps you create new plants without spending a single rupee.
Once you try it, you’ll realize why gardeners swear by this technique.