Propagation is the key to growing more plants from your favorite specimens. Whether you are a home gardener, a small-scale farmer, or an enthusiast looking to expand your garden, understanding how to propagate mil (commonly referring to millets or specific mil plants depending on context) can save time, increase yield, and ensure healthy plant growth.
In this guide, we’ll explore modern and traditional propagation techniques, including seed propagation, vegetative methods, soil preparation, care tips, and troubleshooting common issues. By following these strategies, you can multiply your plants successfully and enjoy thriving, productive growth.
1. Understanding the Mil Plant

Before diving into propagation, it’s important to understand what mil refers to. In most contexts, mil can refer to millets, a group of small-seeded cereal crops, or milkweed/mil plants for horticultural purposes. Both require careful propagation techniques to ensure healthy growth:
- Millets (cereal crops): Fast-growing, resilient grains used for food and fodder.
- Mil plants (herbaceous or ornamental plants): Often propagated for flowers, foliage, or medicinal uses.
Propagation methods vary slightly depending on the type, but the principles of healthy plant selection, proper planting, and aftercare remain the same.
2. Choosing Healthy Plants or Seeds
The first step in propagation is selecting healthy material:
- For Seed Propagation:
- Choose mature, disease-free seeds.
- Seeds should be plump and free from damage.
- If growing millets, check for high germination potential.
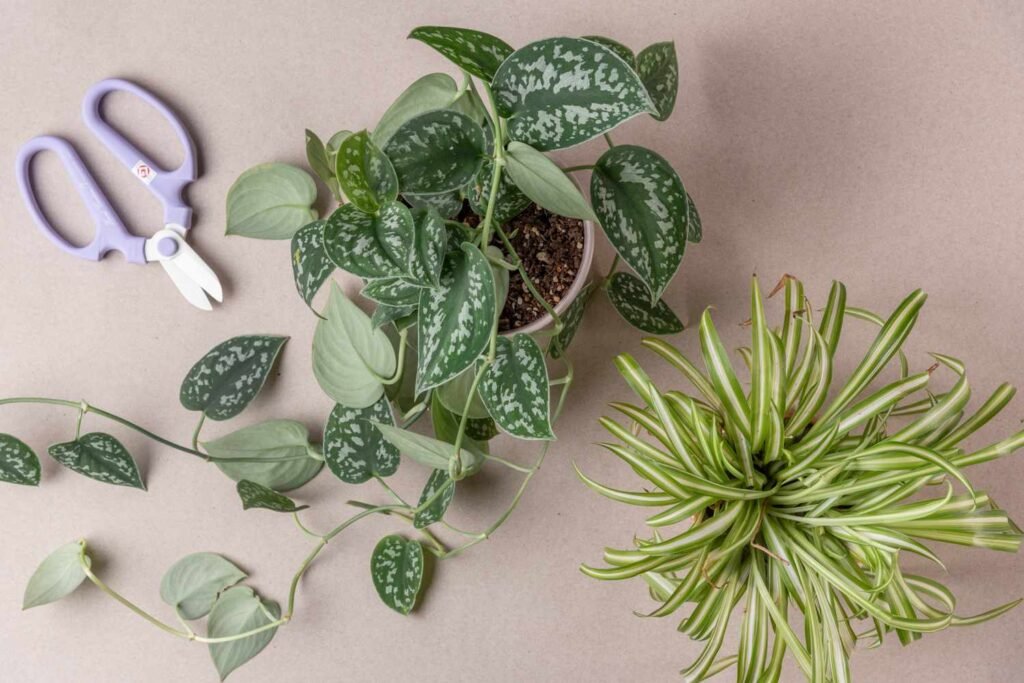
- For Vegetative Propagation:
- Select strong, disease-free parent plants.
- For plants with stems, rhizomes, or roots, ensure the sections are healthy and robust.
Secret Advantage: Healthy starting material dramatically improves success rates and plant vigor.
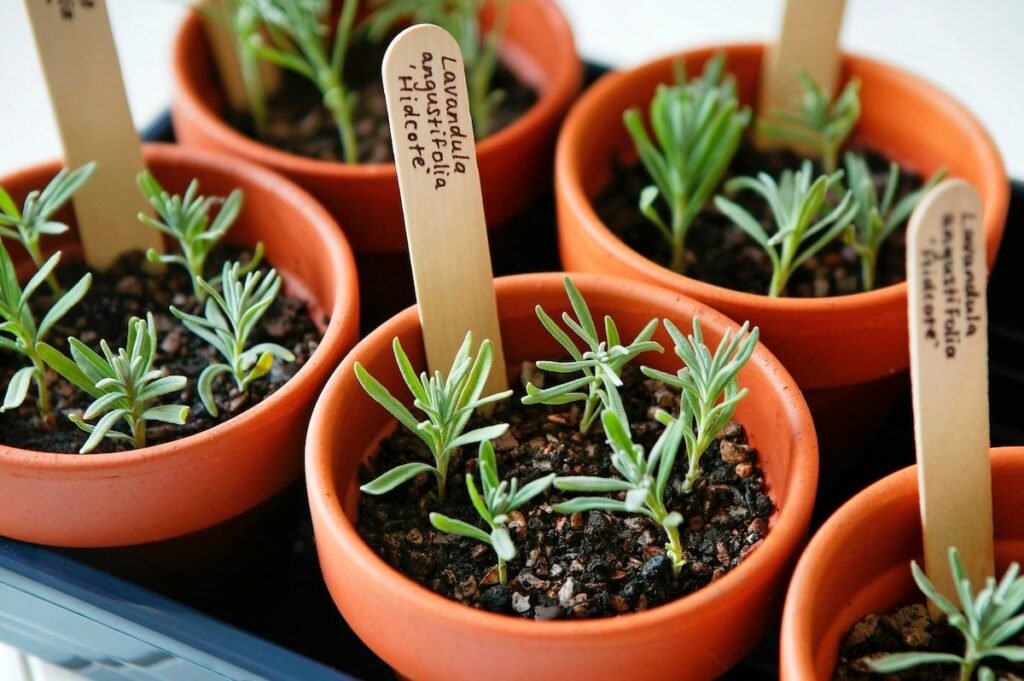
3. Seed Propagation Techniques
Seed propagation is the most common method for mil and similar plants. Here’s a step-by-step guide:
Step 1: Seed Preparation
- Soak seeds in water for 12–24 hours to soften the seed coat.
- Use a mild natural fungicide solution to prevent early fungal infections.
Step 2: Soil Preparation
- Use well-draining soil mixed with organic compost.
- Ensure soil pH is suitable for the plant (generally 6.0–7.0 for most mil species).
Step 3: Sowing Seeds
- Sow seeds at a depth of 1–2 cm.
- Maintain spacing between seeds to prevent overcrowding.
- Lightly cover seeds with soil and gently water.
Step 4: Germination and Care
- Keep soil moist but not waterlogged.
- Provide indirect sunlight during early growth.
- Seeds typically germinate in 5–15 days depending on species.
New Idea: Use seed trays with humidity domes for faster, more uniform germination.
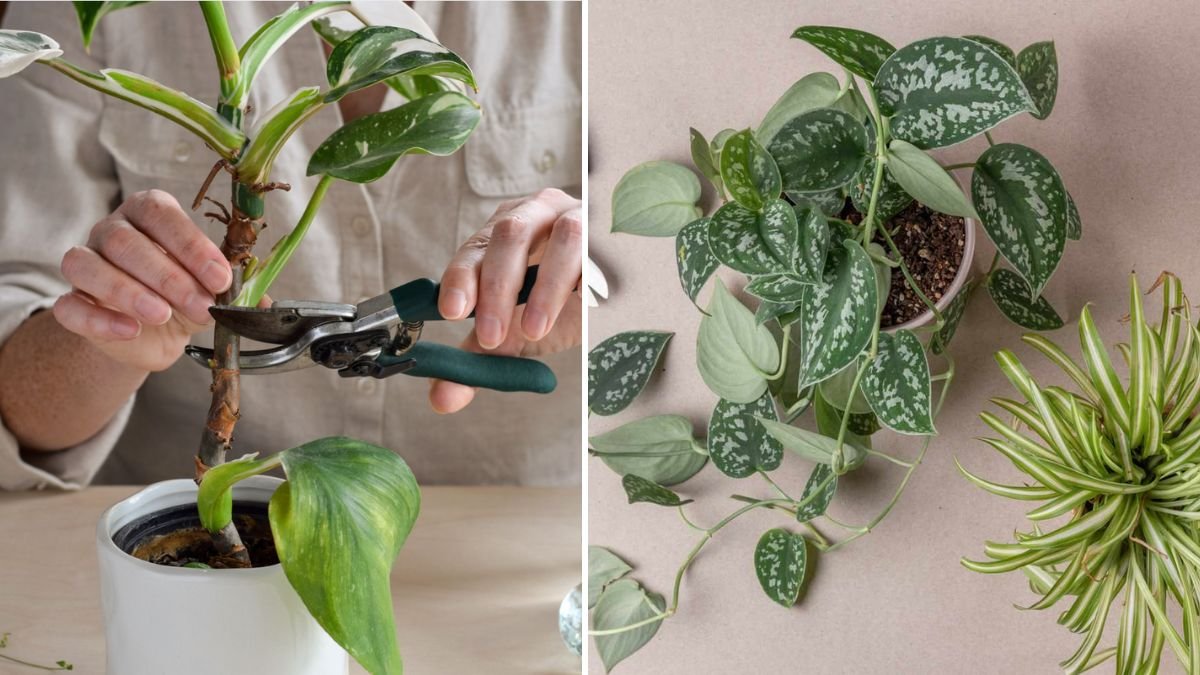
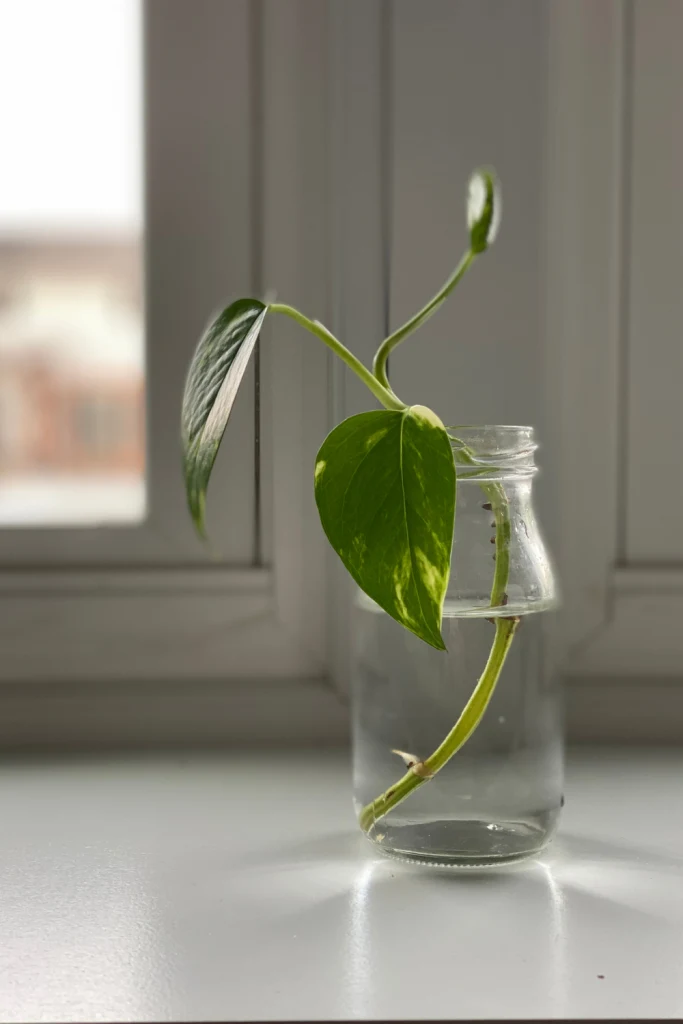
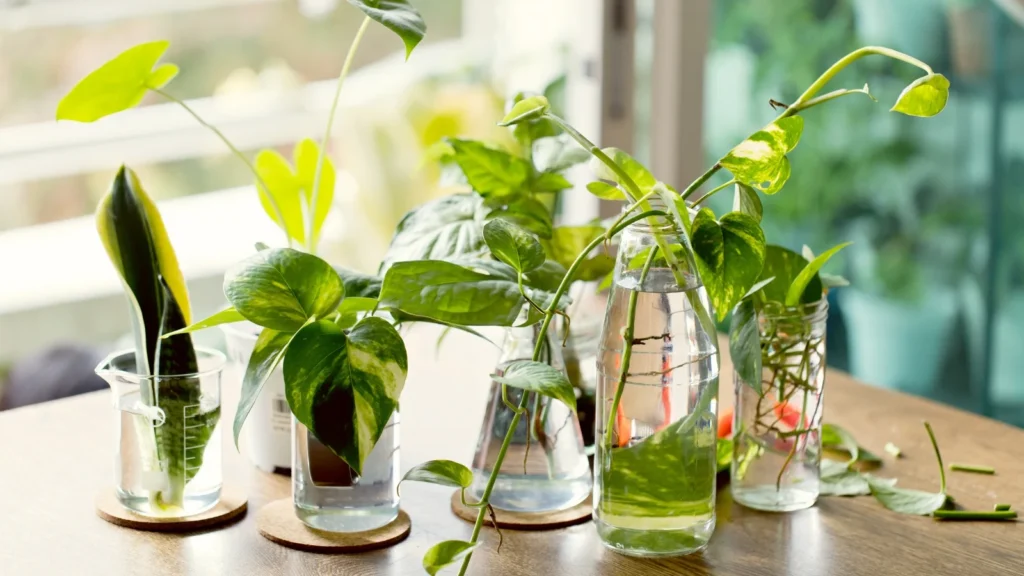
4. Vegetative Propagation (Stem or Root Cuttings)
Vegetative propagation is effective for mil plants that do not produce viable seeds easily. This method produces clones of the parent plant.
Step 1: Selecting Cuttings
- Choose healthy stems or roots with 2–3 nodes.
- Avoid weak, damaged, or diseased sections.
Step 2: Preparing Cuttings
- Trim excess leaves to reduce moisture loss.
- Dip cut ends in rooting hormone to stimulate root growth.
Step 3: Planting Cuttings
- Insert cuttings into well-draining soil or sand.
- Maintain high humidity using a plastic cover or mini greenhouse.
- Keep in partial shade until new growth appears.
Step 4: Monitoring Growth
- Roots should develop within 2–4 weeks.
- Once established, gradually acclimate to full sunlight.
Secret Advantage: Vegetative propagation ensures uniform plant quality and preserves desirable traits from the parent plant.
5. Air Layering Method
For plants that are difficult to propagate from cuttings, air layering can be a highly effective method:
Steps for Air Layering
- Select a healthy branch.
- Make a small wound or strip bark to expose the cambium.
- Apply rooting hormone to the wounded area.
- Wrap with moist sphagnum moss and cover with plastic.
- Roots typically develop in 4–8 weeks, after which the branch can be cut and planted.
New Idea: Add natural growth boosters like coconut water or seaweed extract to the moss to accelerate root formation.
Secret Advantage: Produces strong, independent plants while still nourished by the parent.
6. Soil and Fertilization Tips for Propagated Plants
Healthy soil is essential for successful propagation:
- Use loamy, well-draining soil enriched with organic compost.
- Avoid heavy clay or waterlogged areas.
- Fertilize lightly with NPK 10:10:10 for balanced growth.
- Supplement with organic fertilizers like vermicompost or neem cake.
Secret Advantage: Well-nourished soil promotes vigorous root and shoot development, increasing survival rates.
7. Watering and Humidity Management
Proper watering is critical during propagation:
- Keep soil consistently moist but not soggy.
- Avoid overhead watering to reduce fungal infections.
- Use misting or humidity domes for cuttings and air-layered plants.
- Gradually reduce humidity once roots are well-established.
Secret Advantage: Maintaining optimal moisture prevents stress, ensures faster rooting, and promotes healthy growth.
8. Pest and Disease Management
Propagated plants are vulnerable to pests and diseases:
- Inspect cuttings, seeds, and parent plants for insects.
- Use natural remedies like neem oil, garlic extract, or mild soap sprays.
- Ensure good airflow to prevent fungal diseases.
- Remove any infected plant material immediately.
Secret Advantage: Healthy, pest-free plants have higher survival rates and grow stronger.
9. Transplanting Propagated Plants
Once propagated plants are well-rooted:
- Harden them by gradually exposing to sunlight.
- Prepare the planting site with well-draining soil.
- Plant at proper spacing to allow for growth.
- Water gently and mulch around the base to conserve moisture.
Secret Advantage: Careful transplanting reduces shock, ensuring strong establishment and rapid growth.
10. Benefits of Using Modern Propagation Techniques
Using innovative propagation methods provides several benefits:
- Faster plant growth and fruiting (for fruiting plants)
- Higher survival rates compared to traditional methods
- Uniform, healthy plants with desirable traits
- Ability to propagate difficult-to-grow species
- Efficient use of garden space and resources
Whether growing for home gardens, landscaping, or commercial purposes, modern propagation ideas make plant multiplication more reliable, sustainable, and productive.
Conclusion: Mastering the Art of Propagating Mil
Propagating mil or any plant requires a combination of healthy starting material, proper technique, and attentive aftercare. By exploring new propagation ideas—including seed treatment, stem cuttings, air layering, and modern soil management—you can multiply plants efficiently, enjoy stronger growth, and increase your garden’s productivity.
Adopting these techniques ensures your garden thrives with healthy, resilient plants that are ready to flourish season after season. Whether you are a beginner or an experienced gardener, these methods provide the tools, tips, and confidence to successfully propagate your favorite plants.