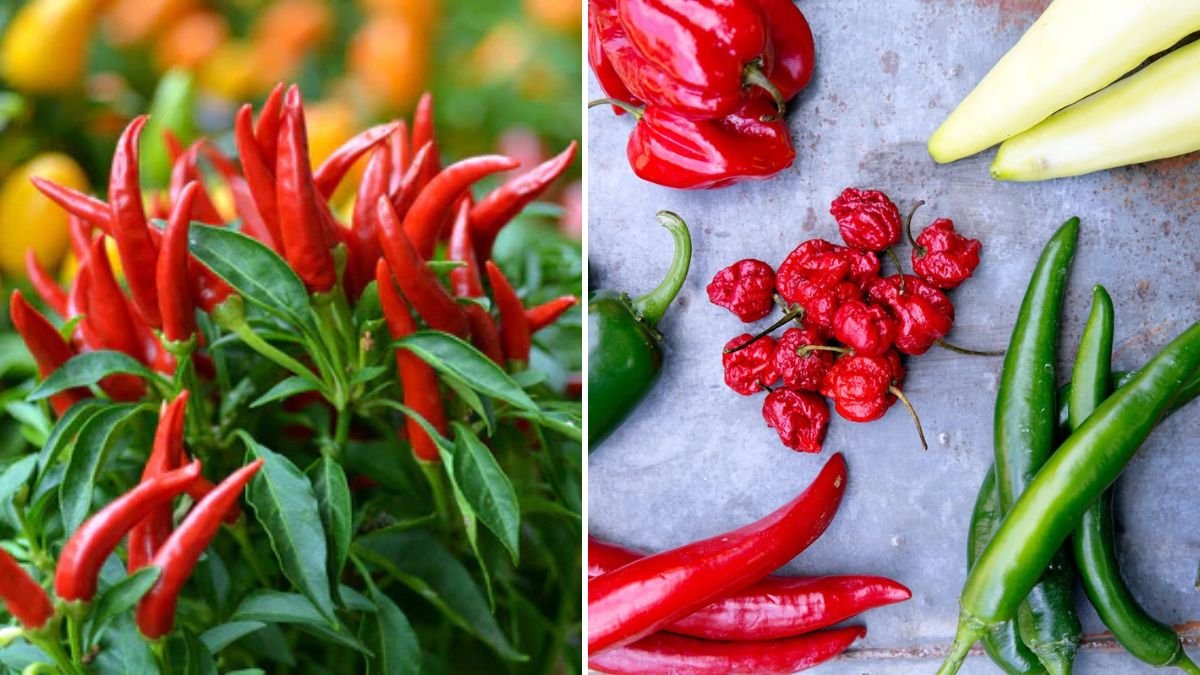
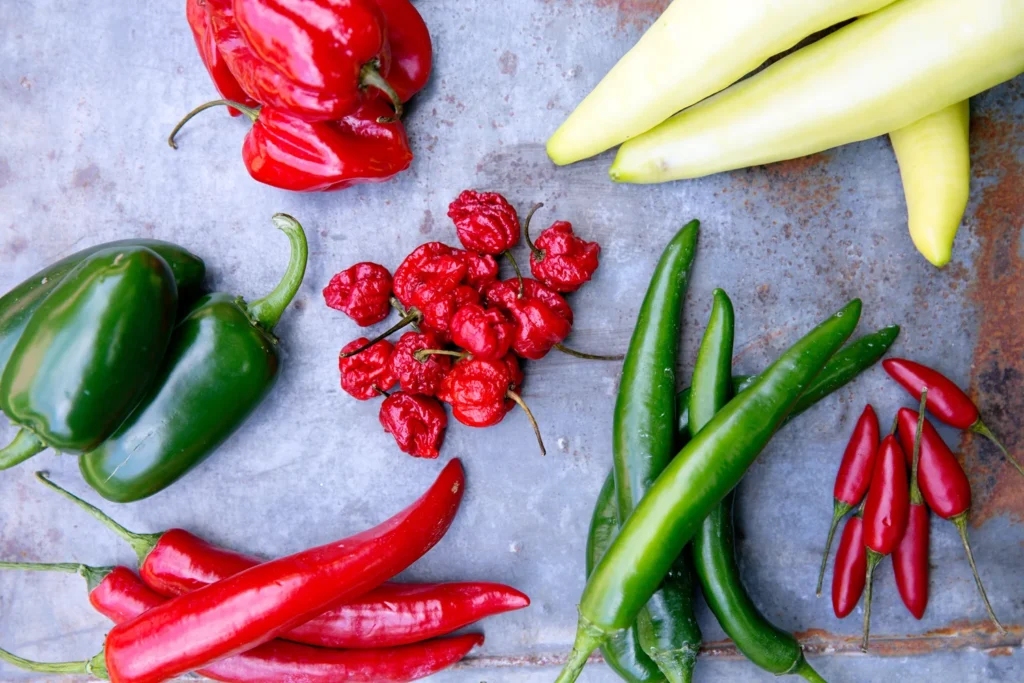
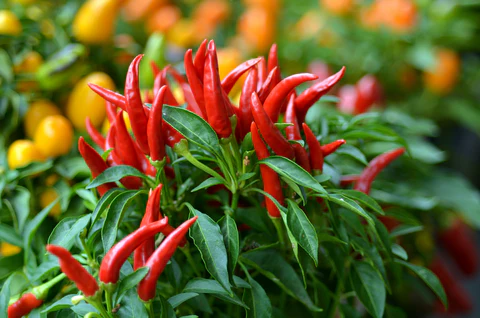
Chili plants are among the most rewarding crops for home gardeners. Their spicy kick, vibrant colors, and endless culinary uses make them an essential ingredient in every kitchen. But growing chilies successfully requires more than just planting seeds. To achieve faster growth, stronger plants, and heavier yields, gardeners are now exploring new and advanced ideas for propagating chili plants.
This article will reveal innovative, practical, and highly effective methods to multiply chili plants with excellent success rates. Whether you’re a beginner or an experienced gardener, these propagation techniques will help you grow more chilies with less effort.
Why Look for New Propagation Ideas?
Traditional chili propagation relies mainly on seeds. While this method works, it comes with challenges:
- Seeds take longer to grow
- Germination may be low
- Seedlings are weak in cold or rainy seasons
- Disease-prone varieties spread through seeds
- Delayed flowering and fruiting
This is exactly why gardeners are turning to innovative techniques that ensure:
🌿 Faster rooting
🌿 Healthier, stronger plants
🌿 Early fruiting
🌿 True-to-type chili varieties
🌿 High survival rate
Let’s explore the most powerful new ideas that transform chili propagation.
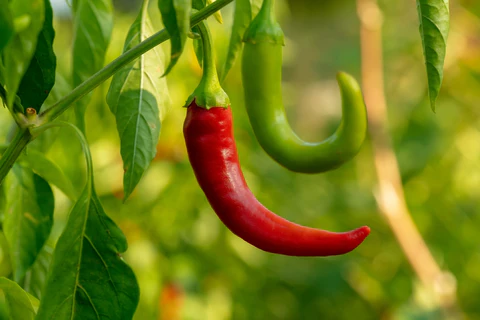
New Idea 1: Propagating Chilies from Cuttings (Fast & Reliable)
Most people don’t know that chilies can be propagated from cuttings, just like mint or basil. This is one of the fastest-growing trends among gardeners.
Why cuttings are amazing:
- Root in 10–15 days
- Produce fruit much faster than seed-grown plants
- Maintain the exact characteristics of the parent plant
- High success rate with minimum care
How to take chili cuttings:
- Choose a healthy chili plant with strong branches.
- Select a 4–6 inch softwood branch with 3–4 leaf nodes.
- Cut at a slant just below a node.
- Remove lower leaves to reduce moisture loss.
- Dip the end in rooting hormone (optional but effective).
- Plant in coco peat, sand, or light soil.
- Keep in a shaded area and mist lightly every day.
Within two weeks, new roots appear.
Within one month, your new chili plant begins growing vigorously.
New Idea 2: Water Propagation (Root Chilies in a Glass!)
A trendy, simple, and fun way to grow chili plants is using water propagation.
Steps:
- Take a fresh chili cutting.
- Remove lower leaves.
- Place the cutting in a glass of clean water.
- Keep only one node under water.
- Place the glass in bright but indirect light.
- Change water every 3–4 days.
Roots grow in 7–12 days, making this one of the quickest and cleanest propagation methods.
Benefits:
- Super fast rooting
- No soil disease
- Easy to monitor root development
- Great for beginners
Once roots become 2–3 cm long, transfer the cutting to potting mix.
New Idea 3: Air Layering Small Chili Plants (Surprising but Effective!)
Most people think air layering is only for big fruit trees. But this technique works wonderfully for chilies, especially woody or older chili plants.
Why air layering works well for chilies:
- High success rate
- Produces faster fruiting plants
- Great for reviving old plants
How to air-layer a chili plant:
- Choose a thick, mature stem.
- Gently remove a ring of bark (1 cm wide).
- Apply rooting hormone on the exposed surface.
- Pack moist coco peat around the area.
- Wrap tightly with plastic.
- Cover with aluminum foil or cloth.
Roots appear in 15–25 days.
Cut the branch and plant it separately—this produces a strong, fast-growing plant.
New Idea 4: Propagating Chilies From Fallen or Broken Branches
A highly underrated method!
If strong wind or pruning breaks a healthy chili branch, don’t throw it away.
Broken stems can root quickly—even faster than normal cuttings because:
- The branch was already mature
- Natural hormones increased during breakage
- The node activation has already begun
Simply plant the broken branch in moist soil, and you’ll have a new plant in no time.
New Idea 5: Node Activation & Hormone Boost Method (Advanced Technique)
This method works extremely well for both cuttings and seedlings.
How it works:
- Select a healthy branch.
- Slightly scratch the area near the node with a knife.
- Apply a small amount of rooting hormone gel.
- Plant the cutting or perform air-layering.
This activates dormant buds and accelerates root production.
Result:
- Roots grow faster
- Plants establish quickly
- Higher survival rate
Professional growers commonly use this method to produce large numbers of chili saplings.
New Idea 6: Propagating Chilies in Coco Peat Pellets (Grow Like a Nursery)
Nurseries around the world now use coco peat pellets for fast and clean propagation.
Why coco pellets work better:
- Sterile, disease-free growing medium
- Excellent water retention
- Perfect aeration for root development
- No transplant shock
Steps:
- Soak pellets in water.
- Insert chili cuttings or seeds.
- Keep in a warm tray or mini greenhouse.
Roots fill the pellet in 10–15 days, after which your plant is ready for transplanting.
New Idea 7: Propagating Chilies From Side Shoots (Suckers)
Chili plants often produce small side shoots near the base. Instead of removing them and throwing them away, you can use them for propagation.
Benefits:
- Side shoots root extremely fast
- They grow vigorously
- They mature earlier than seedlings
Simply cut the shoots with a sharp blade and plant them immediately in moist medium.
Best Time to Try These New Propagation Ideas
The ideal seasons for chili propagation are:
- Early summer (February–April)
- Monsoon start (June–July)
- Post-monsoon (September–October)
Avoid extremely cold months, as chilies grow slowly in low temperatures.
Post-Propagation Care: How to Make Your New Chili Plants Thrive
Once you have successfully propagated your chili plants, proper care ensures they grow healthy and strong.
✔ Watering
- Keep soil moist, not soggy
- Water early morning
✔ Sunlight
Chilies love the sun—6 hours daily is ideal.
✔ Fertilizer
Feed your new plants with:
- Vermicompost
- Seaweed extract
- Cow dung water
- Banana peel fertilizer
✔ Pest Prevention
Spray neem oil every 10–12 days to prevent:
- Aphids
- Whiteflies
- Thrips
- Mites
✔ Pruning
Remove yellow leaves and lower branches for better airflow.
When Will the Propagated Chili Plants Start Fruiting?
The fruiting time depends on the propagation method:
| Propagation Method | Time to First Harvest |
|---|---|
| Seed | 80–120 days |
| Cuttings | 45–60 days |
| Air layering | 35–55 days |
| Side shoots | 40–65 days |
As you can see—new propagation ideas significantly shorten fruiting time.
Conclusion: New Ideas for Propagating Chilies Can Transform Your Garden
Growing chilies is more exciting and rewarding when you try innovative propagation techniques. Methods like cuttings, water rooting, air-layering, node activation, and side-shoot propagation offer: