Plant propagation is the foundation of successful gardening and farming. Whether you are growing fruits, vegetables, or ornamental plants, the method you use to propagate plants directly affects their growth, yield, and survival rate. Traditional techniques like seed sowing, cuttings, and grafting have served gardeners well for centuries. However, modern horticultural research and innovative practices have introduced a new technique that is revolutionizing plant propagation, making it faster, more reliable, and more productive.
In this guide, we will explore the new technique for plant propagation, its advantages, step-by-step instructions, applications, and expert tips. By following these methods, you can grow strong, healthy plants that bear fruit or flowers earlier and withstand environmental stresses better than ever before.
Why a New Propagation Technique Is Needed
Traditional propagation methods often face several challenges:
- Slow growth: Seed-grown plants take longer to mature.
- Low success rate: Cuttings and grafts can fail if not done correctly.
- Inconsistent quality: Seed propagation does not always produce plants identical to the parent.
- Vulnerability to disease: Improper propagation increases susceptibility to pests and pathogens.
The new propagation technique addresses these challenges by combining modern scientific insights with practical gardening methods. It enhances root development, speeds up establishment, and improves plant survival, ensuring a higher yield and healthier plants.
Understanding the New Propagation Technique
The new technique is called “Root-Boosted Node Activation”, and it works for a wide variety of plants, including fruit trees, vegetables, herbs, and ornamental species. The principle is simple:
- Activate dormant nodes or growth points on a branch or stem.
- Enhance root formation using natural growth promoters and controlled moisture.
- Encourage faster establishment while the plant remains attached to the parent or in a protective rooting environment.
This technique can be applied in air-layering, cuttings, grafting, or even seedling enhancement, making it highly versatile.
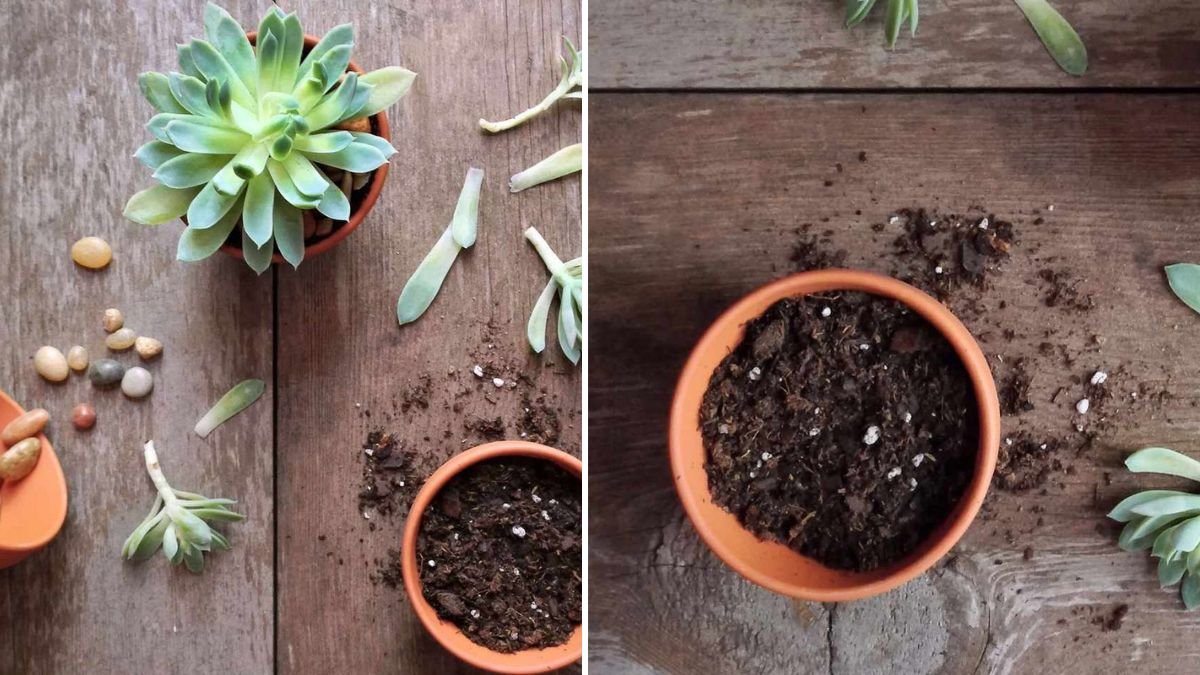
Materials Needed
You don’t need expensive tools. Here’s what you’ll need:
- Healthy parent plant or branch
- Sharp knife or pruning blade
- Rooting hormone (natural or commercial)
- Moist coco peat, sand, or compost mix
- Plastic wrap or air-layering material
- Tape or jute rope
- Spray bottle for misting
- Labels for tracking plants
With these simple materials, you can apply the new technique successfully in home gardens or farms.
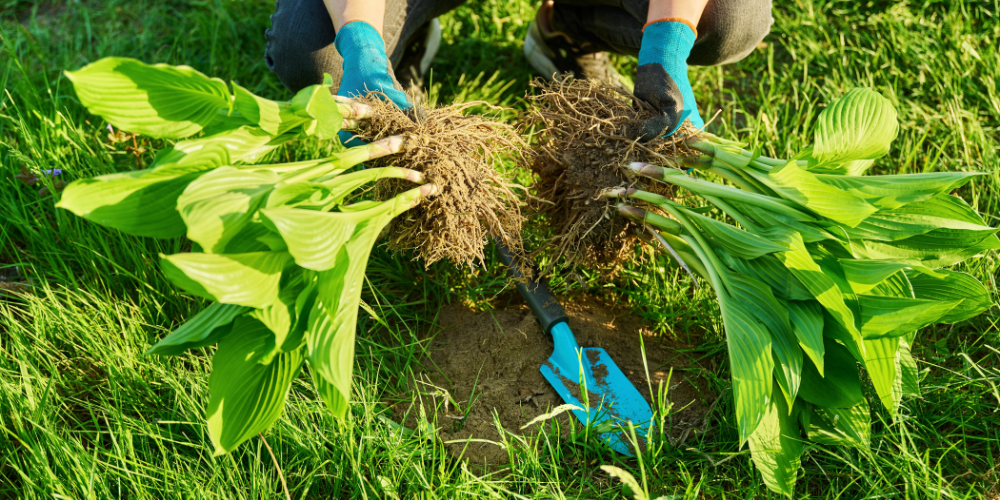
Step 1: Choose the Right Parent Plant
For best results, select a healthy plant free from:
- Diseases
- Pests
- Weak or damaged branches
Choose branches or stems that are semi-hardwood, with visible nodes or buds. For herbaceous plants, pick young but mature stems that are flexible and green.
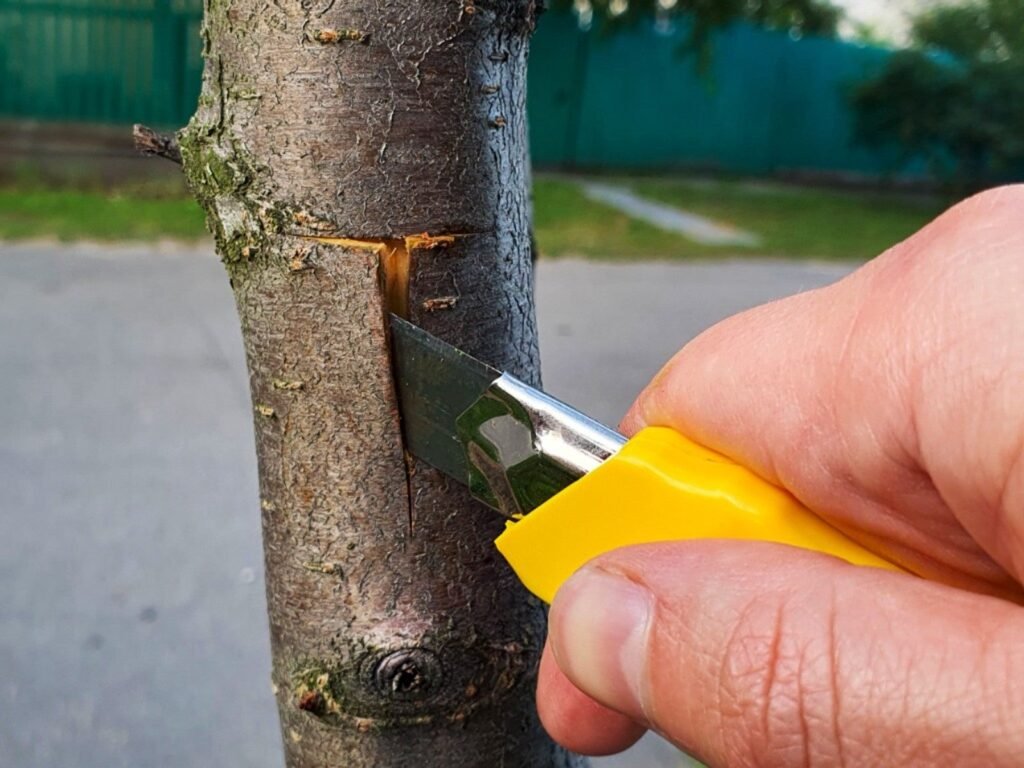
Step 2: Activate the Nodes
Node activation is the secret behind this new technique. It stimulates growth and root formation naturally.
How to Activate Nodes:
- Make a small incision or scrape the area near a bud or node.
- Apply a small amount of rooting hormone or natural growth promoter (like aloe vera gel or honey).
- Keep the node protected and moist using a rooting medium.
This step ensures that the plant redirects energy to that point, forming new roots or shoots faster.
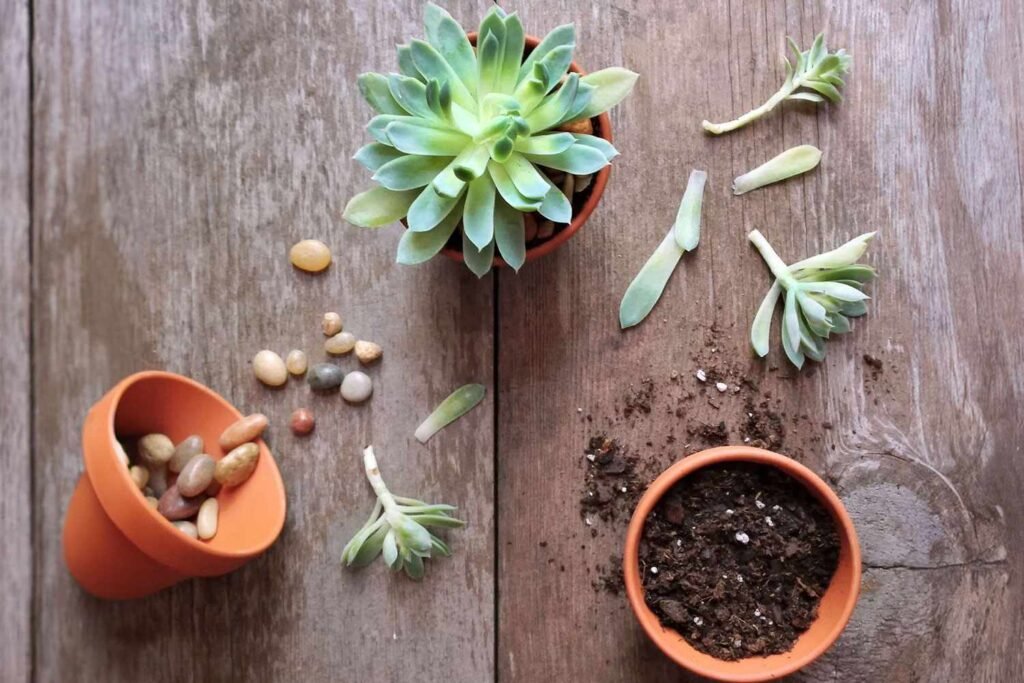
Step 3: Prepare the Rooting Medium
A healthy rooting environment is crucial. Use a moist, aerated medium such as:
- 40% coco peat
- 40% river sand
- 20% compost or vermicompost
The medium should retain moisture but drain excess water, preventing rot.
Tips:
- Sterilize sand or compost if possible to avoid fungal infection.
- Moisten the medium before applying to the plant.
Step 4: Apply the Technique to Different Propagation Methods
The new technique can be adapted to several propagation methods:
1. Air-Layering
- Select a branch with active nodes.
- Activate nodes using a small cut and hormone.
- Wrap the node with moist coco peat and cover with plastic.
- Roots appear in 3–6 weeks.
- Cut and plant once roots are well-formed.
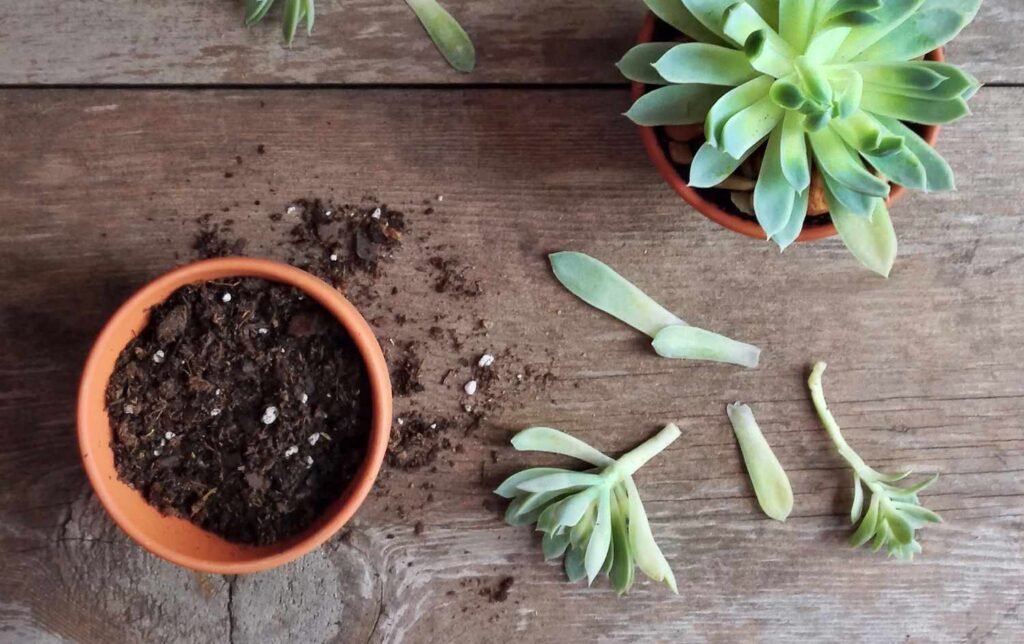
2. Cuttings
- Take a 4–6 inch stem cutting with 2–3 nodes.
- Activate nodes by scraping and applying hormone.
- Plant in coco peat or sand mixture.
- Mist regularly until roots develop.
3. Grafting
- Prepare scion and rootstock.
- Activate nodes near the graft union to improve compatibility.
- Wrap and protect until the graft heals and new growth appears.
4. Seedling Enhancement
- Apply hormone or natural growth boosters near emerging nodes on young seedlings.
- Helps seedlings establish faster and resist transplant shock.
Step 5: Maintain Proper Conditions
Moisture
- Keep the rooting medium consistently moist but not waterlogged.
- Mist cuttings or air layers daily in hot weather.
Light
- Bright but indirect sunlight is best during rooting.
- Avoid direct harsh sunlight for tender cuttings.
Temperature
- Maintain warm temperatures (20–30°C) for faster root growth.
- Avoid frost or cold drafts.
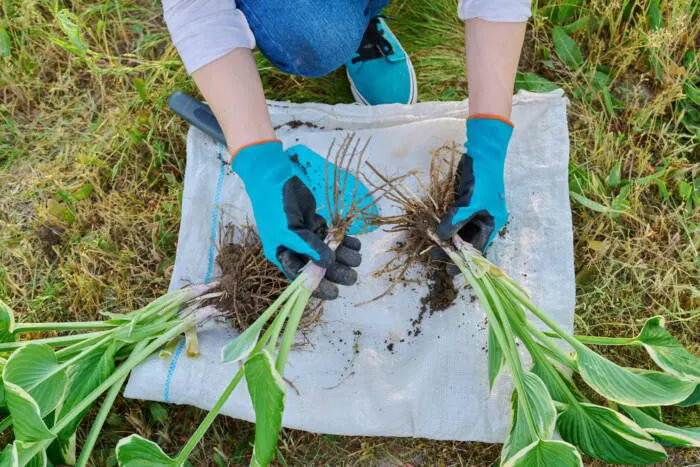
Step 6: Monitor and Transplant
After 3–6 weeks, check for root formation:
- For air-layered branches: roots should fill the medium.
- For cuttings: small white roots should appear at the activated nodes.
Once roots are well-developed:
- Gently remove the plant from the rooting medium.
- Plant in soil or pots with rich, well-draining compost.
- Water lightly and keep in semi-shade for 1–2 weeks.
- Gradually acclimatize to full sunlight.
Advantages of the New Technique
- Higher Success Rate: Root-boosted nodes increase survival.
- Faster Growth: Plants establish quickly and begin fruiting or flowering sooner.
- Stronger Plants: Dense, healthy roots improve stress tolerance.
- Versatile: Works for trees, shrubs, vegetables, and herbs.
- True-to-Type Plants: Maintains parent plant characteristics.
- Eco-Friendly: Minimal chemical use, relies on natural hormones and compost.
Common Mistakes to Avoid
- Using weak or diseased parent plants.
- Overwatering the rooting medium.
- Exposing delicate cuttings to harsh sun.
- Ignoring node activation.
- Wrapping too tightly, restricting growth.
Avoiding these errors improves your propagation success rate dramatically.
Expert Tips for Maximum Success
- Use fresh parent material; old or woody stems root slower.
- For air-layering, choose branches at least 1–2 years old.
- Apply natural growth boosters like aloe vera, honey, or seaweed extract.
- Monitor daily for pests or fungal growth.
- Label each propagation to track growth and timing.
Applications of This New Technique
This method is suitable for:
- Fruit trees: Mango, guava, lemon, jackfruit
- Vegetables: Chili, tomato, eggplant, pepper
- Herbs: Basil, mint, rosemary
- Ornamentals: Hibiscus, rose, bougainvillea
Its versatility makes it ideal for home gardeners, nurseries, and commercial farming.
Conclusion
The new technique for plant propagation—root-boosted node activation—is changing the way gardeners and farmers grow plants. It ensures faster rooting, healthier plants, higher success rates, and earlier yields. By following this method, you can:
- Grow plants faster
- Maintain parent plant traits
- Improve plant resilience
- Reduce losses due to pests or environmental stress
Whether you are propagating trees, vegetables, herbs, or ornamental plants, this innovative technique gives your garden a remarkable boost. Start experimenting today and experience a revolution in plant propagation like never before.