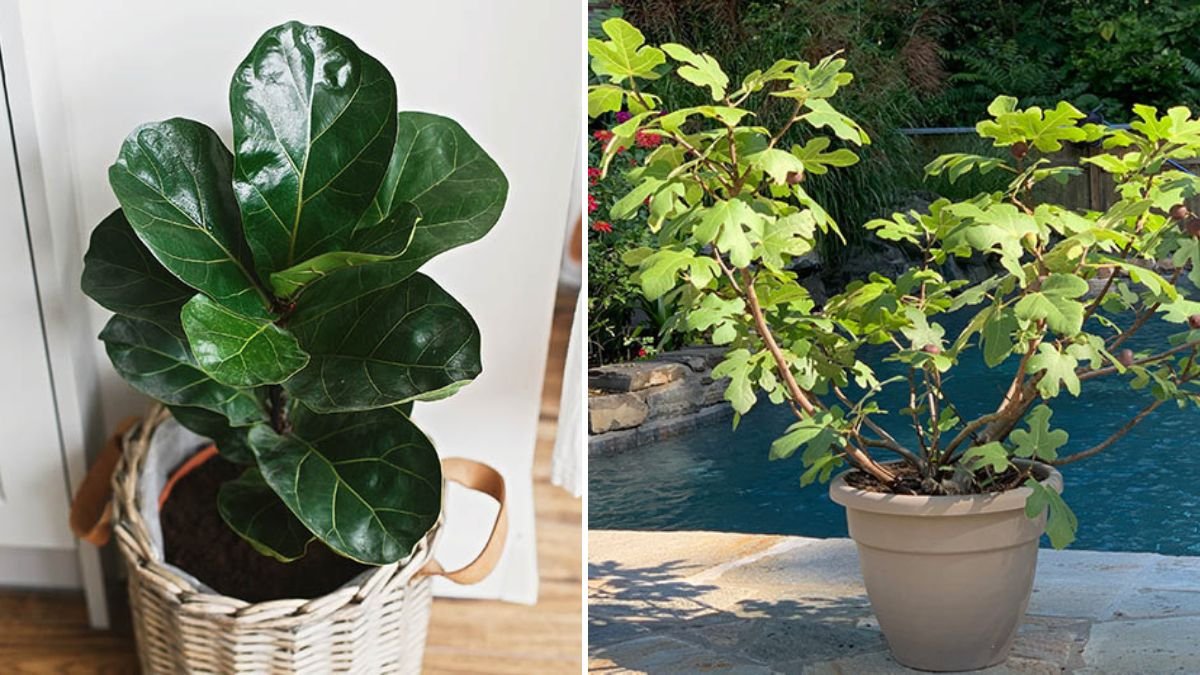
Fig trees are among the most rewarding fruit plants you can grow—delicious fruits, fast growth, tropical beauty, and the ability to thrive even in warm climates. But the real magic of fig trees lies in how easily they can be propagated. While many plants struggle to root from cuttings, fig trees respond incredibly well to air layering, making it the perfect technique for beginners and experts alike.
Air layering creates new plants from a mature branch without cutting it off first—meaning the new plant continues receiving food and water from the mother tree until it develops strong, independent roots. This results in a high success rate, faster growth, and a healthier young plant.
In this complete guide, you will learn step-by-step how to air layer a fig tree, the best time to do it, materials you need, care instructions, root development timeline, and how to transplant your new fig tree successfully. By the end, you’ll feel confident in propagating as many fig trees as you want—all from one healthy tree!
Why Choose Air Layering for Fig Trees?
Air layering is considered one of the most reliable methods of propagation for fig trees. Here’s why:
Higher Success Rate
Because the branch stays attached to the mother plant, it keeps receiving nutrients, preventing drying or shock.
Faster Results
Air-layered fig plants can root within 4–8 weeks, much faster than cuttings.
Stronger Root System
The roots formed through air layering are healthier and more developed when compared to cutting roots.
Clone of the Mother Plant
You get an identical copy of your fig variety—same fruit quality, size, taste, and plant behavior.
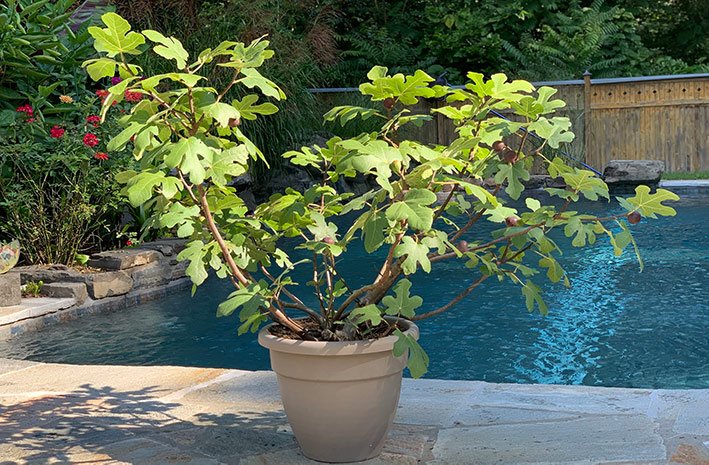
Grows Better in Any Climate
Figs are known for their adaptability; air-layered fig plants establish quickly even in pots or ground.
Materials You Need for Air Layering a Fig Tree
You don’t need anything fancy—simple household and garden materials are enough:
- Sharp knife or pruning blade
- A handful of moist sphagnum moss, coco peat, or soil
- Plastic wrap or transparent polythene
- Twine, tape, or zip ties
- Rooting hormone (optional but helpful)
- Foil or paper to cover the wrap
- Gloves and disinfectant (Optional)
These materials ensure proper moisture, support root growth, and protect the new roots from sunlight.
Best Time to Air Layer a Fig Tree
Air layering works best when the plant is actively growing.
Ideal Months:
- Spring (February–April)
- Early Monsoon (June–July)
- Late Summer (September)
Avoid doing air layering in peak winter or peak summer heat.
How to Choose the Right Branch for Air Layering
Picking the right branch makes the process easier and faster.
Choose a branch that is:
- Pencil-thick or slightly thicker
- Healthy and disease-free
- Flexible enough to handle
- 1–2 years old (semi-hardwood)
- Growing outward or upward
Avoid very young green stems or too old hard wood.
Step-by-Step Guide to Air Layering a Fig Tree
Here is the complete method in simple steps:
Step 1: Make a Clean Cut on the Branch
Pick the place where you want roots to form—usually 12–18 inches from the tip.
- Remove a thin ring of bark 1–1.5 inches wide all around the branch.
- Make sure to remove the green cambium layer to prevent the bark from reattaching.
- Keep the wood inside intact—do not cut through it.
This exposes the area where new roots will develop.
Step 2: Apply Rooting Hormone (Optional)
Dust the exposed area with rooting hormone powder or gel.
This increases success rate and speeds up root development.
If you don’t have rooting hormone, don’t worry—figs root extremely well even without it.
Step 3: Wrap the Area with Moist Growing Medium
Now cover the exposed ring with moist material:
- Sphagnum moss (best option)
- Coco peat
- Moist garden soil
- Combination of all
Make sure the medium is moist, not dripping wet.
- Hold a handful
- Squeeze
- Only one or two drops should fall
Too much water can cause fungus; too little prevents rooting.
Step 4: Cover Tightly with Plastic
Wrap the moss or soil with polythene or cling film so it stays in place.
- Seal the top and bottom tightly
- Use twine, string, or zip ties
This creates a mini greenhouse around the branch.
Step 5: Cover with Foil or Paper
Sunlight affects root development. Covering the plastic helps:
- Prevent overheating
- Keep moisture stable
- Encourage root growth in darkness
Use aluminum foil or newspaper.
Step 6: Wait and Check Root Formation
Air layering takes around:
- 4 weeks in warm climate
- 6–8 weeks in cool climate
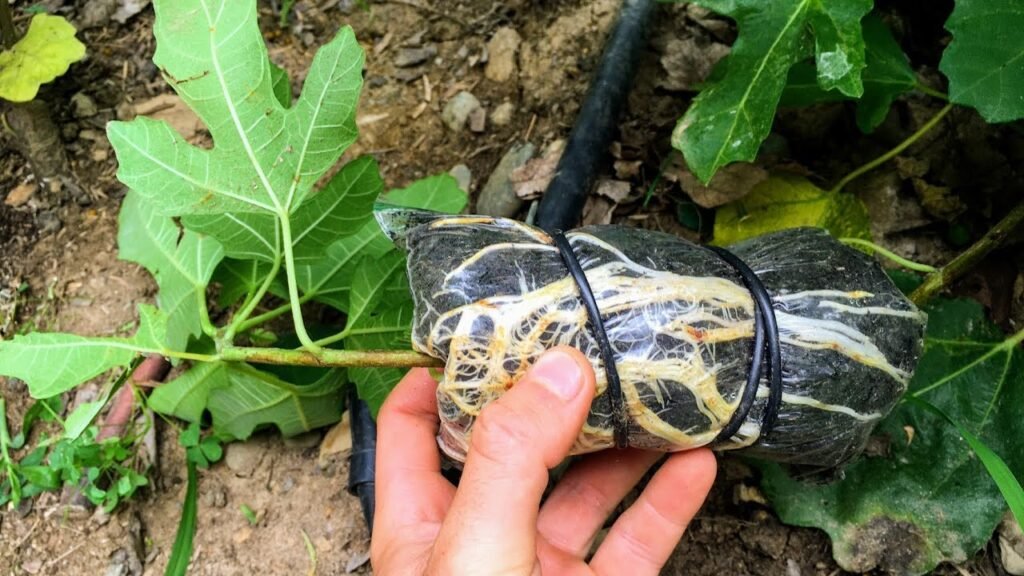
Check every 10–12 days:
- Squeeze the moss gently. If dry → re-moisten from the top.
- Do not open the wrap fully—just inspect through small gaps.
Roots will begin appearing as white or brown threads inside the wrap.
Step 7: Cut and Transplant the New Plant
Once roots are clearly visible and well-formed:
- Cut the branch 1 inch below the root ball.
- Carefully remove the foil and plastic without disturbing the roots.
- Plant the rooted branch in a pot containing light soil.
Best pot size: 10–12 inches
Best soil mix:
- 40% compost
- 30% sandy soil
- 20% coco peat
- 10% perlite
Water lightly and keep it in partial shade for the first 7–10 days.
🪴 Caring for the New Fig Plant After Air Layering
Your new air-layered fig plant is fragile at first. Proper care in the beginning ensures strong growth.
1. Keep in Shade First
After transplanting, keep the plant:
- Away from direct sun
- In bright, indirect light
- For 10–14 days
Gradually increase sunlight exposure.
2. Water Carefully
Do not overwater.
Water only when the top soil dries 1–2 inches.
Figs prefer a balance—not too wet, not too dry.
3. Add Organic Fertilizer After 30 Days
Use:
- Vermicompost
- Cow dung compost
- Bone meal
- Banana peel fertilizer
This gives the young plant healthy nutrients for fast growth.
4. Prune Lightly to Encourage Branching
After 2–3 months, pinch the growing tip to encourage side shoots.
This creates a bushy, productive fig tree.
5. Shift to a Bigger Pot or Ground Later
After 6–9 months:
- Roots will strengthen
- Plant will grow faster
- Leaves will enlarge
At this stage, shift the plant to a 16–20 inch pot or plant it in the ground.
Benefits of Air-Layered Fig Trees
Air-layered fig trees are:
Faster Fruiting
Fruit can appear in 1–2 years rather than 3–4 years like cuttings.
More Vigorous
Roots formed above ground are stronger and healthier.
Disease-Resistant
They inherit the resistance of the mother tree.
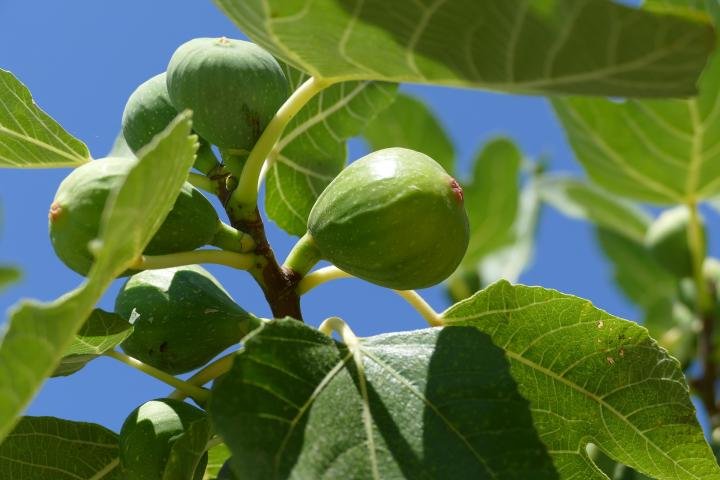
True-to-Type
Same fruit taste, size, and sweetness as the original tree.
Less Maintenance
Figs are naturally hardy, making them great for beginners.
Common Mistakes to Avoid
To ensure successful air layering, avoid:
❌ Using dry moss or soil
❌ Exposing the ring to sunlight
❌ Using very thin branches
❌ Opening the wrap too often
❌ Overwatering the new plant
❌ Air layering during winter
Avoiding these mistakes guarantees quicker and successful results.
Final Thoughts: Air Layering Is the Best Way to Multiply Your Fig Garden
Air layering is one of the easiest, fastest, and most effective techniques to propagate fig trees at home. With minimal effort and simple tools, you can turn one fig tree into many—each producing delicious fruits within a short time.
Whether you want to expand your home garden, share plants with friends, or grow fig trees commercially, air layering is the perfect method.
Start today, and within weeks, you’ll see roots forming—a magical transformation that every gardener loves to witness!