Growing pear trees in pots can be a rewarding experience, especially for those with limited outdoor spaces. With the right approach and care, you can enjoy delicious fruits right from your patio or balcony. This detailed guide will explore the essential steps to successfully grow pear trees in pots, including selecting the right variety, choosing the right pot, soil preparation, watering, fertilizing, pruning, and pest control.
1. Choosing the Right Variety
When growing pear trees in pots, it’s crucial to select dwarf or semi-dwarf varieties, as they are better suited for container growth. A few popular options include:
- Bartlett Pear: Known for its sweet, juicy flavor and excellent canning properties.
- Bosc Pear: Features a unique, elongated shape and a robust flavor.
- Anjou Pear: Popular for its smooth skin and creamy texture.
Choosing the right variety ensures that your tree remains manageable in size and produces high-quality fruit.
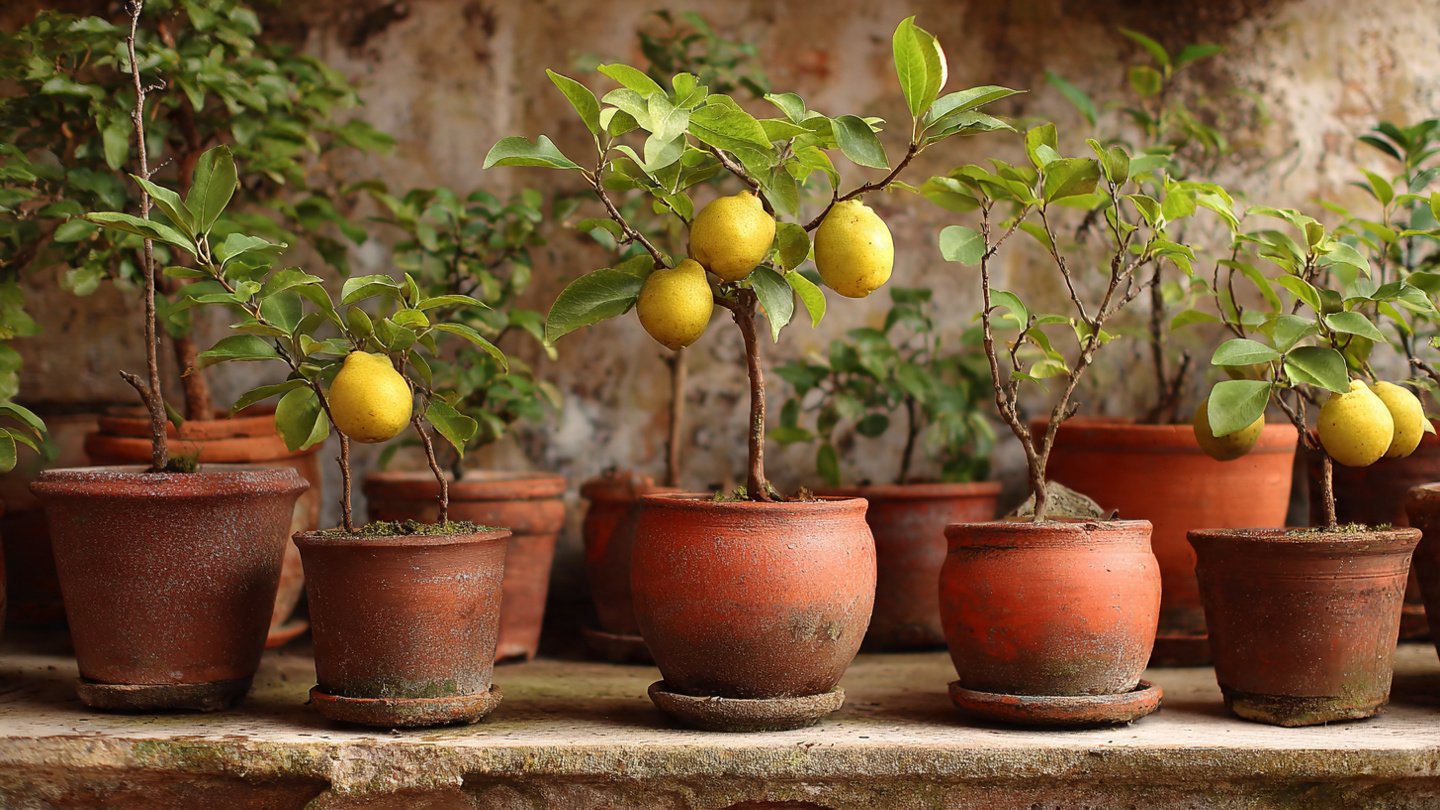
2. Selecting the Right Pot
The size and material of the pot play a significant role in your tree’s growth. Here are some factors to consider:
Pot Size
- Diameter: Aim for a pot that is at least 18 to 24 inches in diameter. This allows enough room for the root system to grow and thrive.
- Depth: Ideally, the pot should be at least 18 inches deep to accommodate the root system.
Pot Material
- Terracotta: This natural material is porous and allows for good airflow and drainage but can dry out quickly.
- Plastic: Lightweight and available in various sizes, plastic pots often retain moisture better but may not provide as much air circulation.
- Wood: Wooden pots offer insulation and can enhance the appearance of your garden but require more maintenance to prevent rot.
Drainage Holes
Ensure your pot has adequate drainage holes to prevent root rot. If the pot does not have holes, consider drilling some before planting.
3. Soil Preparation
The right soil mix is crucial for healthy pear tree growth. Pear trees prefer well-draining soil that retains moisture but does not become waterlogged. Here’s a simple recipe for a suitable potting mix:
- 1 part potting soil: Provides essential nutrients and a good texture.
- 1 part perlite or sand: Improves drainage and aeration.
- 1 part compost: Adds organic matter and nutrients to the soil.
Mix these components thoroughly to create a balanced growing medium for your pear tree.
pH Levels
Pear trees prefer slightly acidic to neutral soils (pH 6.0 to 7.0). You can test your soil pH using simple kits available at garden centers. If your soil is too acidic or alkaline, you can amend it using lime or sulfur, respectively.
4. Planting the Pear Tree
Once you’ve selected your pot and prepared the soil, it’s time to plant your pear tree. Follow these steps:
-
Fill Pot: Fill the pot with your prepared soil mix, leaving about two inches of space at the top for watering.
-
Prepare the Sapling: Remove the pear tree sapling from its nursery pot. Gently tease out any tightly bound roots to encourage them to spread in the new pot.
-
Planting: Place the sapling in the center of the pot, ensuring that the root collar (where the stem meets the roots) is level with the soil’s surface. Fill in around the roots with more soil, pressing down gently to eliminate air pockets.
-
Water Thoroughly: Once planted, water the tree deeply until water drains out of the bottom holes. This helps settle the soil around the roots.
5. Watering
Proper watering is vital for the health of your pear tree. Here are some tips:
-
Frequency: Water your potted pear tree thoroughly when the top inch of soil feels dry. The frequency will vary depending on weather conditions, but typically, once a week is adequate during growing seasons.
-
Watering Method: Water deeply to encourage deeper root growth. Always check for drainage—if water pools on the surface, the pot may not have adequate drainage.
Signs of Overwatering or Underwatering
- Overwatering: Yellowing leaves and leaf drop.
- Underwatering: Wilting leaves and dry, brittle branches.
6. Fertilizing
Potted pear trees need regular fertilization to thrive, as nutrients in the soil are depleted faster in containers. Here’s how to do it:
Fertilizer Type
- Balanced Fertilizer: Use a slow-release, balanced fertilizer with an NPK ratio of 10-10-10 or 14-14-14.
Application Schedule
- Start fertilizing in early spring as the tree begins to grow.
- Apply fertilizer every 4 to 6 weeks during the growing season (spring and summer).
- Stop fertilizing in late summer to allow the tree to prepare for winter.
Application Method
- Apply the fertilizer evenly around the base of the tree, avoiding direct contact with the trunk.
- Water after application to help dissolve the fertilizer and carry nutrients to the roots.
7. Pruning
Pruning is essential for maintaining the shape and health of your pear tree. Follow these key steps:
When to Prune
- Best Time: Late winter or early spring is ideal as the tree is still dormant.
How to Prune
-
Remove Dead or Diseased Wood: Cut away any branches that are dead, damaged, or diseased to promote healthy growth.
-
Shape the Tree: Aim for a strong central leader and a well-spaced structure. Remove any crossing branches that may rub against each other.
-
Light Pruning: For container trees, avoid heavy pruning. Lightly trim to maintain size and shape.
8. Pest and Disease Control
Common pests affecting pear trees include aphids, spider mites, and fruit flies. To manage these threats:
Prevention
-
Regular Monitoring: Check your tree regularly for signs of pests or diseases.
-
Healthy Practices: Keep your tree healthy through proper watering, fertilizing, and pruning.
Treatment
- Insecticidal Soap: A safe option for controlling pests. Spray both the top and undersides of leaves.
- Neem Oil: Another effective organic option that also helps prevent fungal diseases.
9. Seasonal Care
Potted pear trees require seasonal care to thrive:
Winter Care
- Insulation: Move pots to a sheltered location in colder climates.
- Watering: Reduce watering in winter; ensure the soil doesn’t dry out completely.
Summer Care
- Check for Pests: More frequent inspections for pests since conditions are warmer.
- Consistent Watering: Ensure the tree receives enough water during hot weather.
FAQs
1. Can I grow pear trees indoors?
Yes, as long as you provide sufficient sunlight (at least six hours a day) and maintain proper care, you can grow pear trees indoors in pots.
2. What is the best time to plant a pear tree?
The best time to plant a pear tree is in the spring, after the last frost, or in the fall before the first frost.
3. How long does it take for a pear tree to bear fruit?
Typically, a pear tree will bear fruit within 3 to 5 years after planting, depending on the variety and growing conditions.
4. Do I need a second pear tree for pollination?
Many pear varieties are not self-pollinating, so planting a second compatible pear tree nearby can enhance fruit production.
5. How can I tell if my pear tree is healthy?
Healthy pear trees have vibrant green leaves, a robust structure, and produce flowers and fruit regularly. Look for signs of pests or diseases, such as discoloration or wilting.
6. Can I grow different tree varieties in the same pot?
It is not advisable to grow different varieties of pear trees in the same pot, as root competition can hinder their growth.
Conclusion
With the right care and attention, growing pear trees in pots can be a fulfilling endeavor. By following these simple steps for planting, watering, fertilizing, pruning, and managing pests, you can enjoy the process and ultimately reap the rewards of homegrown pears. Happy gardening!