Are you looking to add a flavorful and versatile ingredient to your kitchen? Shallots are a fantastic choice! Known for their mild onion flavor and hint of sweetness, shallots can elevate various dishes, making them a delight for culinary enthusiasts. Best of all, they are fairly simple to grow in your garden. In this article, we will guide you through the process of cultivating shallots, from selecting varieties to harvesting, with handy tips along the way.
What Are Shallots?
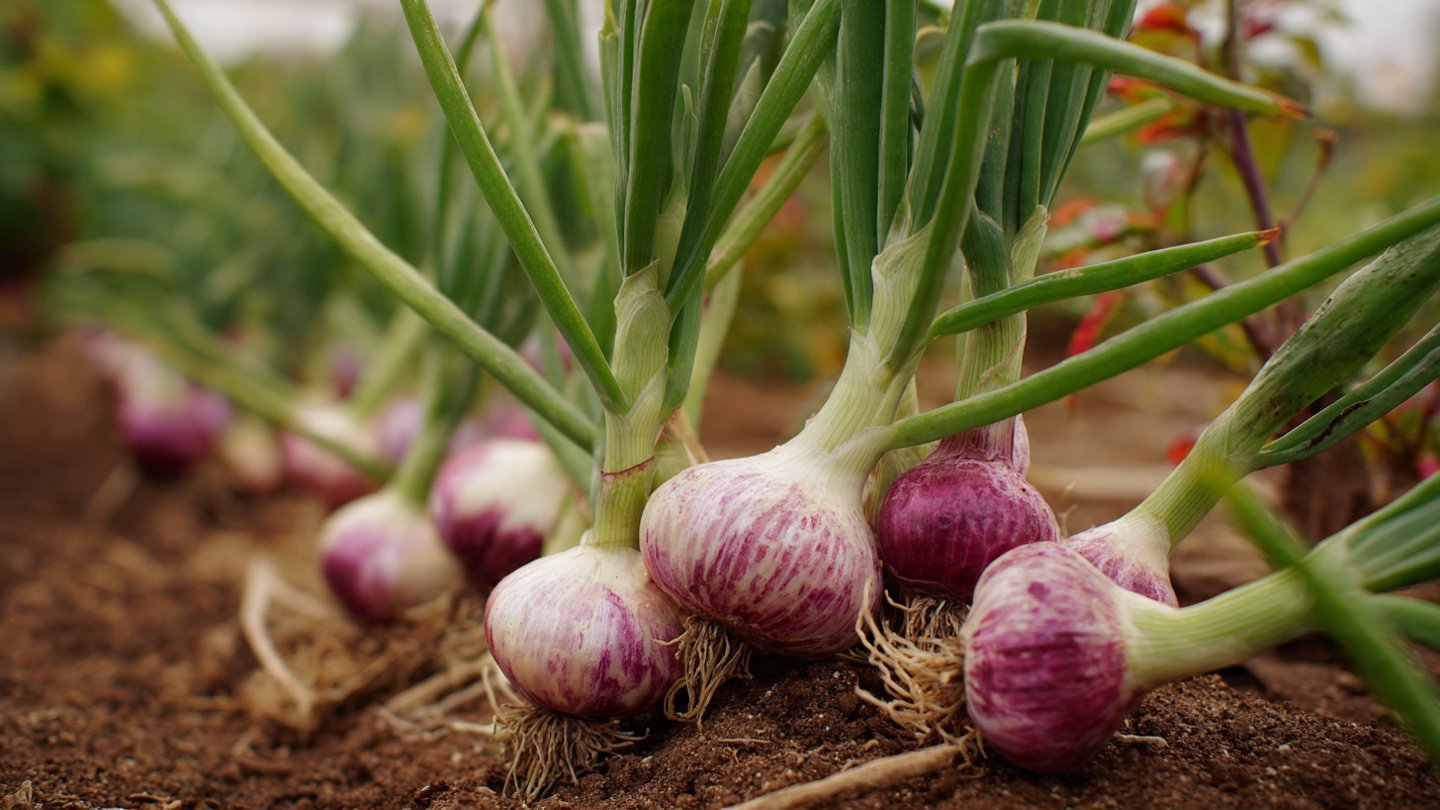
Shallots are a type of vegetable in the Allium family, which also includes onions, garlic, and leeks. They are characterized by their small, bulbous shape and delicate skin. Unlike onions, which can have a sharp flavor, shallots offer a milder, more complex taste, often described as a mix between garlic and onion.
Benefits of Growing Shallots
1. Culinary Versatility
Shallots can be used in a variety of dishes, from salad dressings and sauces to stews and sautés. Their subtle flavor enhances meals without overpowering other ingredients.
2. Health Benefits
Shallots are rich in antioxidants, vitamins, and minerals. They contain compounds that may help lower blood pressure and cholesterol levels as well as bolster the immune system.
3. Ease of Growth
Shallots are relatively easy to grow, making them a perfect choice for novice and experienced gardeners alike. They require minimal maintenance and can yield a bountiful harvest.
4. Space Efficiency
Shallots can be cultivated in small spaces, which is excellent for those with limited garden area or container gardening.
What You Need to Get Started
1. Location
Choose a well-drained, sunny spot in your garden. Shallots thrive in full sunlight, so find a location that receives at least 6 hours of direct sunlight each day.
2. Soil Preparation
Shallots prefer loose, fertile soil with a pH of 6.0 to 7.0. Improve your soil by adding compost or well-rotted manure to provide necessary nutrients. This will also enhance drainage and root growth.
3. Seeds or Sets
You can grow shallots from seeds, but using bulbs (often referred to as “sets”) is more common and easier for beginners. When selecting shallot bulbs, look for healthy, undamaged bulbs. Varieties such as French Grey, Yellow Shallots, and Jersey shallots are popular choices among gardeners.
Step-by-Step Guide to Cultivating Shallots
Step 1: Planting
The best time to plant shallots is in early spring or late fall. Here’s how to do it:
-
Prepare the Soil: Loosen the soil to about 12 inches deep and mix in compost.
-
Spacing: Plant shallot bulbs about 4-6 inches apart and 1-2 inches deep. If planting in rows, space them 12 inches apart.
-
Planting Angle: Place the pointed end of each bulb facing upwards to ensure proper growth.
Step 2: Watering
Shallots require consistent moisture, especially during their early growth stages. Water the plants thoroughly right after planting. Afterward, keep the soil evenly moist, but avoid overwatering as this can lead to rot. Aim for about 1 inch of water per week, either from rainfall or supplemental irrigation.
Step 3: Fertilizing
Shallots benefit from balanced fertilizers. About 4-6 weeks after planting, apply a balanced fertilizer (like 10-10-10) according to the package directions to encourage healthy growth. Avoid over-fertilization, especially with nitrogen, as this can lead to excessive leaf growth with less bulb development.
Step 4: Weeding
Weeds compete for nutrients and water, so keep the area around your shallots free from weeds. Hand-pulling or shallow hoeing is effective, but be careful not to disturb the shallow roots of the shallots.
Step 5: Pest and Disease Management
While shallots are generally hardy, they can be susceptible to pests like onion maggots and diseases like downy mildew. Monitor your shallots regularly and remove any affected plants immediately. Companion planting with marigolds or using floating row covers can deter pests.
Step 6: Harvesting
Shallots are typically ready to harvest when the tops begin to yellow and fall over, usually around 90-120 days after planting, depending on the variety.
-
Harvest Timing: It’s important to harvest them when the tops start to die back instead of waiting too long, which can lead to rotting.
-
Digging Up: Use a garden fork to gently lift the bulbs from the soil, being careful not to bruise them.
-
Curing: Let the harvested shallots cure in a dry, well-ventilated area out of direct sunlight for about two weeks. This helps to develop their flavor and extend shelf life.
Step 7: Storage
Once cured, store shallots in a cool, dry place. They can be kept for several months if stored correctly. Avoid placing them in plastic bags; instead, use mesh bags or crates to allow for air circulation.
Frequently Asked Questions (FAQs)
1. When is the best time to plant shallots?
Shallots can be planted in early spring or late fall. In warmer climates, fall planting is ideal, while in cooler regions, spring is preferable.
2. Can I grow shallots in containers?
Yes! Shallots can be successfully grown in containers. Ensure the container is at least 12 inches deep and has good drainage. Use high-quality potting soil and water regularly.
3. How do I know when shallots are ready to harvest?
Shallots are ready to harvest when the tops begin to yellow and fall over. This usually occurs around 90 to 120 days after planting.
4. What pests or diseases should I watch for?
Common pests include onion maggots and thrips. Watch for signs of downy mildew and bulb rot as well. Crop rotation and good sanitation can help prevent these issues.
5. How can I increase my shallot yield?
To maximize your yield, plant healthy bulbs, maintain even moisture, and fertilize appropriately. Proper spacing also ensures that each bulb has enough room to grow to its full potential.
6. Can I plant shallots from the grocery store?
While it is possible to plant shallots purchased at the grocery store, it’s recommended to use certified shallot sets designed for planting. Grocery store bulbs may be treated with chemicals that prevent sprouting.
7. Can shallots be overwintered?
Yes, shallots can be overwintered in milder climates. Mulching around the plants can help protect them from extreme cold.
Conclusion
Growing shallots in your garden is a rewarding and straightforward endeavor that can enhance your culinary experiences. With their unique flavor and numerous health benefits, shallots are worth the effort. Whether you’re a seasoned gardener or just starting, following this guide will help you cultivate a successful shallot crop. Enjoy the satisfaction of harvesting your own shallots and bringing delicious meals to your table. Happy gardening!