Growing your own food has gained substantial popularity over the last few years, especially among those who want to save money and enjoy the freshest produce possible. One of the easiest and most rewarding plants to grow is spinach, which can thrive from kitchen scraps. This method is not only cost-effective but also sustainable, reducing waste and contributing to a greener environment. In this article, we’ll discuss how to grow spinach from kitchen scraps, tips for success, benefits, and a comprehensive FAQs section to answer your burning questions.
Why Spinach?
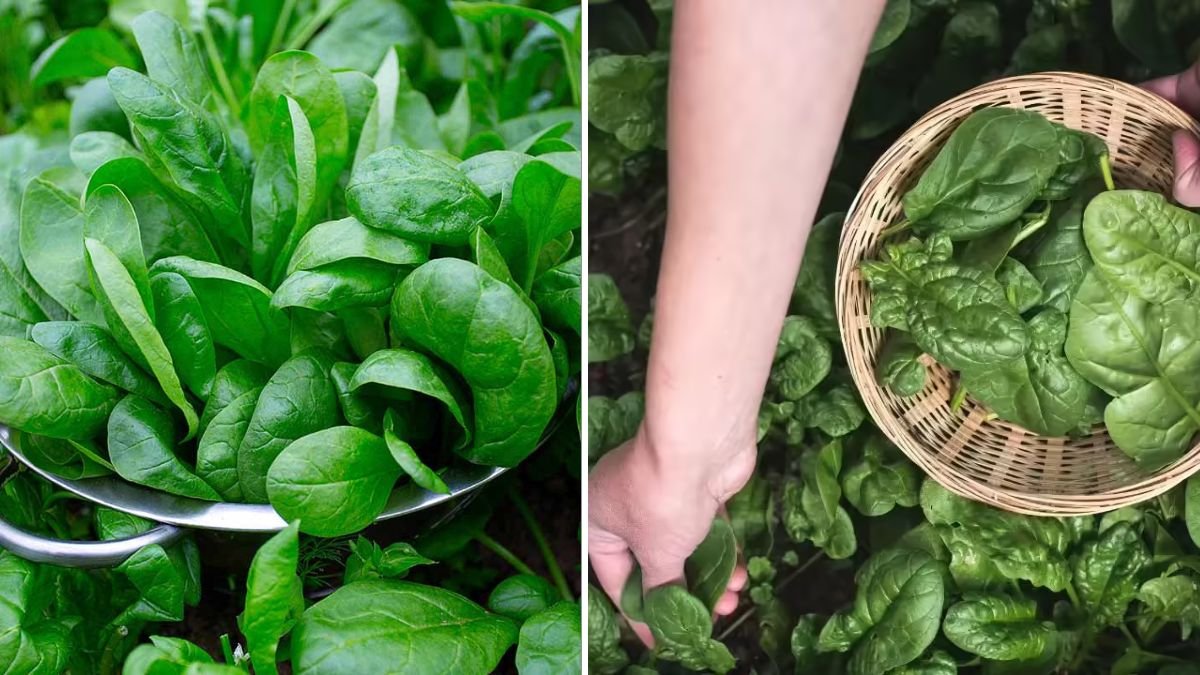
Spinach (Spinacia oleracea) is a highly nutritious leafy green vegetable, rich in vitamins A, C, and K, as well as iron, calcium, and other essential nutrients. Its versatility makes it a staple in various cuisines, from salads and smoothies to soups and stews. Moreover, spinach is relatively easy to grow and can be cultivated in small spaces, making it an excellent choice for gardeners of all skill levels.
What You Need to Get Started
Before diving into the process, gather the following materials:
-
Fresh Spinach Stems: Look for healthy, organic spinach stems with leaves attached. This is the primary ingredient.
-
Water: Essential for regrowing.
-
Container: Any container will work—this can be a small bowl, a glass of water, or a recycled plastic container. Make sure it allows for water retention.
-
Soil (optional): If you want to transplant your spinach later, consider using potting soil or garden soil.
-
Sunlight: Spinach thrives in partial to full sunlight, so a windowsill or outdoor space is ideal.
The Step-by-Step Guide to Growing Spinach from Kitchen Scraps
Step 1: Choose the Right Spinach
To ensure successful regrowth, select fresh organic spinach, preferably with roots or stem bases. You can buy spinach from a grocery store or farmer’s market, but ensure it’s not treated with chemicals that inhibit regrowth.
Step 2: Cut the Stems
Using a sharp knife or scissors, cut the spinach leaves, leaving about 2-3 inches of the stem. Make sure the cut is clean to promote successful healing and growth.
Step 3: Place in Water
Fill your chosen container with enough water to submerge the spinach stems. Place the cut ends into the water while ensuring the leaves remain above the waterline. This will prevent rot and promote healthy growth.
Step 4: Location, Location, Location
Put your container in a spot that receives bright indirect sunlight. A windowsill is usually perfect, but avoid placing it in direct sunlight for extended periods, as this may cause the leaves to wilt.
Step 5: Change the Water
To keep your spinach healthy, change the water every 2-3 days. This prevents bacterial growth and helps in supplying fresh nutrients to the plant.
Step 6: Watch for Growth
You should begin to see new growth in about a week! At this stage, tiny sprouts will start to emerge from the stems. As the spinach grows, you may notice that some leaves start to yellow; this is a natural part of the regrowth process.
Step 7: Transplant (optional)
Once your spinach has grown a healthy root system and new leaves (about 3-4 inches tall), you can transplant them into a pot with soil for further growth. Gently remove the stems from water and plant them vertically in the soil, covering the roots entirely. Water thoroughly after transplanting.
Step 8: Maintain Your Plants
Keep your spinach well-watered, but avoid overwatering, as this can lead to root rot. Ensure that your plants receive adequate sunlight—ideally, 4-6 hours per day. Spinach is a cool-weather crop, so it’s best to grow it in a temperate climate or during spring and fall in warmer areas.
Step 9: Harvest
When the leaves are healthy and vibrant, you can start harvesting. Use scissors to cut the outer leaves an inch or two above the base. This method allows the inner leaves to continue growing, and you’ll enjoy fresh spinach for weeks or even months!
Benefits of Growing Spinach from Kitchen Scraps
-
Cost-Effective: You save money by regrowing free food that would otherwise be discarded.
-
Freshness: Homegrown spinach tastes better, and you can enjoy it right from your kitchen.
-
Sustainability: Using kitchen scraps reduces waste and promotes a sustainable lifestyle.
-
Healthy Nutrition: Growing your own spinach ensures a pesticide-free environment, providing you with healthy and organic produce.
-
Fun and Educational: Growing plants can be a fun activity for kids and adults alike, teaching responsibility and the science behind plant growth.
-
Year-Round Growth: You can grow spinach indoors, making it possible to have fresh greens even in winter months.
Tips for Success
- Start Small: If you’re new to gardening, start with a few scraps before scaling up.
- Proper Lighting: Ensure your spinach gets the right amount of light. If sunlight is scarce, consider using grow lights.
- Be Patient: Growth may take a little time; patience is key when starting from scraps.
- Rotate Your Crops: If you’re using the same container, consider rotating with other leafy greens like lettuce or kale.
- Use a Compost Bin: Collect additional kitchen scraps to create compost for nutrient-rich soil in future plantings.
Common Pitfalls to Avoid
- Rotting Stems: Ensure that the leaves are above the waterline to prevent them from rotting.
- Insufficient Sunlight: If the spinach does not receive adequate light, it may become leggy and weak.
- Neglecting Water Changes: Regularly change the water to ensure a healthy regrowth environment.
FAQs
1. How often can I regrow spinach from scraps?
You can typically regrow spinach multiple times from the same stem. However, each regrowth will yield smaller amounts than the previous.
2. Can I grow spinach from store-bought spinach?
Yes, but ensure that the spinach is organic and free from chemical growth inhibitors, as these can affect the regrowth process.
3. How much light does spinach need?
Spinach thrives in bright, indirect sunlight for 4-6 hours a day. If you’re growing it indoors, consider a location near a window.
4. How can I tell when the spinach is ready to harvest?
Your spinach is ready to harvest when the leaves are vibrant and lush. Start cutting the outer leaves, allowing the inner leaves to continue growing.
5. Can I grow spinach in a small apartment?
Absolutely! Spinach can be easily grown in small pots or containers, making it perfect for apartments or small spaces.
6. What are the signs of overwatering or underwatering my spinach?
Overwatering can cause yellowing leaves and root rot, while underwatering often leads to wilting and dry leaves. Maintain a consistent watering schedule.
7. Can I grow spinach using other kitchen scraps?
Yes! Many vegetables can be regrown from scraps, including green onions, celery, and herbs. It’s a great way to make the most of your kitchen waste.
8. How long does it take for spinach to regrow from scraps?
Typically, you’ll notice growth within a week, and it may take a few weeks for the leaves to reach a harvestable size.
9. What type of soil is best for transplanting spinach?
A well-draining potting mix is ideal for spinach. You can also mix in compost for added nutrients.
10. Are there any pests I should watch for while growing spinach?
Common pests include aphids and slugs. Regular monitoring and organic pest control methods can help you manage any infestations.
Growing spinach from kitchen scraps is a rewarding and environmentally friendly practice that allows you to save money while enjoying fresh produce. With simple steps, patience, and care, you can cultivate this nutritious green right from your kitchen. Whether you’re new to gardening or a seasoned pro, this easy hack to grow fresh spinach is sure to add to your culinary delights!