Creating a stunning vertical wall using recycled wood is not just an eco-friendly project; it’s also a fantastic way to add character, warmth, and a unique aesthetic to your space. Recycled wood, with its rich history and natural beauty, offers endless possibilities for interior design. This comprehensive guide will walk you through the process of planning, sourcing, designing, and constructing your own vertical wall feature, ensuring it becomes a beautiful focal point in your home.
Why Choose Recycled Wood?
Eco-Friendly Choice
Using recycled wood minimizes waste and reduces the demand for new lumber, making it a sustainable choice. This not only benefits the environment but also often gives you access to unique wood types and textures that aren’t typically found in new timber.
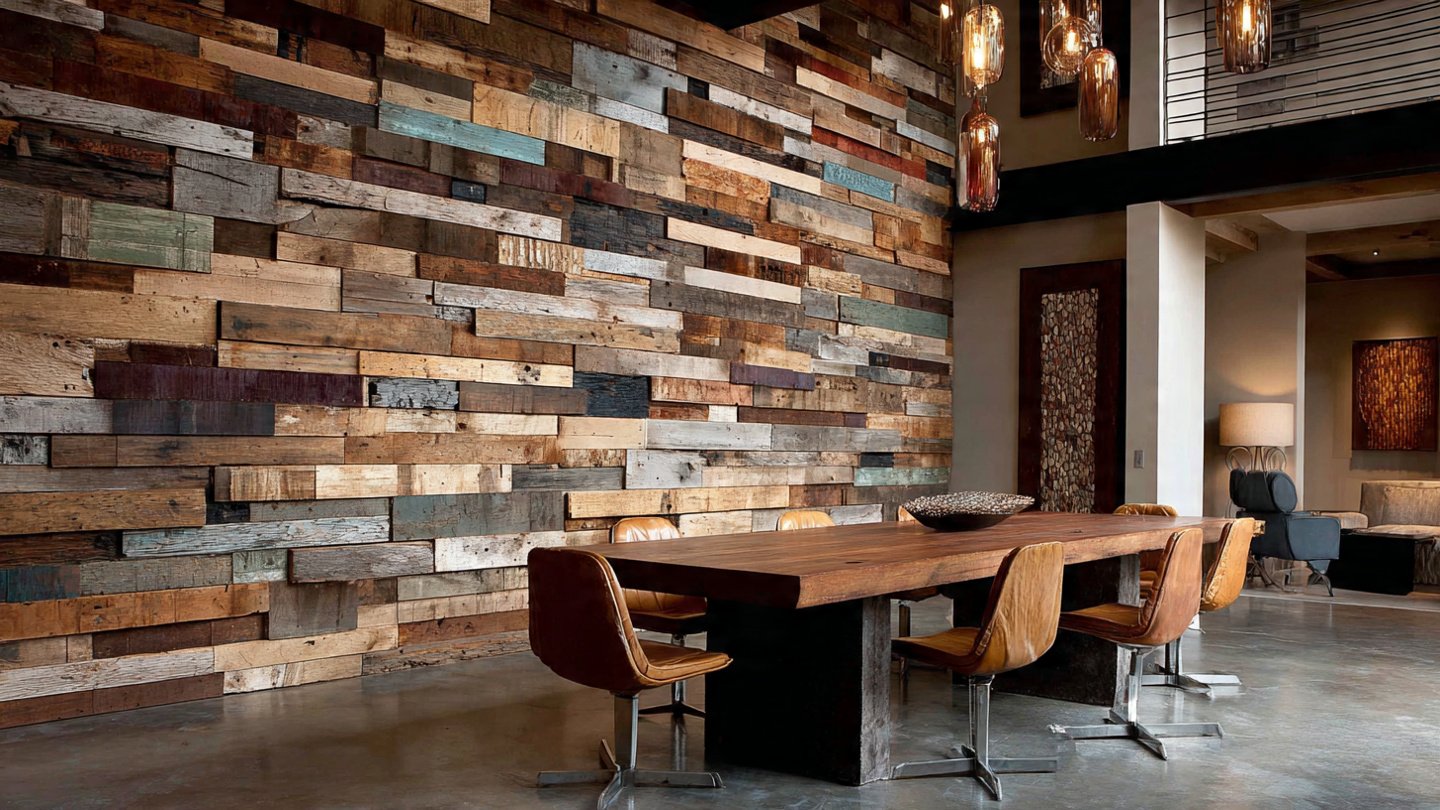
Unique Character and Aesthetics
Each piece of recycled wood carries its own stories, textures, and imperfections. These characteristics often add charm and depth to a vertical wall design, setting it apart from conventional walls treated with new, uniform materials.
Cost-Effective
Compared to purchasing new wood, recycled wood can be significantly more affordable. By rummaging through local reclamation yards, thrift stores, or even your own backyard, you may find high-quality wood at a fraction of the price.
Planning Your Project
Determine the Purpose of the Vertical Wall
Before starting your project, consider the purpose of the vertical wall. Are you aiming for a decorative feature, a space divider, or perhaps a background for plants or artwork? Identifying the purpose will drive your design choices and material selection.
Choose the Right Location
Consider where you want to place your vertical wall. Ideal locations include:
- Living Rooms: A feature wall can create a cozy focal point.
- Kitchens: A wood wall can add warmth and contrast, especially in modern designs.
- Offices: It can serve as a creative backdrop that inspires productivity.
- Outside Spaces: Weather-treated recycled wood can create unique exterior features.
Measure and Plan
Once you’ve selected the location, measure the area carefully. Draw a simple sketch or use design software to plan your layout. This step is crucial for ensuring proportions work and helps visualize the overall design.
Sourcing Recycled Wood
Local Reclamation Yards and Salvage Stores
Local reclamation yards often house a range of materials discarded from old homes, factories, and furniture. These locations can provide different wood types, allowing you to mix and match for a visually interesting outcome.
Reclaimed Barnwood
Barnwood is a popular choice due to its rustic charm. The aging process gives it a distinctive character that’s highly sought after in design.
Pallets and Shipping Crates
Often available for free or at a low cost, pallets and crates can be disassembled and repurposed for a cost-effective wall installation. Be cautious of the type of wood used as some pallets are treated with chemicals that can be harmful.
Reupholstered or Refurbished Furniture
Old furniture can provide beautiful wood pieces that may otherwise go to waste. Consider dismantling an old table or cabinet for its wood.
Online Marketplaces
Platforms such as Craigslist, Facebook Marketplace, or eBay often have listings for reclaimed wood, either as whole pieces or from salvaged projects.
Preparing the Wood
Cleaning and Restoring
Once you have your wood, it’s essential to clean and restore it. Begin by removing any nails, screws, or hardware. Next, scrub the wood with soap and water to eliminate dirt and grime. For very dirty wood, consider using a gentle sanding solution or a wood cleaner.
Sanding
Sanding the surface of your wooden pieces can enhance their natural beauty and provide a smoother finish. Use a power sander or sandpaper, starting with rough grit and moving to finer grit for a polished appearance.
Finishing Options
Consider whether you want to leave the wood raw or apply a finishing product. Options include stains, oils, or sealants. Stains can enhance the natural color of the wood, while oils protect and nourish it without altering its appearance drastically.
Designing Your Vertical Wall
Choose Your Style
- Rustic: Utilize a variety of wood types and finishes for a charming, eclectic look.
- Modern: Opt for uniform sizes and a sleek finish to create a contemporary feel.
- Geometric Patterns: Experiment with different shapes and arrangements for a modern artistic touch.
- Vertical Strips: Arrange wood planks vertically for a classic look that can make a room feel taller.
Layout Planning
Design the layout before securing any pieces to the wall. Using painter’s tape, outline where the wood will go on the wall to visualize how it will look. Experiment with orientations, colors, and patterns until you find the right configuration.
Installation Process
Tools and Materials
Gather all necessary tools before starting the installation:
- Tools: Measuring tape, level, stud finder, saw (if you need to cut any wood), hammer, or nail gun.
- Materials: Recycled wood, adhesive (if necessary), nails or screws, and a drill.
Preparing the Wall
Ensure the wall surface is clean and dry. If your vertical wall will be a freestanding design, ensure that the structure is stable.
Securing the Wood
Starting from the bottom, place each piece of wood against the wall. Use a level to make sure each piece is straight and secure with nails or screws. If the pieces are particularly heavy or large, consider using wood glue or adhesive as an additional support.
Working Upwards
Continue layering your wood upwards, ensuring each piece is aligned and secure. If you’re using different wood types, play with their arrangement to create a balanced design.
Finishing Touches
Once you’ve installed all the pieces, step back and assess your work. You may want to apply any final finishes, such as additional sealing or touch-ups on the wall around your wooden installation.
Maintenance of Your Vertical Wall
Regular Cleaning
Dust your vertical wall similar to how you would clean any other surface. A soft cloth and gentle cleaner are usually sufficient. Avoid harsh chemicals that could damage the wood finish.
Addressing Damage
If you notice any scratches or signs of wear, sand down the affected area lightly and reapply your chosen finish to restore its look.
Conclusion
Creating a stunning vertical wall using recycled wood is an engaging project that not only enhances your home’s aesthetic but also embodies sustainable living. With careful planning, creative design, and hands-on work, anyone can transform salvaged wood into a striking feature that tells a story. Embrace the beauty of recycled materials, and take pride in crafting a unique focal point that reflects your personal style while caring for the planet.