A garden trowel is an indispensable tool for any gardener, combining versatility and efficiency in one sturdy design. Mastering its use can significantly enhance your gardening experience, especially when it comes to planting seedlings.
Understanding the Garden Trowel
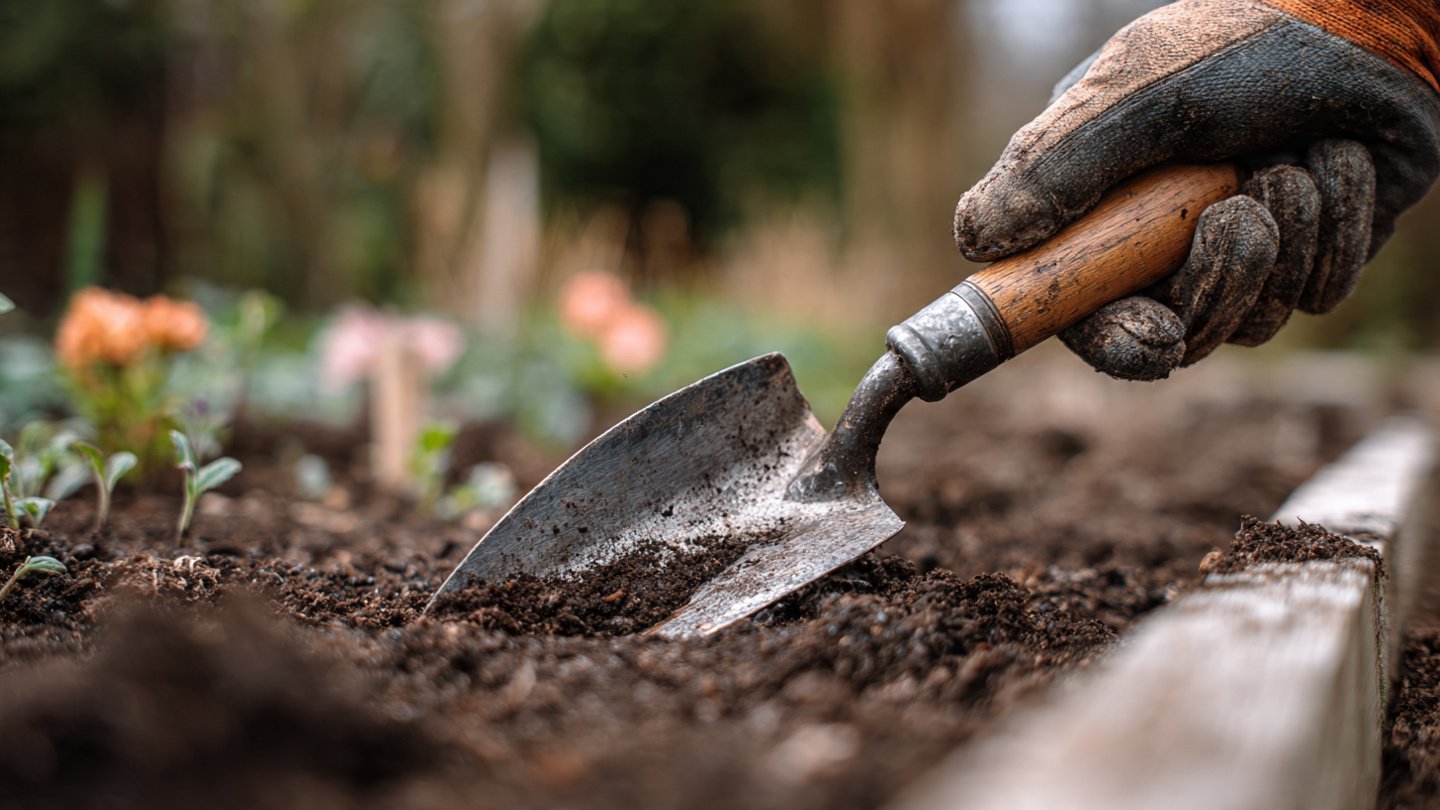
The garden trowel is a compact hand tool typically featuring a pointed, scoop-shaped metal blade and a comfortable handle. This tool is ideal for digging, transferring soil, and planting various seedlings.
Here are the main components of a garden trowel:
- Blade: Usually made of stainless steel, this component ensures durability and ease of soil penetration.
- Handle: Ergonomic designs may include wooden or plastic materials for comfort during extended use.
- Point: A pointed end helps in breaking up compact soil, enabling you to plant seedlings more easily.
Choosing the Right Trowel
Before honing your trowel skills, it’s essential to select the right one. Here are a few factors to consider:
- Size: Ensure the trowel is proportionate to your hand size. A smaller trowel may be more comfortable for detailed work, while a larger one is beneficial for digging larger holes.
- Material: Stainless steel trowels resist rust, while aluminum trowels are lightweight and easy to maneuver.
- Design: Look for a trowel with a comfortable grip that minimizes hand fatigue.
Preparing Your Seedlings
Before using the garden trowel, ensure your seedlings are prepared for planting. Follow these steps:
- Choose Healthy Seedlings: Select seedlings that are strong and well-rooted. Look for vibrant leaves and a sturdy stem.
- Water the Seedlings: Watering your seedlings a few hours before planting helps ease their transition into the ground.
- Accustom Seedlings to Outdoor Conditions: Gradually acclimate your seedlings to outdoor conditions (a process known as hardening off) before planting them into the garden.
Techniques for Using a Garden Trowel
Mastering the art of using a trowel requires some practice and technique. Here are essential steps to ensure you plant your seedlings correctly:
1. Selecting the Planting Spot
Choose a location with adequate sunlight and well-draining soil. Check the sunlight requirements for your specific seedlings before deciding on a spot.
2. Preparing the Soil
Use the trowel to loosen the soil before planting. Insert the blade into the soil and lift it gently to aerate the ground. This prepares a smooth seedbed for your seedlings.
3. Digging the Hole
Here’s how to dig a proper hole for your seedlings:
- Hold the trowel vertically and drive the pointed end into the soil.
- Push the blade forward at a slight angle to cut through the earth, creating a hole that is the appropriate size for your seedling’s root ball.
- Remove the trowel and gently shake out any loose soil to ensure the hole maintains its shape.
4. Planting the Seedling
Carefully extract the seedling from its container, ensuring you do not damage the roots. Place the seedling into the hole and position it so that it’s level with the surrounding soil. If the seedling is too deep, use the trowel to adjust the hole’s depth.
5. Filling in the Hole
Using the trowel, fill in the hole with soil, gently packing it around the seedling to eliminate air pockets. Make sure the soil is firm, but do not compact it excessively, as this can inhibit root growth.
6. Watering After Planting
Once planted, water the seedling generously. This helps settle the soil and provides the necessary hydration for your new plant.
Maintenance After Planting
After planting seedlings, consistent maintenance is crucial. Here are some tips to ensure their healthy growth:
- Check Soil Moisture: Ensure the soil around the seedling remains moist but not waterlogged.
- Weeding: Use the trowel to remove weeds that compete with your seedlings for nutrients and water.
- Mulching: Apply a layer of mulch around the seedlings to retain moisture and suppress weeds.
Common Mistakes to Avoid
As with any gardening technique, there are common pitfalls that can hinder success:
- Overcrowding: Ensure enough space between seedlings to allow for proper growth.
- Ignoring Soil Condition: Test your soil to ensure it has the right pH and nutrient levels for the plants you intend to grow.
- Neglecting Sunlight Needs: Different seedlings have varying sunlight requirements, so be mindful of their needs.
Conclusion
Mastering the use of a garden trowel can significantly elevate your gardening experience and ensure successful planting of seedlings. By choosing the right trowel, preparing your seedlings and soil, and using proper techniques during planting, you position your garden for thriving growth. Remember, gardening is a journey filled with learning, experimentation, and most importantly, joy. With patience and practice, you will become proficient in using a garden trowel, unlocking the potential of your garden.
FAQs
What type of soil should I use for seedlings?
A well-draining potting mix is ideal for seedlings. Ensure it is rich in organic matter to promote healthy growth.
How deep should I plant my seedlings?
Typically, you should plant seedlings at the same depth they were growing in their container. Adjust accordingly based on the specific plant requirements.
When is the best time to plant seedlings?
The best time to plant seedlings depends on the species, but generally, spring is the most suitable season for most garden plants.
How often should I water my seedlings?
Water your seedlings daily, but check the moisture level first to avoid overwatering. The goal is to keep the soil consistently moist but not soggy.
Can I reuse potting soil for seedlings?
While you can reuse potting soil, it’s important to refresh it with fresh compost or fertilizer to replenish nutrients before using it again.