Dwarf Phlox is a charming flowering plant that can infuse your indoor space with vibrancy and color. Its compact size makes it an excellent choice for container gardening and indoor decoration. If you’re considering growing Dwarf Phlox in pots indoors, this comprehensive guide will cover everything you need to thrive with this delightful houseplant.
Understanding Dwarf Phlox
What is Dwarf Phlox?
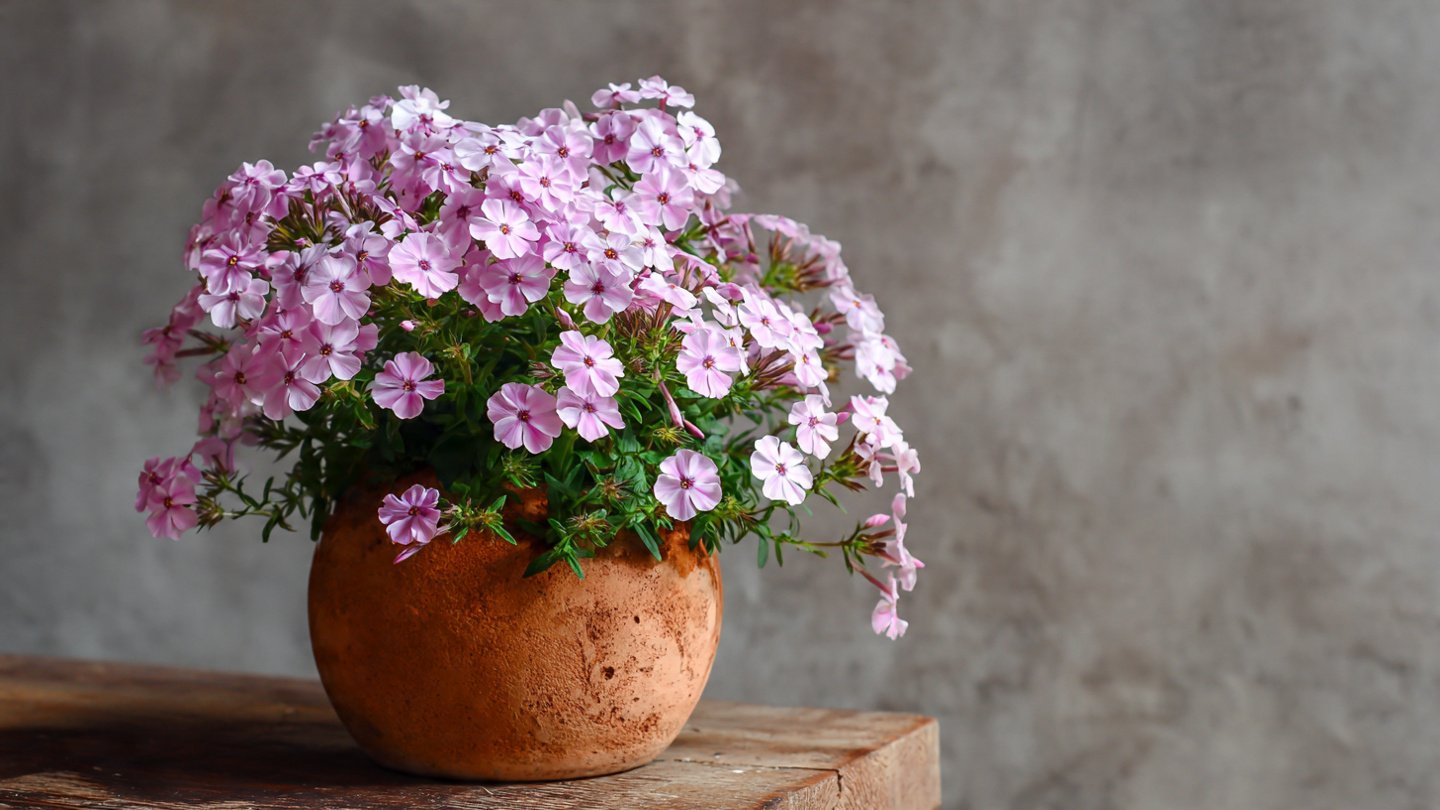
Dwarf Phlox (Phlox subulata), commonly known as creeping phlox, is a perennial flowering plant characterized by low growth and vibrant flowers. The plant typically blooms in spring, producing clusters of star-shaped flowers in a variety of colors, including pink, purple, blue, and white. In its natural habitat, Dwarf Phlox is often found in rocky or sandy soils, making it relatively adaptable.
Why Choose Dwarf Phlox?
- Compact Size: Its small stature makes it perfect for pots and small spaces.
- Vibrant Blooms: Dwarf Phlox is known for its prolific blooming period.
- Low Maintenance: This hardy plant is easy to care for, making it suitable for beginners.
Getting Started: Supplies You Will Need
Before you start your indoor Dwarf Phlox garden, gather the necessary supplies:
- Containers: Choose pots with drainage holes. Terracotta or ceramic pots work well.
- Soil: Opt for a well-draining potting mix, ideally one designed for flowering plants or succulents.
- Fertilizer: A balanced, all-purpose liquid fertilizer will help promote blooming.
- Watering Can: Use a watering can with a spout for easy control.
- Pruning Shears: These will be useful for trimming and shaping as your plant grows.
Planting Dwarf Phlox Indoors
Step 1: Choose the Right Pot
Select a pot that is at least 6-8 inches deep, providing enough space for root growth while remaining manageable for indoor use. Ensure that the container has drainage holes to prevent water from accumulating at the bottom, which could lead to root rot.
Step 2: Prepare the Soil
Use a high-quality, well-draining potting mix. You can create your own mix by combining equal parts of potting soil, perlite, and sand. This combination will ensure adequate drainage while retaining some moisture.
Step 3: Planting the Seeds or Young Plants
-
Seeds: If you are starting from seeds, sow them directly onto the surface of the soil and lightly press them in. Cover them with a thin layer of soil and water gently.
-
Young Plants: If you’re using young plants or cuttings, make a hole in the soil with your finger or a pencil, place the plant in the hole, and gently pack the soil around it.
Step 4: Watering After Planting
Water the soil thoroughly after planting. Allow excess water to drain out of the pot. It is crucial not to overwater, so ensure that the top inch or so of soil is dry before adding more water in the upcoming weeks.
Creating the Right Environment
Light Conditions
Dwarf Phlox thrives with bright, indirect sunlight. An east or west-facing window is ideal. If your home doesn’t receive enough natural light, consider supplementing with grow lights to ensure your plant gets the necessary light it needs for blooming.
Temperature and Humidity
Dwarf Phlox prefers a temperature range between 60°F to 75°F (15°C to 24°C). It’s essential to keep the temperature consistent, avoiding drastic fluctuations. While this plant is adaptable, it prefers moderate humidity levels, around 40-50%. If your indoor environment is dry, especially in winter, consider using a humidifier or placing a tray of water near the plant.
Watering and Fertilizing
Watering
Water your Dwarf Phlox when the top 1-2 inches of the soil feels dry. Overwatering is one of the most common mistakes—ensure the pot drains well, and avoid letting the plant sit in standing water. During the blooming phase, the plant may require more frequent watering to sustain its vibrant flowers.
Fertilizing
To encourage healthy growth and flowering, feed your Dwarf Phlox with a balanced liquid fertilizer every 4-6 weeks during the growing season (spring and summer). Follow the instructions on the fertilizer packaging to avoid over-fertilizing, which can harm the plant.
Pruning and Maintenance
Regular Pruning
Pruning is vital for promoting bushier growth and reducing the risk of diseases. Use sterilized pruning shears to trim off spent flowers (deadheading). This encourages the plant to produce more blooms and keeps it looking neat.
Leaf Care
Dwarf Phlox may occasionally attract pests such as aphids or spider mites. Monitor your plants regularly for signs of infestations. If you spot any issues, you can treat them with insecticidal soap or neem oil, applying it according to the product’s instructions.
Propagating Dwarf Phlox
From Cuttings
Dwarf Phlox can be easily propagated from cuttings. Here’s how:
- Take a healthy cutting of about 4-6 inches from the tip of a non-flowering stem.
- Remove the lower leaves, leaving a couple of leaves at the top.
- Place the cutting in a glass of water or directly into a pot with well-draining soil.
- If using soil, water gently and cover the pot with a plastic bag to maintain humidity.
- After a few weeks, roots should start to form, and the cutting can be treated as a new plant.
From Division
If you have a well-established Dwarf Phlox plant, you can propagate through division:
- Carefully remove the plant from its pot.
- Gently separate the root ball into smaller sections, ensuring each section has roots and stems.
- Replant the divisions in new pots with fresh soil.
Common Problems and Solutions
Overwatering
Signs: Yellowing leaves, soggy soil.
Solution: Cut back on watering and make sure the pot has proper drainage. You may need to repot the plant into fresh soil.
Pest Infestation
Signs: Stunted growth, sticky residue, webbing.
Solution: Treat with insecticidal soap or neem oil, and isolate the affected plant.
Poor Blooming
Signs: Few or no flowers.
Solution: Ensure it’s receiving enough light and consider your watering and fertilizing routine.
Seasonal Care
Spring and Summer
- Increase watering as the plant enters its active growing phase.
- Fertilize every 4-6 weeks to encourage blooming.
- Monitor for pests and remove any dead flowers to promote continued growth.
Fall and Winter
- Reduce watering as the plant enters dormancy.
- Cut back on fertilizing during these months.
- Maintain a cooler temperature and ensure the plant has adequate light, but avoid intense direct sunlight.
Conclusion
Growing Dwarf Phlox in pots indoors can be a rewarding experience, adding a splash of color to your home while cultivating a thriving plant. By following the steps outlined in this guide, you can ensure that your Dwarf Phlox not only survives but thrives. With proper care, attention to its environmental needs, and occasional pruning, your Dwarf Phlox can bloom beautifully, brightening your domestic space for years to come.
By embracing indoor gardening, you’re not just beautifying your home; you’re also engaging in a fulfilling hobby that brings joy and a sense of accomplishment. Happy planting!