Bitter gourd, also known as bitter melon or karela, is a unique and nutritious vegetable loved for its distinct bitter taste and numerous health benefits. It is commonly used in Asian and Indian cuisines and is praised for its medicinal properties, including blood sugar control and antioxidant effects. Growing bitter gourd vertically at home is an efficient way to save space, improve yield, and keep the garden neat. This step-by-step guide will walk you through the process of successfully growing vertical bitter gourd in your home garden.
Step 1: Understanding Vertical Bitter Gourd Cultivation
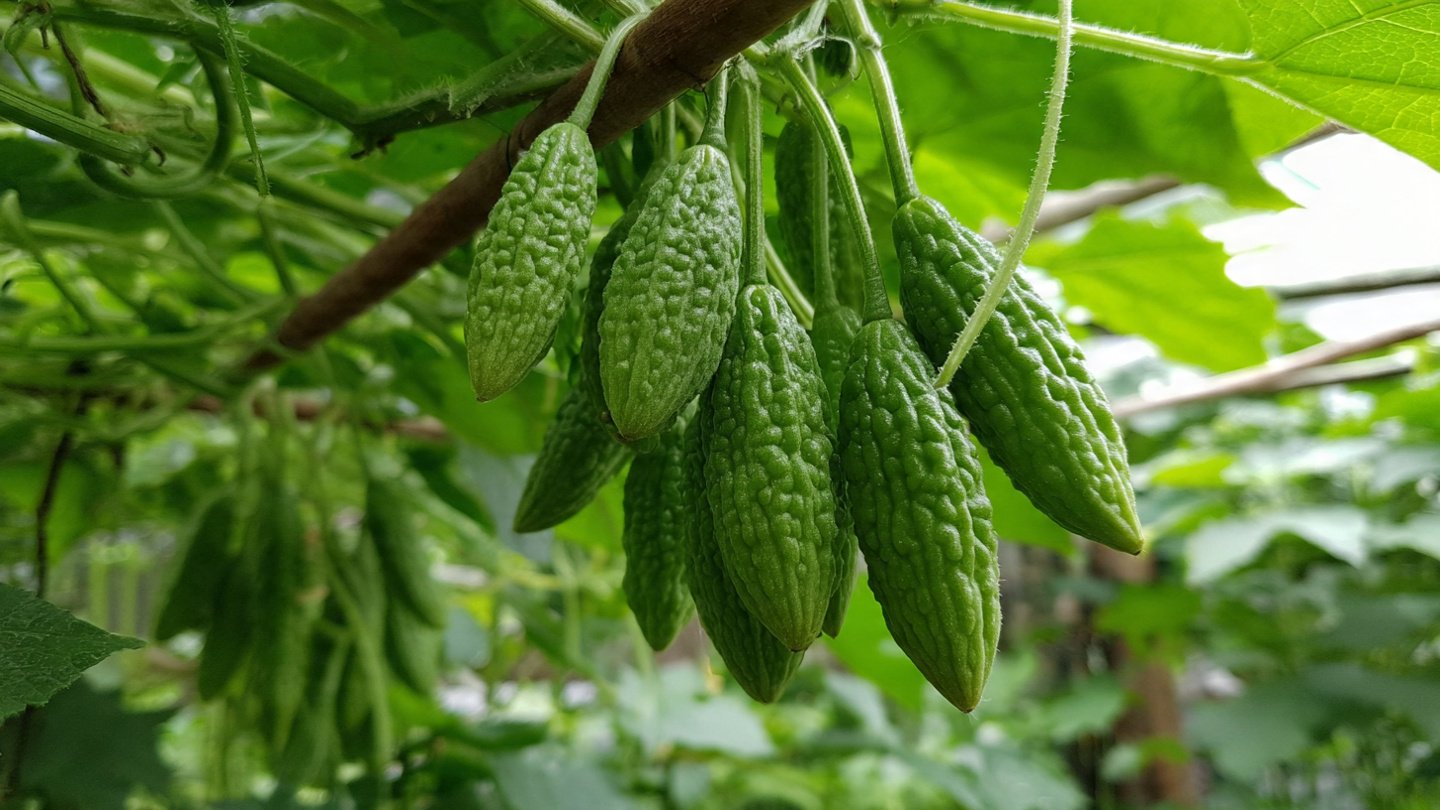
Bitter gourd is a climbing vine that thrives well when supported vertically. Vertical cultivation involves growing the plant upwards using support structures such as trellises, fences, or netting instead of letting the vines sprawl on the ground. This method improves air circulation, reduces pest infestation, and makes harvesting easier. Vertical growth also promotes healthy development, leading to better yield and quality fruit.
Step 2: Selecting the Right Variety
There are many varieties of bitter gourd available, and some are better suited for vertical growth than others. Choose a variety that is known for vigorous vine growth and smaller, manageable fruit if you are growing in a confined space. Popular varieties for vertical growing include:
- Pusa Do Mausami: High-yielding with medium-sized fruits.
- Punjab Long: Known for long slender fruits.
- Arka Harit: Disease-resistant and early bearing.
- Local heirloom varieties: Often well adapted to local conditions.
Seeds can be purchased from nurseries, online stores, or local markets. Starting with quality seeds increases the chances of successful growth.
Step 3: Preparing the Soil
Bitter gourd prefers well-drained, loamy soil rich in organic matter. Here’s how to prepare it:
- Location: Pick a sunny spot as bitter gourd needs 6-8 hours of direct sunlight daily.
- Soil Preparation: Loosen the soil to a depth of 12-15 inches. Mix in plenty of organic compost or well-rotted manure to enhance fertility.
- pH Level: Maintain the soil pH between 5.5 and 6.7. You can test the soil pH using a simple kit and adjust it if required using lime (to increase pH) or sulfur (to decrease pH).
- Drainage: Ensure good drainage to prevent waterlogging; raised beds or containers can be used if your garden has heavy clay soil.
Step 4: Starting Seeds and Transplanting
- Seed Soaking: Soak bitter gourd seeds overnight in warm water to soften the seed coat and promote germination.
- Seed Sowing: Sow the seeds about 1 inch deep in seedling trays, small pots, or directly in the garden bed. Space seeds 2-3 inches apart.
- Germination: Seeds typically germinate within 7-14 days at temperatures between 75°F to 85°F.
- Transplanting: Once seedlings have 3-4 true leaves and are about 4-6 inches tall (usually after 3-4 weeks), transplant them to the main garden or bigger containers spaced 12-18 inches apart. Ensure to transplant on a cloudy day or during evening to reduce transplant shock.
Step 5: Setting Up the Vertical Support
Constructing a sturdy support system is crucial for vertical bitter gourd cultivation. You can use:
- Trellis: Wooden or metal frames can be built in a V or A shape.
- Netting: Nylon or plastic netting stretched between poles.
- String or Wire: String lines wrapped vertically around poles.
- Fence: Utilize an existing garden fence.
Ensure the support is at least 6-7 feet tall to accommodate the climbing vines. Install the support before transplanting or soon after planting to avoid disturbing the roots later.
Step 6: Plant Care and Maintenance
- Watering: Bitter gourd requires regular watering to keep the soil consistently moist but not soggy. Water deeply once or twice weekly depending on weather conditions.
- Mulching: Apply organic mulch like straw, dried leaves, or grass clippings around the plant base to retain moisture, suppress weeds, and regulate soil temperature.
- Fertilizing: Use a balanced fertilizer rich in nitrogen, phosphorus, and potassium. Apply half the fertilizer at planting and the rest as a side dressing after 4-6 weeks. Alternatively, organic options like compost tea or fish emulsion work well.
- Training the Vines: Guide young shoots to climb the support. Tie the vines gently with soft twine if needed.
- Pruning: Remove lateral shoots and dead leaves to improve air circulation and encourage healthy growth.
Step 7: Pest and Disease Management
Common pests affecting bitter gourd include:
- Aphids: Small green or black insects that suck plant sap.
- Fruit Flies: Lay eggs inside the fruit leading to rotting.
- Powdery Mildew: White powdery spots on leaves.
- Downy Mildew: Yellowish or brown spots on leaves.
Control Methods:
- Inspect plants regularly and remove affected leaves.
- Use organic insecticidal soap or neem oil for aphids.
- Use yellow sticky traps to catch fruit flies.
- Ensure adequate spacing and remove debris to prevent fungal diseases.
- Apply fungicides if necessary.
Step 8: Pollination and Fruit Development
Bitter gourd plants have separate male and female flowers on the same vine. Pollination by bees and other insects is necessary for fruit set. To encourage pollination:
- Plant companion flowers nearby to attract pollinators.
- Hand pollinate by transferring pollen from male to female flowers using a small brush if insect activity is low.
After pollination, fruits develop within 10-15 days. Harvest the fruits when they are green and immature for the best taste. Overripe fruits turn yellow and have a stronger bitterness.
Step 9: Harvesting
- Use a sharp knife or scissors to cut the fruits from the vine to avoid damaging the plant.
- Harvest every 2-3 days to encourage continuous fruit production.
- Handle fruits gently to prevent bruising.
Step 10: Post-Harvest Care and Tips
- Store bitter gourds in a cool, dry place or refrigerate for 5-7 days.
- Wash fruits just before use, not before storage to avoid moisture damage.
- Clean and disinfect your vertical support system after the growing season to prevent diseases.
Additional Tips for Success
- Rotate crops to prevent soil-borne diseases.
- Incorporate organic matter yearly to maintain soil health.
- Monitor weather; bitter gourd grows best in warm, humid climates.
- Consider growing bitter gourd in containers if space is limited; use large pots with good drainage and vertical support.
- Experiment with different varieties to find which thrives best in your local conditions.
Conclusion
Growing vertical bitter gourd at home is a rewarding project that saves space and enhances the productivity of your garden. By following this step-by-step guide, from selecting the right variety to maintaining plants and managing pests, you can enjoy fresh, homegrown bitter gourds with optimal yield. Not only will you benefit from fresh produce, but you will also appreciate the beauty and functionality of vertical gardening, making the most of your garden space.
Happy gardening!