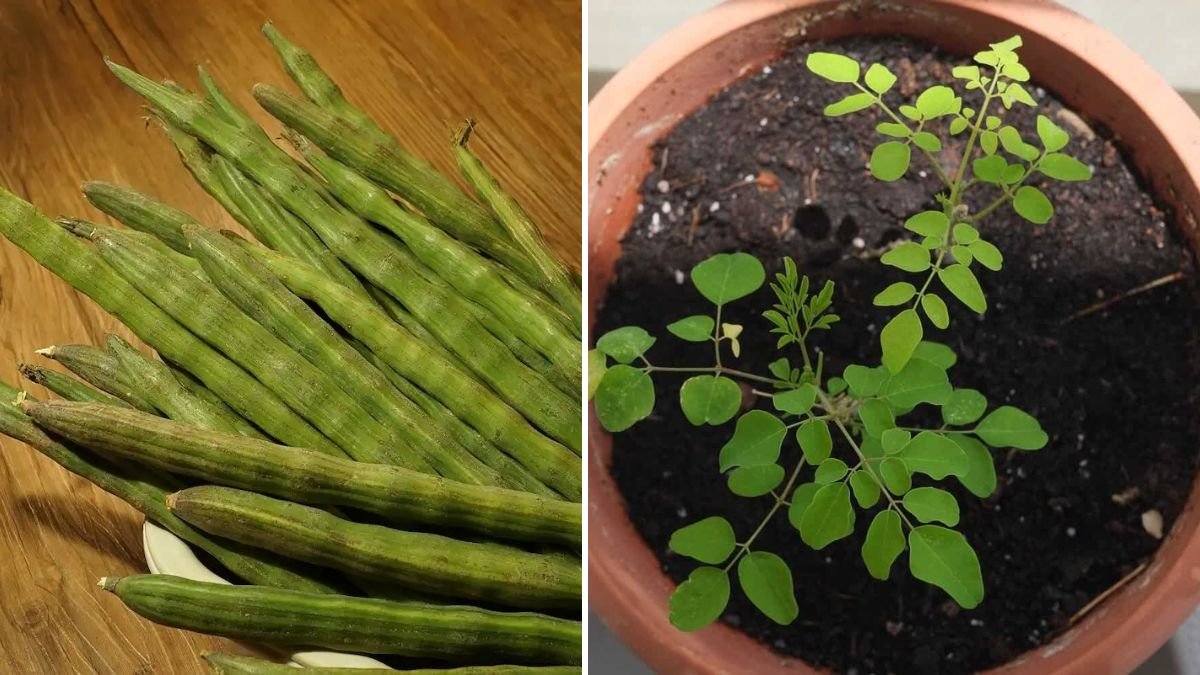
Drumstick leaves, known scientifically as Moringa oleifera, are highly valued for their nutritional benefits, culinary uses, and medicinal properties. As a versatile plant, the drumstick tree can be cultivated in various environments, including pots on a balcony, terrace, or small garden. If you’re interested in growing these nutrient-packed leaves at home, this guide will provide you with everything you need to know.
Understanding Drumstick Trees
Botanical Overview
The drumstick tree originates from the Indian subcontinent and thrives in tropical and subtropical climates. It can grow up to 10-15 meters tall, producing drumstick pods that are used in various dishes. However, for home gardeners, the leaves are often the primary focus due to their rich flavor and health benefits, including high levels of vitamins A, C, and iron.
Nutritional Benefits
Drumstick leaves are often hailed as a superfood, with myriad health benefits including:
- Rich in Antioxidants: Helps neutralize harmful free radicals in the body.
- Anti-Inflammatory Properties: May reduce chronic inflammation and pain conditions.
- Supports Bone Health: High calcium content contributes to strong bones.
- Enhanced Immunity: The leaves are packed with vitamins and minerals that bolster the immune system.
Choosing the Right Pot
Size Matters
When selecting a pot for growing drumstick leaves, opt for a container that is at least 12-16 inches deep and wide. This will allow for adequate root growth. Ensure the pot has drainage holes to prevent waterlogging.
Material Selection
Pots can be made of clay, plastic, or terracotta. Clay pots are often preferred for their breathability, allowing roots to breathe, but plastic pots are lightweight and retain moisture better.
Soil Requirements
Soil Type
Drumstick trees prefer well-drained, loamy soil. A mix of potting soil, sand, and compost usually works well. You can create a suitable blend by mixing:
- 50% potting soil
- 30% sand
- 20% compost
pH Level
The ideal pH level for drumstick leaves is between 6.0 and 7.0. You can use a soil pH meter to test your soil and make adjustments as needed.
Planting Drumstick Seeds or Seedlings
Starting from Seeds
- Seed Preparation: Soak the seeds in water for 24 hours to enhance germination.
- Sowing: Plant 1-2 seeds per pot at a depth of about 1 inch.
- Spacing: If growing multiple pots, keep a distance of about 2-3 feet apart to allow for growth.
Starting from Seedlings
If you prefer to sow seedlings, make sure they are at least 4-6 inches tall before transplanting them into pots. Handle the seedlings gently to avoid root damage.
Sunlight Requirements
Ideal Conditions
Drumstick trees thrive in full sunlight, ideally receiving 6-8 hours of direct sun daily. Position your pots in a location where they will get ample sunlight. If you live in a region with extremely hot summers, consider providing partial shade during the hottest parts of the day to prevent leaf scorch.
Watering Techniques
Watering Frequency
Drumstick plants prefer soil that is moist but not soggy. Water them deeply when the top inch of soil feels dry, typically every 1-2 weeks. Avoid overwatering, asroot rot can quickly set in.
Winter Care
In winter, reduce watering frequency as the plant enters a dormant phase. Always check the moisture level before watering.
Fertilization
Type of Fertilizer
A balanced, slow-release fertilizer is ideal for drumstick trees. You can also use organic options like fish emulsion or compost tea to provide nutrients.
Application Schedule
- Initial Planting: Mix fertilizer into the soil at planting.
- Growing Season: Fertilize every 6-8 weeks during the growing season (spring and summer) for optimal growth.
Pruning and Maintenance
Why Prune?
Pruning helps maintain the shape of the plant, encourages bushy growth, and allows for better air circulation, which prevents diseases.
How to Prune
- Timing: Prune during the early spring before new growth begins.
- Method: Use clean, sharp scissors to remove dead or diseased branches. You can also trim back excessively long stems to encourage bushier growth.
Dealing with Pests and Diseases
Common Pests
- Aphids: These tiny insects can be managed with neem oil or insecticidal soap.
- Spider Mites: They thrive in dry conditions; maintain humidity to deter them.
Diseases
- Root Rot: Ensure good drainage to prevent this fungal disease.
- Powdery Mildew: Avoid overhead watering; increase air circulation around your plants.
Harvesting Drumstick Leaves
When to Harvest
You can start harvesting the leaves once the plant reaches about 3-4 months of age. Always pick the younger, tender leaves for the best flavor and nutrition.
How to Harvest
- Use clean scissors to snip the leaves off, taking care not to damage the stems.
- Harvest systematically, ensuring you do not remove more than one-third of the plant at a time; this allows for continued growth.
Culinary Uses of Drumstick Leaves
Drumstick leaves can be used in various dishes, including:
- Soups: Adding them to lentil soup enhances nutrition.
- Stir-fries: Quick sautéing retains their flavor and nutrients.
- Salads: Young leaves can be used fresh in salads for a nutritional boost.
- Smoothies: Blend them into smoothies for a healthy drink.
FAQs
1. How long does it take for drumstick leaves to grow?
Typically, it takes about 3-4 months for the plants to reach a harvestable size.
2. Can I grow drumstick leaves indoors?
Yes, as long as they receive sufficient sunlight (6–8 hours) and are in well-draining soil, you can grow them indoors.
3. What is the best season to plant drumstick leaves?
Spring is the ideal season for planting drumstick leaves, as the weather is generally warm and conducive to growth.
4. Should I use fertilizers?
Yes, using slow-release balanced fertilizers during the growing season can significantly enhance growth and yield.
5. How do I know if my drumstick plant is getting too much water?
Signs of overwatering include yellowing leaves, wilting, or a sour odor from the soil. Always ensure pots have good drainage.
6. Can drumstick leaves survive winter?
While drumstick trees can survive mild winters, they thrive best in tropical conditions. If planted in colder climates, they may need to be moved indoors or protected from frost.
Conclusion
Growing drumstick leaves in pots at home is a rewarding experience that not only enhances your garden but also provides a continuous supply of nutritious leaves. With the right care, conditions, and attention, you can enjoy the myriad benefits of this superfood right from your balcony or patio. Whether you are a seasoned gardener or a beginner, following the guidelines in this article will help you achieve success in cultivating drumstick leaves at home. Happy gardening!