Endive curly greens, also known as frisée, are a delicious and versatile addition to any home garden. With their unique texture and slightly bitter flavor, they can elevate salads, sandwiches, and other dishes. Growing endive is not only rewarding but also a great way to incorporate fresh, nutritious greens into your diet. This article will guide you through the steps to grow endive curly greens at home and include a FAQs section to address common questions.
Understanding Endive
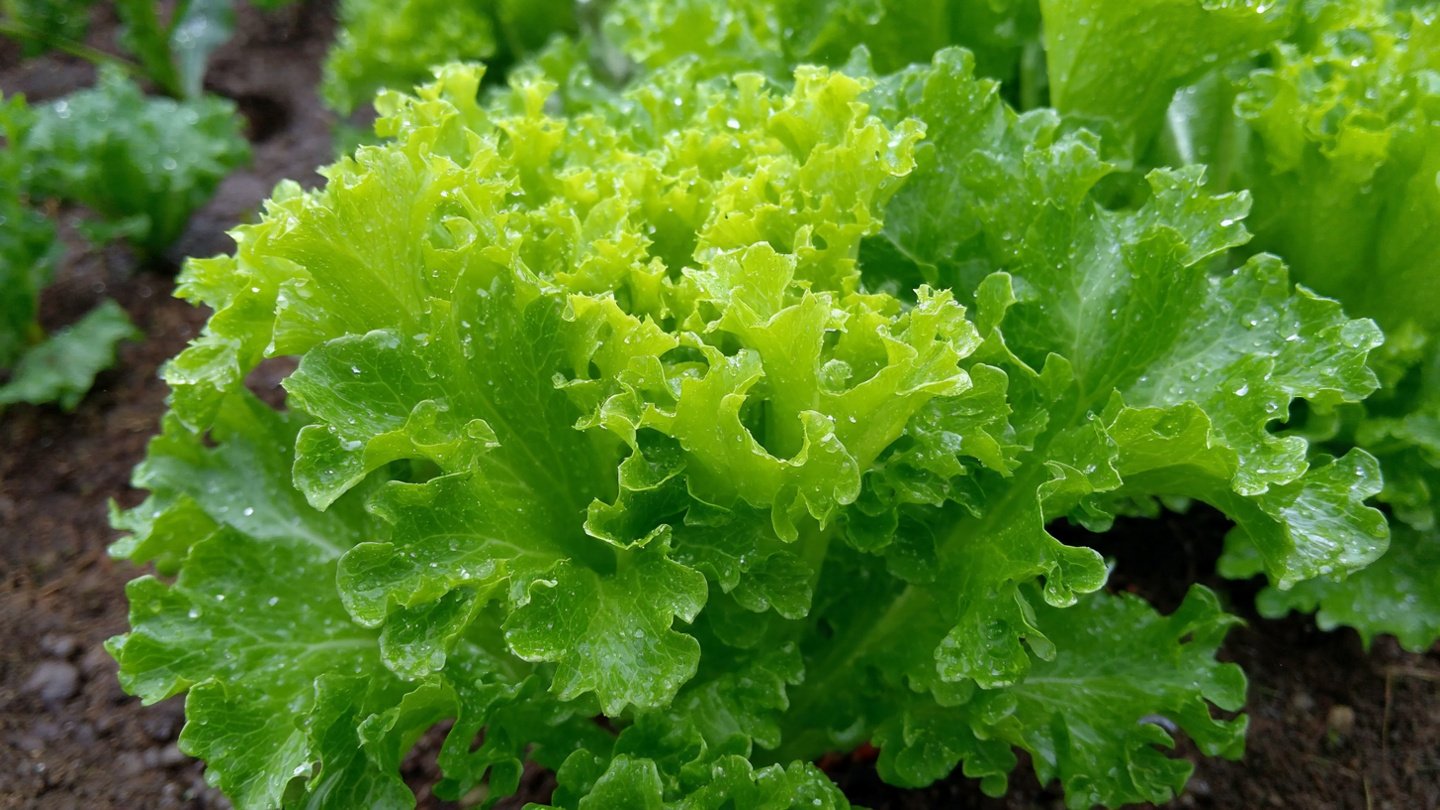
Endive is a leafy vegetable that belongs to the chicory family. It comes in several varieties, with curly endive and Belgian endive being the most common. Curly endive is characterized by its frizzy, curly leaves and a slightly bitter taste, making it a popular choice for salads.
Nutritional Benefits:
- Rich in vitamins A, C, and K.
- High in fiber and low in calories.
- Contains antioxidants that promote overall health.
Step 1: Select the Right Variety
While there are numerous varieties of endive, the curly type is favored for its aesthetically pleasing appearance and unique flavor. Some popular varieties include:
- ‘Groliera’: A standard variety known for its deep green and frizzy leaves.
- ‘Green Curled’: A robust type that grows well in various climates.
- ‘Frisée’: Common in salads and dishes for its beautiful texture.
Choose a variety that suits your climate and garden conditions!
Step 2: Optimal Growing Conditions
Location
Endive prefers full sun but can tolerate partial shade. Choose a spot in your garden that receives at least 4 to 6 hours of sunlight daily.
Soil
Well-draining, fertile soil is crucial for growing endive. Aim for:
- pH Level: 6.0 to 7.0 (slightly acidic to neutral).
- Soil Type: Loamy or sandy soil enriched with organic matter, such as compost.
Climate
Endive thrives in cooler temperatures. The ideal growing temperature is between 60°F to 70°F (15°C to 21°C). Avoid planting in the heat of summer, as high temperatures can cause the plant to bolt (go to seed) prematurely.
Step 3: Planting Endive
When to Plant
- Direct Sowing: Endive can be directly sown in the garden in early spring or late summer for a fall crop.
- Indoor Seed Starting: Alternatively, you can start seeds indoors 4-6 weeks before the last frost and transplant them outside once the weather warms up.
Planting Steps
- Prepare the Soil: Loosen the soil to a depth of at least 12 inches. Mix in well-rotted compost or organic fertilizer to enrich the soil.
- Sow Seeds: Make shallow rows about 1/2 inch deep. Plant seeds about 1 inch apart, as they can be thinned later.
- Watering: Gently water the row after planting. Keep the soil consistently moist, especially during germination, which usually takes about 7 to 14 days.
Thinning Seedlings
Once the seedlings reach a height of 2 inches, thin them to 6-8 inches apart to allow for proper growth. You can use the thinned seedlings in salads!
Step 4: Care for Your Endive
Watering
Endive requires consistent moisture. Water deeply once or twice a week, depending on rainfall. The soil should be moist but not waterlogged, as soggy conditions can lead to root rot.
Fertilizing
Feed your endive with a balanced fertilizer at the time of planting and again two to three weeks later. Organic options include fish emulsion or seaweed extract.
Weed Control
Regularly check for weeds, as they compete for nutrients and water. Hand-pulling is often the simplest method, but you can use mulch to suppress weed growth.
Pest Management
Some common pests that may affect endive include:
- Aphids
- Flea beetles
- Slugs
Use natural pest control methods, such as introducing beneficial insects (like ladybugs) or using insecticidal soap as needed.
Step 5: Harvesting Endive
When to Harvest
Endive can be harvested when the leaves are young and tender, typically 50 to 90 days after sowing, depending on the variety. Look for a well-rounded head with bright green, tightly curled leaves.
How to Harvest
- Cutting: Use a sharp knife to cut the head off just above the soil level.
- Leave Some Leaves: For a continued harvest, you can leave some leaves on the plant to encourage regrowth.
Post-Harvest Care
After harvesting, endive can be rinsed and stored in the refrigerator for up to a week. To maintain crispness, keep it in a perforated plastic bag.
Step 6: Succession Planting
For a continuous supply of fresh greens, consider sowing seeds every 2-3 weeks during the growing season. This method ensures that you have a steady harvest without overwhelming yourself with too many greens at once.
FAQs
1. Can I grow endive in containers?
Yes! Endive can thrive in containers as long as the pot is at least 12 inches deep and has good drainage. Use a quality potting mix and ensure adequate sunlight.
2. Is endive a cool-season crop?
Yes, endive grows best in cooler temperatures. It’s ideal for planting in early spring or late summer for fall harvests.
3. How do I know when my endive is ready to harvest?
Endive can be harvested when the leaves are young and firm, typically 50 to 90 days after sowing. Look for tightly curled heads that are bright green.
4. How can I prevent pests on my endive plants?
Introduce beneficial insects, like ladybugs, and use organic insecticidal soap if necessary. Keeping plants healthy and free of stress can also deter pests.
5. Can endive be grown indoors?
Endive can be grown indoors if you provide sufficient light (a grow light may be necessary) and maintain consistent moisture. Use a suitable container and soil.
6. Are there any companion plants for endive?
Yes! Endive can be successfully grown alongside other leafy greens, carrots, and radishes. However, avoid planting near members of the cabbage family, as they can attract similar pests.
7. Can endive be frozen for later use?
While endive can be blanched and frozen, it’s best used fresh for flavor and texture. If you need to store it, consider keeping it in the refrigerator in a perforated bag.
Growing endive curly greens in your home garden is a worthwhile endeavor that pays off in delicious, fresh produce. By following these simple steps and tips, you can enjoy a bountiful harvest all season long. Happy gardening!