As the days shorten and the temperatures drop, many gardeners may feel a sense of loss as their vibrant outdoor landscapes retreat into dormancy. However, winter doesn’t have to mean the end of colorful blooms. One of the most resilient and cheerful plants you can grow indoors during the winter months is the pot marigold, or Calendula. Known for their vibrant hues and medicinal properties, pot marigolds can add a splash of color to your home while also providing an array of benefits. This article will explore simple tricks for cultivating pot marigolds during the winter months, ensuring that your green thumb can thrive even in the coldest season.
1. Choosing the Right Variety
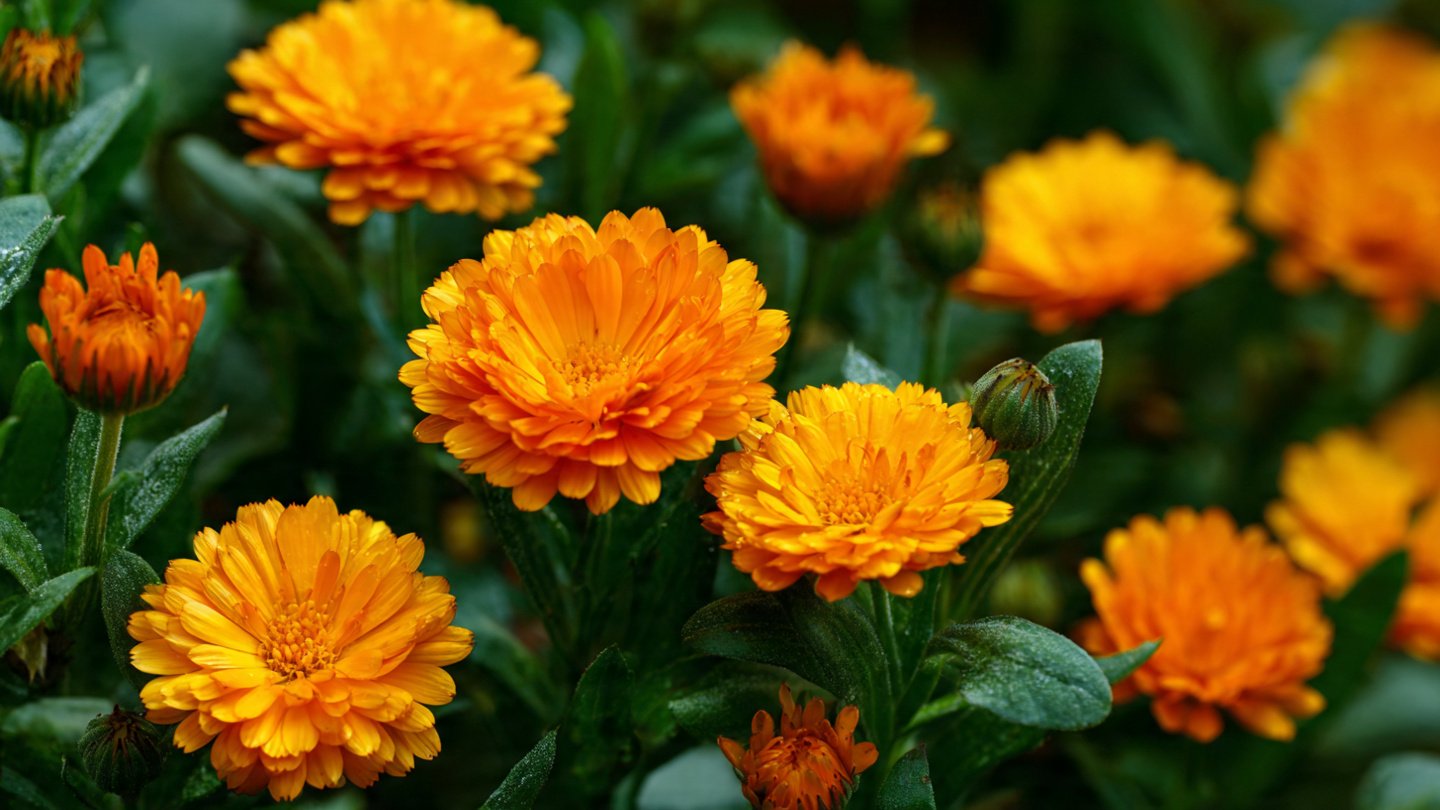
To start your winter marigold cultivation, selecting the right variety is crucial. While traditional marigolds (Tagetes spp.) are typically known for their pest-repelling properties in outdoor gardens, pot marigolds (Calendula officinalis) are more suited for indoor cultivation. Here are a few popular varieties to consider:
- Orange King: These varieties produce vibrant orange blooms that can bring warmth to your home.
- Lemonade: This unique strain offers pale yellow flowers, creating a soft and delicate aesthetic.
- Resina: Known for its high resin content, this variety is great for those interested in herbal uses.
When purchasing seeds, look for organic or heirloom varieties to ensure that you’re starting your plants from high-quality stock.
2. Preparing for Planting
A. Planting Containers
Choose pots that have drainage holes to prevent overwatering, which can lead to root rot. A diameter of around six to eight inches is ideal for starting your marigolds. You can use terracotta, ceramic, or plastic pots, but terracotta is preferable because it allows for better breathability.
B. Soil Mix
Pot marigolds thrive in a well-draining potting mix enriched with organic matter. You can create your own mix by blending equal parts of:
- Potting Soil: Provides a good base and nutrients.
- Perlite or Vermiculite: Improves drainage and aeration.
- Compost: Adds a rich source of nutrients.
C. Light Requirements
Pot marigolds require plenty of light to flourish. A south-facing window that receives at least six hours of sunlight is ideal. If natural light is inadequate, consider supplementing with grow lights designed for indoor gardening.
3. Planting Seeds
A. Timing
Although marigolds can be sown indoors anytime during the winter months, it’s best to start the seeds around late January to early February. This timing allows your plants to grow strong before spring, when you can transfer them outdoors if desired.
B. Sowing Techniques
- Fill your container with the prepared soil mix.
- Sow the seeds about half an inch deep, spacing them roughly two inches apart.
- Water lightly, ensuring that the soil is moist but not soggy.
- Cover the pot with a plastic wrap or humidity dome to retain moisture until the seeds germinate.
C. Germination
Pot marigold seeds typically germinate within 7 to 14 days. Be sure to check your pots daily for moisture, removing the plastic covering once sprouts begin to appear. Continue to keep the soil slightly moist for optimal growth.
4. Caring for Your Marigolds
A. Watering
Watering your marigolds is crucial but must be carefully managed. Overwatering can be detrimental, leading to issues like mold, root rot, or pests. A good rule of thumb is to allow the top inch of soil to dry out before watering again. Use a spray bottle for light misting, or water deeply but infrequently to encourage deeper root growth.
B. Fertilization
In winter, your pot marigolds will need less fertilization due to reduced growth rates. However, applying a diluted, balanced liquid fertilizer every four to six weeks can enhance their growth. Look for products labeled as ‘organic’ to promote healthy soil and plant development.
C. Temperature and Humidity
Pot marigolds prefer temperatures between 65°F and 75°F (18°C – 24°C). Avoid placing pots near drafty windows or heating vents, as sudden temperature fluctuations can shock the plants. As for humidity, marigolds generally tolerate the lower humidity levels typical of indoor winter environments, but misting the leaves occasionally can help particularly dry homes.
5. Dealing with Pests and Diseases
While generally hardy, pot marigolds can still attract pests like aphids or fungus gnats. Regularly inspect your plants for signs of trouble:
- Aphids: These pests can be eliminated by washing them off with a gentle spray of water. For heavier infestations, consider using insecticidal soap.
- Fungus Gnats: Overwatering often leads to the breeding of fungus gnats. Minimizing excess moisture can reduce their presence.
Fungal diseases can also strike during the winter months. Ensure good air circulation around your plants and avoid wetting the leaves when watering.
6. Harvesting and Use
Pot marigolds are not just pretty; they are also immensely beneficial. The flowers can be harvested and used in various ways:
- Culinary Uses: Petals can be added to salads or used as a garnish. Their slightly peppery taste makes them a great addition to various dishes.
- Medicinal Use: Calendar flowers have anti-inflamatory and antiseptic properties. They can be infused in oils or made into salves for skin care.
To harvest, wait until the flowers are fully open, then snip them off at the base. Regular harvesting encourages more blooms.
7. Preparing for Transition
If you plan to move your pot marigolds outdoors in the spring, start gradually acclimating them to outdoor conditions about two weeks before the last frost. This process is known as “hardening off.”
- Begin by placing them outside in a shaded area for a few hours.
- Gradually increase their exposure to sunlight and outdoor conditions each day.
- Ensure temperatures remain above 50°F (10°C) during this acclimatization period.
Once fully acclimated, you can transplant them into your garden or larger outdoor pots.
FAQs
Q1: Can I grow pot marigolds from cuttings?
A: While pot marigolds can be propagated from seeds most easily, they can also be propagated from cuttings. Take a healthy stem cutting from an existing plant, remove the lower leaves, and place it in water or moist soil until roots develop.
Q2: How often should I fertilize pot marigolds indoors?
A: Generally, you should fertilize your pot marigolds indoors every four to six weeks during their active growth phase. Use a diluted balanced fertilizer for the best results.
Q3: Do I need to prune my pot marigolds?
A: While pot marigolds don’t strictly require pruning, deadheading—removing spent flowers—can encourage further blooming and healthy growth.
Q4: Are pot marigolds safe for pets?
A: Yes, pot marigolds (Calendula) are considered safe for pets. They are non-toxic and can even have beneficial properties for animals.
Q5: Can I grow pot marigolds indoors all year long?
A: Yes, pot marigolds can be grown indoors year-round if provided with sufficient light and care. However, they thrive best with seasonal changes to mimic their natural environment.
Q6: Will pot marigolds still bloom in low light conditions?
A: Pot marigolds require at least six hours of sunlight for optimal blooming. In low light conditions, their growth may slow, and flowering may be reduced.
Q7: How can I preserve marigold petals for future use?
A: To preserve marigold petals, spread them out in a single layer on a clean, dry surface away from direct sunlight. Once fully dried, store them in an airtight container in a cool, dark place.
In conclusion, cultivating pot marigolds during the winter months can bring joy and color to your home while also offering a multitude of culinary and medicinal benefits. With the right care, you can enjoy these vibrant flowers all season long, defying winter’s grey pallor!