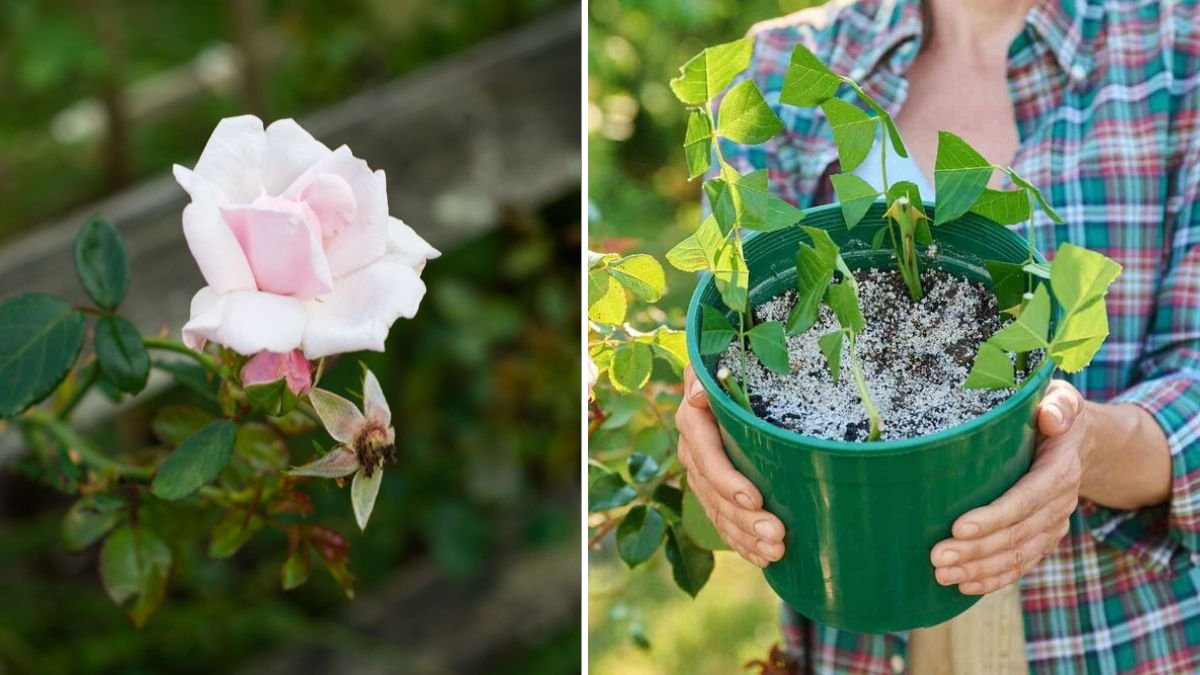
Roses are the queens of the garden—elegant, fragrant, and timeless. Whether you’re captivated by classic red roses, soft pastel blooms, or rare colorful varieties, there’s nothing more satisfying than growing your own rose plants. But what if you could multiply your favorite rose bush without spending money? What if a single cutting could turn into a flourishing plant?
That is exactly what rose propagation by cuttings allows you to do. This simple, affordable, and highly rewarding method helps you create new rose plants that are genetically identical to the parent—same color, same fragrance, and same growth habit. Gardeners worldwide use this technique because it works incredibly well, even for beginners.
In this comprehensive guide, we’ll explore everything you need to know about propagating roses from cuttings, step by step. From choosing the right stem to preparing the perfect rooting environment, you’ll learn the secrets to successfully rooting new rose plants right at home.
Why Choose Rose Propagation by Cuttings?
Rose propagation is possible in many ways—seeds, grafting, air layering—but cuttings remain the most popular method. Here’s why:
Clones the Parent Plant
The new plant will have the exact same blooms, fragrance, color, and growth pattern.
Cost-Free Gardening
One healthy rose bush can give you dozens of new plants—no need to buy new saplings.
High Success Rate
With the right method, cuttings root quickly and reliably.
Fast Results
Compared to growing from seeds, cuttings become established plants much sooner.
Perfect for Beginners
Needs minimal equipment and very basic gardening skills.
Rose propagation by cuttings is both practical and magical—a small stem transforms into a beautiful rose bush right before your eyes.
When Is the Best Time to Propagate Roses?
Timing is everything. The ideal seasons for rooting rose cuttings are:
Spring (best)
Soft, flexible green stems root easily.
Early Monsoon
Soil moisture and humidity increase success.
Early Autumn
Semi-hardwood stems root strongly before winter.
Avoid extremely hot summer months and very cold winters, as stress reduces rooting success.
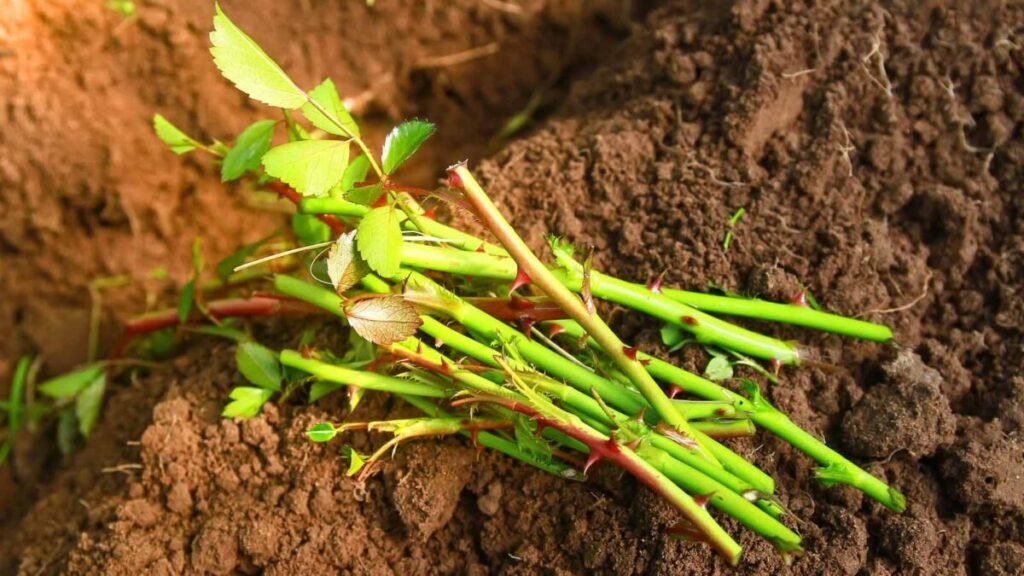
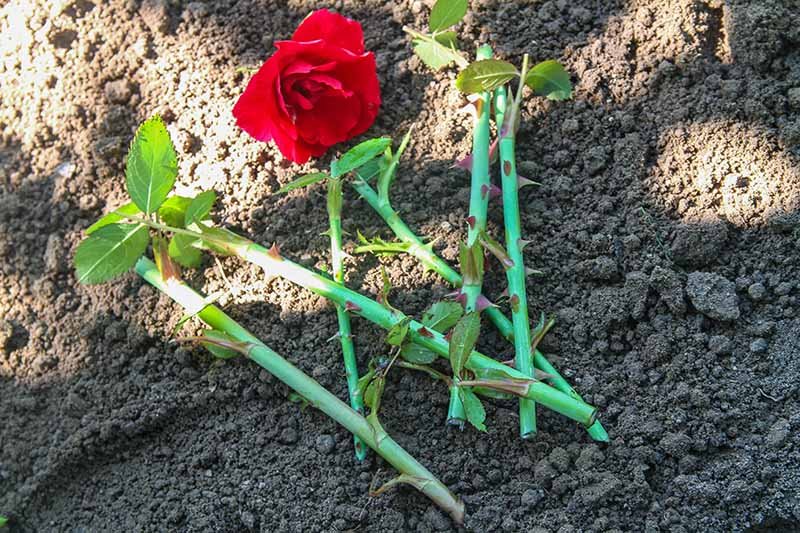
Selecting the Perfect Cutting
Choosing the right stem increases your chances of success dramatically.
✓ Choose a Healthy Stem
Look for disease-free, pest-free, fresh stems.
✓ Semi-Hardwood Stems Work Best
These are stems that are not too soft and not fully woody.
✓ Select a Stem with a Thick Diameter
Thicker stems hold more stored energy and root better.
✓ Length of Cutting
Each cutting should be 6–8 inches long and must include:
- At least 3 nodes
- A healthy bud or leaf joint
✓ Use Morning Cuttings
Stems are full of moisture and nutrients early in the day.
Once you’ve selected your stem, it’s time to prepare it properly.
Preparing the Rose Cutting for Rooting
Step 1: Make a Clean Cut
Use sharp, sterilized pruners to avoid infection.
- Cut the bottom of the stem just below a node (45-degree angle).
- Make the top cut half an inch above a node (straight cut).
Step 2: Remove Lower Leaves
Strip off all leaves from the bottom half of the stem. This prevents moisture loss and rotting.
Step 3: Keep Only One or Two Leaves at the Top
This helps the cutting continue photosynthesis without losing too much water.
Step 4: Remove All Flowers or Buds
The plant must focus on root growth, not blooming.
Step 5: Lightly Scrape the Bottom Skin
Gently remove a thin layer of bark (2 cm long). This encourages stronger rooting.
Step 6: Apply Rooting Hormone (Optional but Highly Effective)
Dip the bottom end in:
- Commercial rooting powder
- Honey + cinnamon
- Aloe vera gel
- Willow water
These natural boosters protect the stem and encourage new root cells.
Your cutting is now ready for planting.
The Best Medium for Rooting Rose Cuttings

The right soil mix can triple your success rate.
Ideal Rooting Mix Includes:
- 40% cocopeat
- 40% sand or perlite
- 20% garden soil or compost
This mix provides:
- Excellent drainage
- Proper aeration
- Moisture retention
- A sterile environment
Avoid heavy clay soils—they cause rotting.
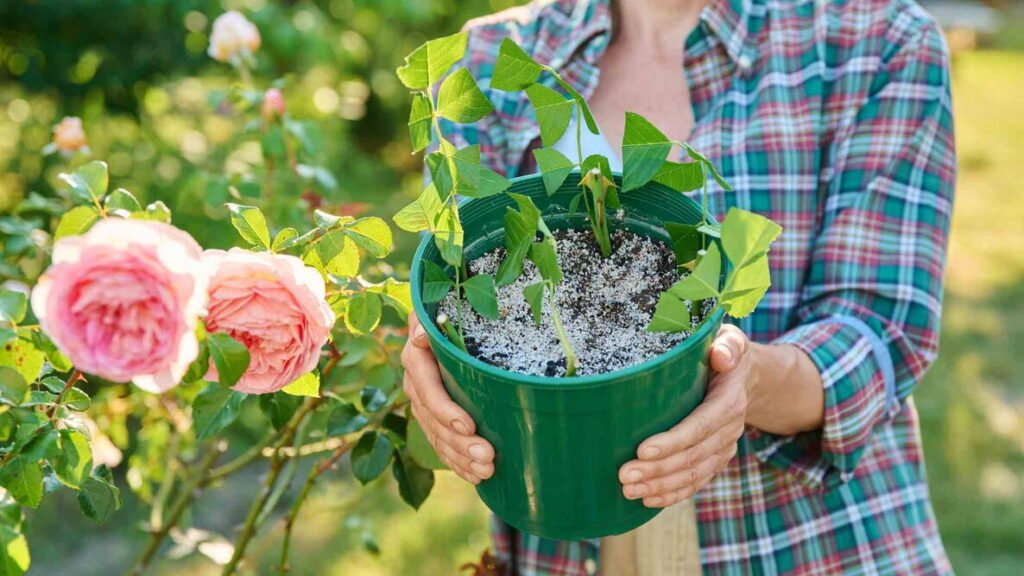
How to Plant the Cutting Properly
Step 1: Prepare the Pot or Bed
Use a small pot or a grow bag with drainage holes.
Step 2: Insert the Cutting
Push the stem 2–3 inches deep, ensuring at least two nodes are inside the soil.
Step 3: Firm the Soil
Gently press the soil around the stem to remove air pockets.
Step 4: Water Lightly
Do not overwater. The soil should be moist—never soggy.
Step 5: Create a Mini Greenhouse
Cover the pot with:
- A plastic bottle (cut in half)
- A transparent plastic bag
- A mini propagator dome
This traps humidity and accelerates rooting.
Place the setup in bright indirect sunlight, not direct light.
Watering and Aftercare
Your rose cutting needs gentle care to root successfully.
Keep Soil Moist but Not Wet
Overwatering is the biggest cause of failure.
Maintain High Humidity
Spray inside the dome weekly if needed.
Provide Light
4–6 hours of bright, indirect light daily is ideal.
Avoid Disturbing the Cutting
Do not tug or check for roots too soon.
Provide Warmth
Temperatures between 20–28°C are perfect.
How Long Until Roots Form?
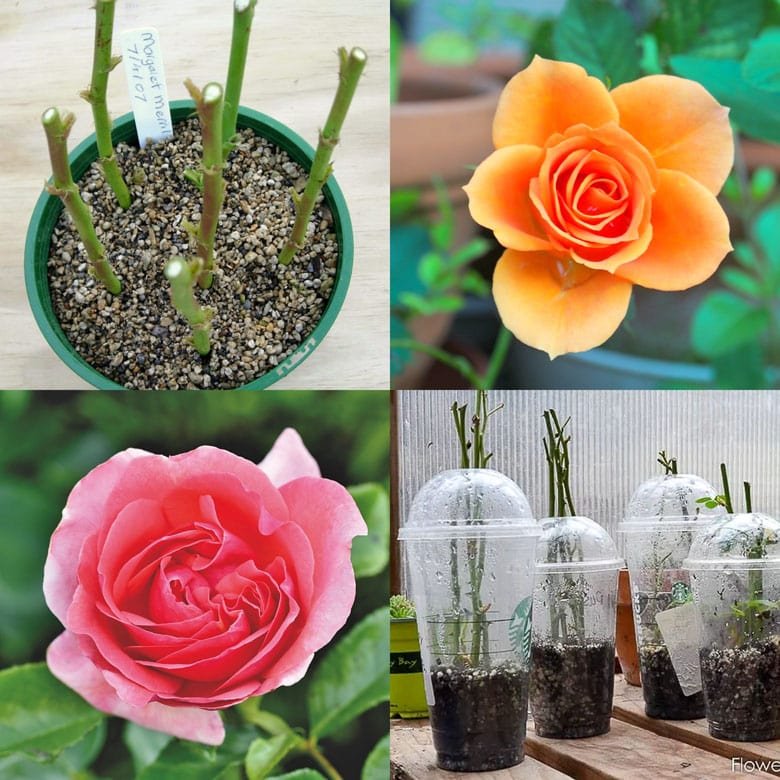
Rose cuttings typically begin to root in:
- 10–14 days — early callus forms
- 3–4 weeks — first roots appear
- 6–8 weeks — cutting becomes a young plant
Once strong leaves appear, you’ll know the rooting is successful.
Transplanting Your Newly Rooted Rose
Once roots are 2–3 inches long, transplant the cutting into a larger pot.
Use a Rich Potting Mix:
- 40% garden soil
- 30% compost
- 20% cocopeat
- 10% sand
After Transplanting:
- Water lightly
- Keep in partial shade for 1 week
- Gradually move into sunlight
Within a few months, your rose bush will grow strong and lush.
Bonus Tip: Unusual Methods to Increase Rooting Success
Gardeners worldwide use special tricks to get better results:
Aloe Vera Potting
Plant the cutting inside a large aloe vera leaf.
Potato Method
Insert the cutting into a potato and plant the potato.
Honey Water Spray
Acts as a natural antibacterial solution.
Aspirin Water
Helps strengthen immunity and prevent fungal growth.
These methods aren’t mandatory—but they can boost success rates.
Common Mistakes to Avoid
To ensure your experiment doesn’t fail:
Do NOT place the cutting in direct sunlight
Do NOT overwater
Avoid using weak or diseased stems
Do not disturb the cutting too often
Do not use dense, clay-heavy soil
Avoiding these mistakes will dramatically increase your chances of rooting beautiful new rose plants.
Final Thoughts: Grow a Garden Full of Roses from a Single Stem
Propagating roses by cuttings is one of the most rewarding gardening techniques. With just a little patience and the right method, you can turn a simple stem into a thriving rose plant that will bloom year after year.
Whether you want to expand your garden, gift rose plants to friends, or preserve a special variety, this method offers unlimited potential.
Try it once, and you’ll be amazed at the magic of nature—a small piece of stem growing into a full, blossoming rose bush. Your garden will soon be filled with colors, fragrances, and the satisfaction of growing something truly beautiful with your own hands.