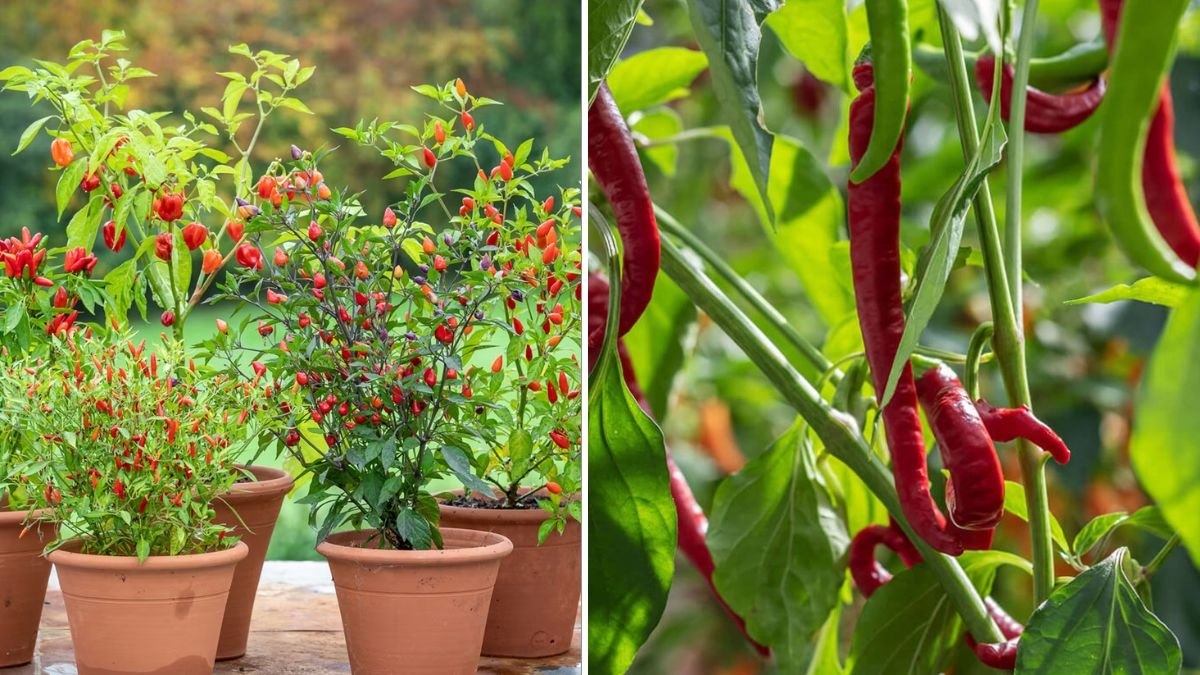
Chili peppers are a staple in kitchens around the world, adding flavor, spice, and heat to countless dishes. Growing chili plants at home is not only rewarding but also ensures a fresh, organic supply of your favorite peppers. While many gardeners start with seeds purchased from nurseries, you can also grow chili plants directly from chili fruits, making it a cost-effective and fun approach to gardening. In this guide, we’ll explore step-by-step instructions, expert tips, and techniques for successfully growing chili plants from chili fruits.
1. Why Grow Chili Plants from Chili Fruits?
Growing chili plants from chili fruits is an excellent way to utilize mature peppers while creating new plants. This method offers several advantages:
- Cost-effective: No need to buy seeds from nurseries.
- Organic: You can select fruits from organic chili plants to maintain purity.
- Variety preservation: You can grow unique chili varieties you enjoy.
- Sustainability: Reduces waste by using mature fruits that might otherwise go unused.
Moreover, growing chili plants from fruits allows you to experiment with hybrid or local chili varieties, increasing diversity in your garden.
2. Selecting the Right Chili Fruits
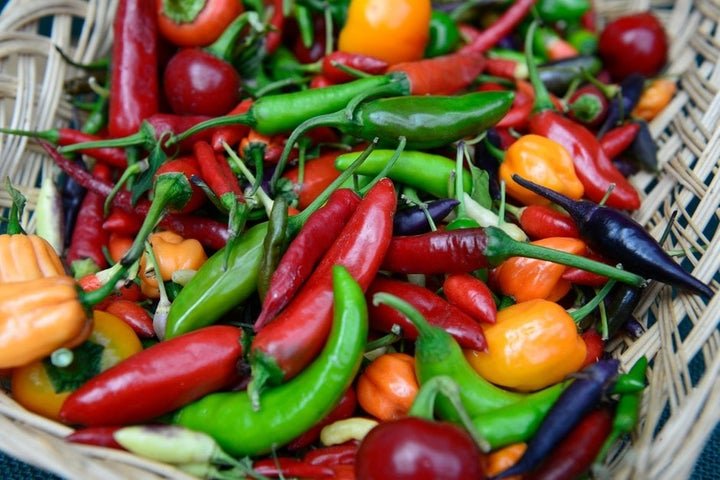
The first step in growing chili plants from fruits is selecting healthy, mature chili peppers. Here’s what to look for:
- Fully ripened fruits: Choose peppers that are fully colored (red, yellow, or orange, depending on the variety).
- Disease-free: Avoid fruits with spots, mold, or signs of rot.
- Variety: Select the variety you wish to grow, such as cayenne, jalapeño, or bell chili.
The chosen fruits should be fresh and plump, as healthy seeds are essential for strong plant growth.
3. Extracting Seeds from Chili Fruits
Once you have selected your chili fruits, the next step is to extract the seeds. Follow these steps carefully:
- Wash the fruit: Rinse the chili peppers thoroughly to remove dirt and pesticide residues.
- Cut open the fruit: Use a clean knife to slice the fruit lengthwise.
- Remove the seeds: Gently scoop out the seeds using a spoon or your fingers.
- Clean the seeds: Rinse the seeds under running water to remove the pulp, which can cause mold or bacterial growth.
- Dry the seeds: Spread the seeds on a paper towel in a cool, dry place for 2–3 days until completely dry.
Drying seeds properly ensures they remain viable for planting. Improperly dried seeds may rot or fail to germinate.
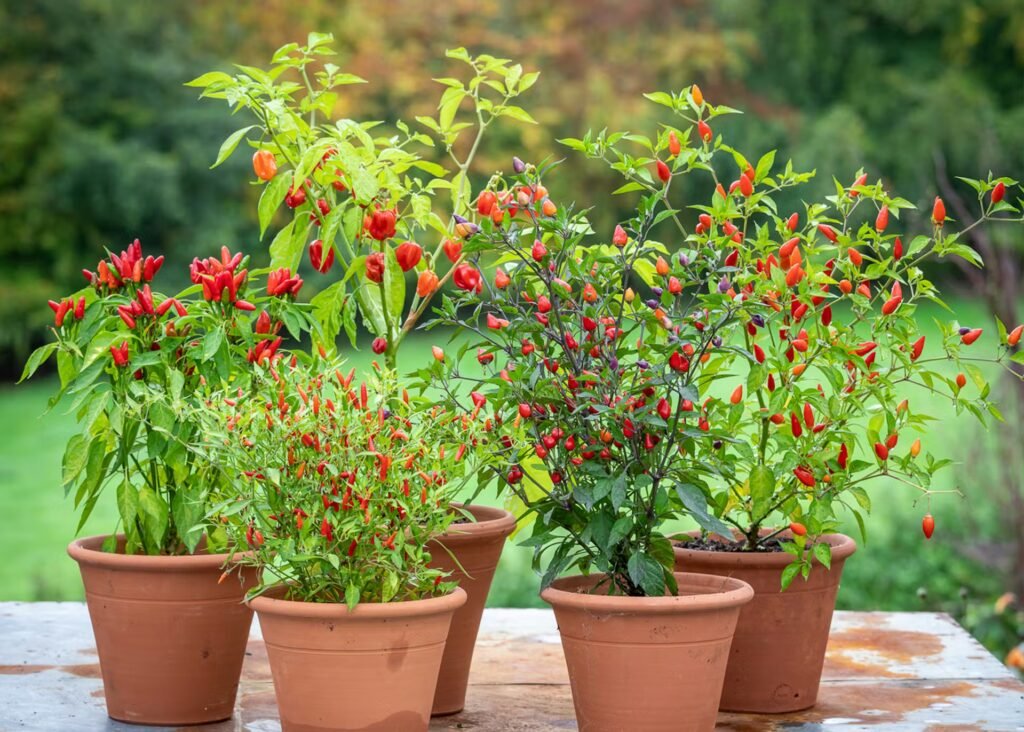
4. Preparing the Soil and Containers
Chili plants require well-drained soil rich in organic matter. Follow these tips to prepare the planting medium:
- Use loose, sandy loam or a mixture of garden soil, compost, and sand in equal proportions.
- Ensure containers or seed trays have drainage holes to prevent waterlogging.
- Fill the containers with soil up to 1–2 cm below the rim.
Good soil preparation ensures proper root development and healthy seedling growth.
5. Planting the Chili Seeds
Once your seeds and soil are ready, it’s time to plant. Here’s a step-by-step guide:
- Sow the seeds: Plant seeds 0.5–1 cm deep in the soil.
- Space them: If using a tray, sow 2–3 seeds per cell to ensure germination, later thinning to the strongest seedling.
- Water gently: Use a spray bottle to moisten the soil without washing away the seeds.
- Cover lightly: Cover the seeds with a thin layer of soil or vermiculite to retain moisture.
Chili seeds typically germinate within 7–14 days, depending on temperature and variety.
6. Providing Optimal Germination Conditions
Chili seeds need the right environment to germinate successfully:
- Temperature: Maintain a warm temperature of 25–30°C (77–86°F).
- Light: Place trays or containers in a bright, indirect sunlight location. Avoid direct sunlight, which can dry out young seeds.
- Moisture: Keep the soil consistently moist but not waterlogged.
- Humidity: Covering the container with a plastic sheet can help maintain humidity during germination.
Proper care during the germination phase is crucial for healthy seedlings.
7. Transplanting Seedlings
After 4–6 weeks, seedlings will develop their first set of true leaves. It’s time to transplant them into larger containers or your garden.
Steps for transplanting:
- Prepare the new location: Choose a sunny spot with fertile, well-draining soil.
- Dig holes: Make holes slightly larger than the root ball of the seedlings.
- Carefully remove seedlings: Gently lift seedlings from the tray to avoid root damage.
- Plant seedlings: Place them in holes, cover roots with soil, and press lightly.
- Water thoroughly: Ensure the transplanted seedlings receive enough water to establish.
Transplanting allows seedlings to grow into strong, productive plants.
8. Caring for Chili Plants
Chili plants require regular care to thrive and produce abundant fruits:
- Watering: Keep the soil consistently moist, reducing frequency once the plants are established.
- Fertilizing: Use a balanced fertilizer every 3–4 weeks or organic compost to boost growth.
- Pruning: Remove damaged leaves and weak branches to encourage healthy development.
- Support: Some tall varieties may require stakes to prevent bending under fruit weight.
- Pest management: Watch for aphids, whiteflies, or fungal infections. Organic pesticides or neem oil can help control pests.
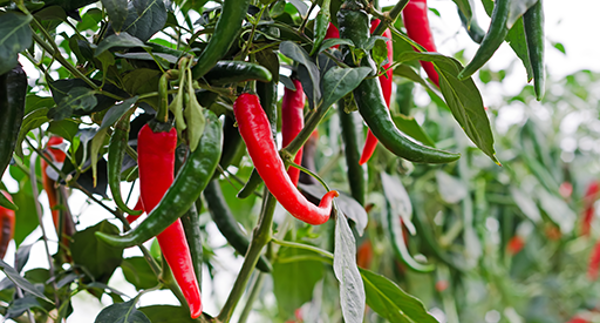
9. Flowering and Fruiting
Chili plants typically flower within 2–3 months of planting. To encourage flowering and fruiting:
- Maintain adequate sunlight (6–8 hours per day).
- Provide balanced nutrients, especially phosphorus and potassium.
- Remove early flowers from young plants to strengthen root and foliage growth.
Once flowers appear, pollination (by wind or insects) ensures fruit formation. Fruits usually mature in 60–90 days, depending on the variety.
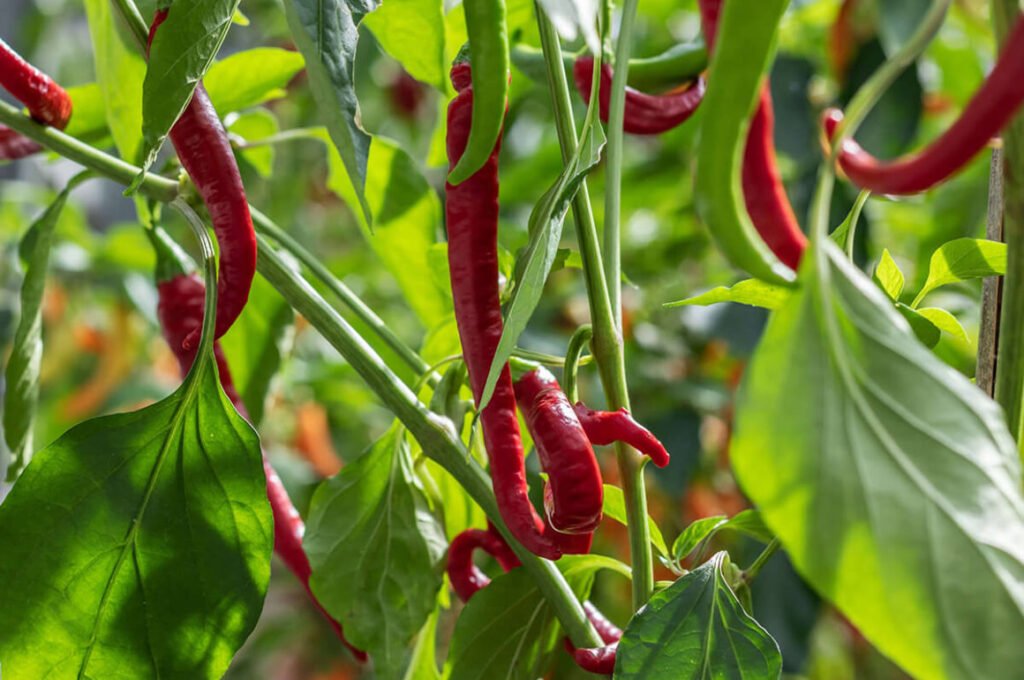
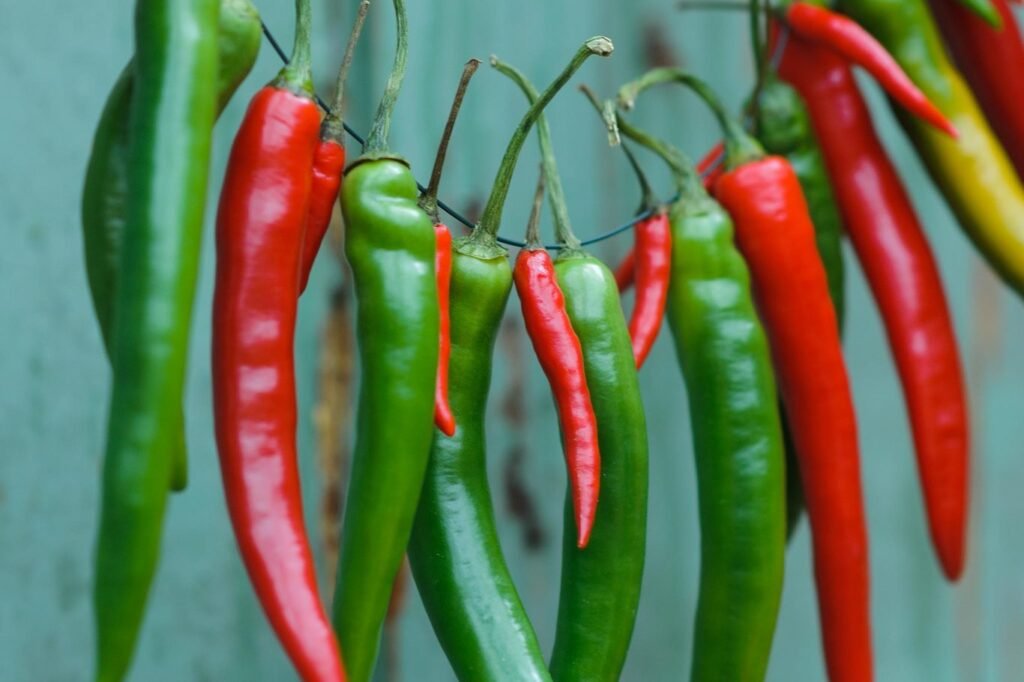
10. Harvesting Chili Fruits
Harvesting at the right time ensures maximum flavor and heat:
- Color change: Most chilies are ready when they reach their full color (red, yellow, or orange).
- Firm texture: Fruits should feel firm but not hard.
- Regular picking: Frequent harvesting encourages the plant to produce more fruits.
Harvested chilies can be used fresh, dried, or preserved, providing a continuous supply throughout the season.
11. Tips for Successful Chili Cultivation
- Use organic seeds from healthy fruits to maintain quality.
- Rotate planting locations each season to prevent soil-borne diseases.
- Mulch around the base to retain moisture and suppress weeds.
- Monitor plants daily for pests and environmental stress.
- Experiment with different chili varieties for unique flavors and heat levels.
12. Conclusion: From Fruit to Fire in Your Garden
Growing chili plants from chili fruits is an engaging and rewarding process that allows gardeners to propagate their favorite varieties while saving money and reducing waste. By carefully selecting healthy fruits, extracting and drying seeds, and providing the right soil, water, and care, anyone can cultivate strong, productive chili plants.
This method empowers home gardeners to enjoy fresh, organic chilies right from their garden while experimenting with new varieties. With patience, attention, and proper techniques, your chili garden can thrive, providing vibrant fruits full of flavor and heat for years to come.
By following these steps, from selecting the right chili fruits to nurturing seedlings into productive plants, you can transform your backyard into a fiery paradise of homegrown chilies.