Swiss chard is not only a colorful addition to your garden but also a nutritious powerhouse. Its vibrant leaves and stems make it a versatile ingredient in many dishes, and growing it naturally can yield a bountiful harvest. This article will guide you through the steps to grow Swiss chard organically and successfully.
1. Understanding Swiss Chard
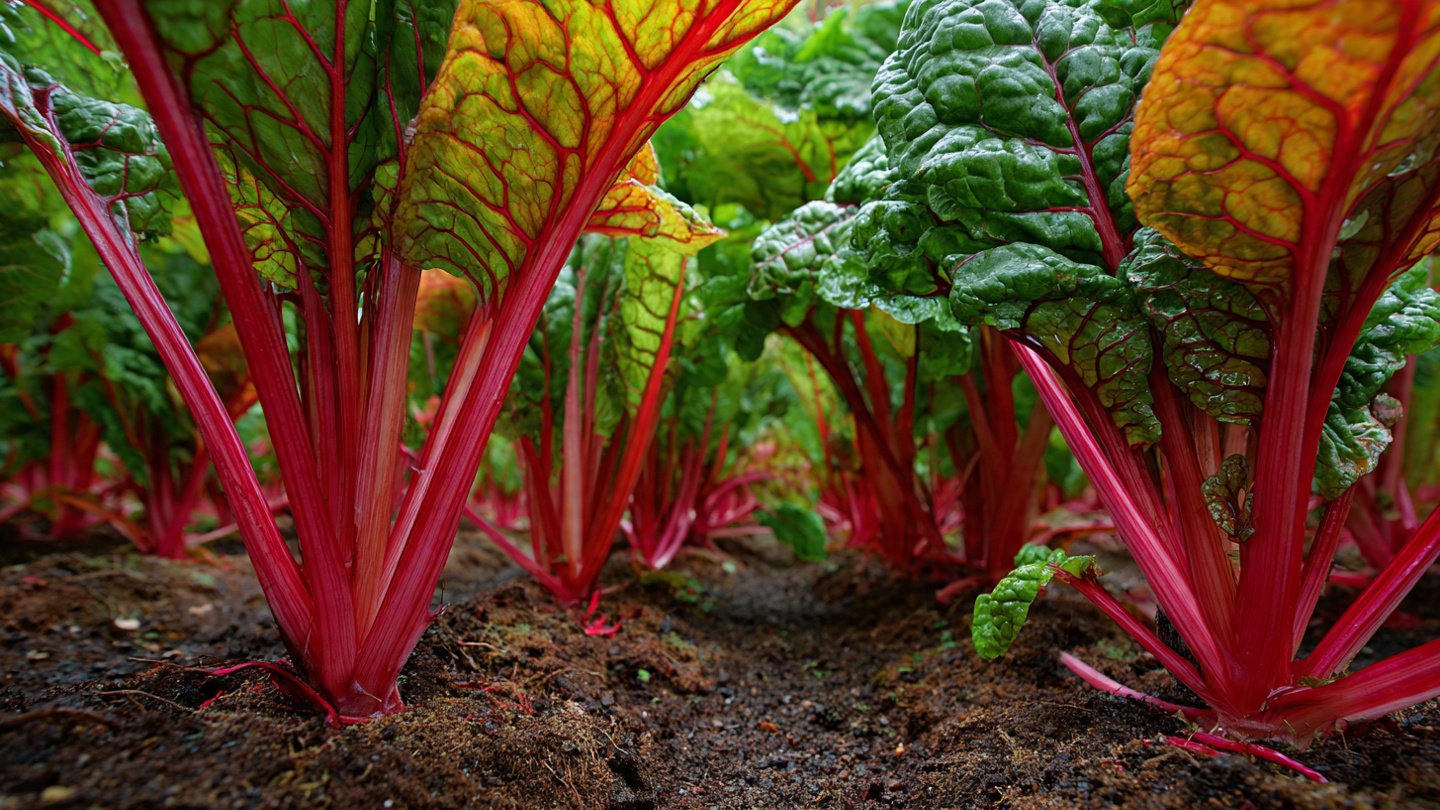
Swiss chard (Beta vulgaris subsp. cicla) is a leafy green vegetable known for its large, dark green leaves and thick, crunchy stems, which can be white, yellow, or red. It is a member of the beet family and is often grown for its edible leaves and stalks. Swiss chard is rich in vitamins A, C, and K, as well as minerals like magnesium and potassium, making it a beneficial addition to your diet.
Benefits of Growing Swiss Chard
- Nutritional Value: Packed with vitamins and minerals, Swiss chard helps boost your immune system and supports overall health.
- Versatility: It can be eaten raw in salads, sautéed, steamed, or added to soups and casseroles.
- Easy to Grow: Swiss chard is fairly resilient and can tolerate various growing conditions.
- Continuous Harvest: With proper care, Swiss chard can be harvested multiple times throughout the growing season.
2. Choosing the Right Variety
There are several varieties of Swiss chard, each with its characteristics. Here are a few popular types:
- Rainbow Chard: Known for its colorful stems, this variety adds visual appeal to your garden.
- Fordhook Giant: A traditional type with large, broad leaves perfect for cooking.
- Bright Lights: Another colorful choice with vibrant, multicolored stems.
Select a variety that suits your taste and garden aesthetic.
3. Preparing Your Garden
3.1. Choosing a Location
Swiss chard thrives in full sun but can tolerate partial shade, especially during hot summer months. Choose a site that receives at least 6 hours of sunlight daily. Good air circulation is crucial to minimize disease.
3.2. Soil Preparation
Swiss chard prefers well-draining, fertile soil with a pH between 6.0 and 7.0. Here’s how to prepare your soil:
- Test the Soil: Use a soil test kit to determine pH and nutrient levels.
- Amend the Soil: Incorporate organic matter such as compost or well-rotted manure to improve soil structure and fertility.
- Tilling: Loosen the soil to a depth of about 12 inches to promote healthy root growth.
3.3. Fertilization
Organic fertilizers provide crucial nutrients without synthetic chemicals. Use a balanced organic fertilizer (like 5-10-10) or compost tea when planting to give your crop a nutrient boost.
4. Planting Swiss Chard
4.1. Timing
Swiss chard is a cool-season crop, best planted in early spring or early fall. It can be sown as soon as the soil can be worked in spring and continues to grow until the first frost in fall.
4.2. Sowing Seeds
- Direct Seeding: Plant seeds directly in the garden, spacing them about 12 inches apart in rows 18 inches apart. Plant the seeds ½ to 1 inch deep.
- Transplanting: If starting indoors, transplant seedlings when they are about 3-4 inches tall and have at least two sets of true leaves.
4.3. Thinning
Once seedlings have established, thin them to avoid overcrowding. Aim for a spacing of 6-12 inches between plants.
5. Watering and Maintenance
5.1. Watering
Swiss chard requires consistent moisture, especially during hot weather. Water your plants deeply once a week, adjusting the frequency based on rainfall and soil moisture. Mulching can help retain soil moisture and suppress weeds.
5.2. Weeding
Regular weeding is crucial for Swiss chard’s growth. Weeds compete for nutrients and water. Use organic mulch, hand-pulling, or a hoe to keep your beds weed-free.
5.3. Pest Control
Swiss chard may attract pests such as aphids, leaf miners, and snail. Use the following organic methods for pest control:
- Companion Planting: Planting marigolds or nasturtiums nearby can deter aphids.
- Insecticidal Soap: A natural insecticidal soap can help manage pests without harming beneficial insects.
- Row Covers: Protect young plants from pests by using lightweight row covers.
5.4. Disease Management
Swiss chard is resistant to many diseases, but problems like downy mildew and root rot can occur. To prevent disease, practice crop rotation and ensure good air circulation around plants.
6. Harvesting Swiss Chard
Swiss chard is ready for harvest when the leaves are large enough to eat, usually around 6-8 weeks after planting. You can harvest in the following ways:
- Cut and Come Again: Cut the outer leaves about 1-2 inches above the base, allowing the inner leaves to continue growing.
- Whole Plant: If you want to clear a patch for replanting, you can pull up the entire plant.
7. Storing Swiss Chard
Freshly harvested Swiss chard can last up to a week in the refrigerator. Store it in a perforated plastic bag in the crisper drawer. For long-term storage, blanch the leaves in boiling water for 2-3 minutes, cool them in ice water, and freeze them.
8. Tips for Success
- Succession Planting: To enjoy fresh Swiss chard throughout the growing season, consider planting a new batch every few weeks.
- Season Extension: Use cloches or cold frames to extend the growing season into the cooler months.
- Monitor Growth: Regularly check for signs of nutrient deficiencies, pests, or diseases and address them promptly.
9. Conclusion
Growing a perfect crop of Swiss chard naturally is a rewarding endeavor that can yield delicious and nutritious greens. By following these steps—from soil preparation to harvesting—you’ll enjoy a steady supply of this vibrant vegetable throughout the year. Remember, the key to success lies in proper care, continuous observation, and a bit of patience. Happy gardening!