Sarson Saag, or mustard greens, is a beloved traditional dish in various regions of South Asia, especially in Punjab, India. The rich flavor and vibrant green leaves make it a staple during the winter months. Growing Sarson Saag at home is not only a rewarding gardening experience but also ensures that you have fresh, organic greens at your fingertips. This comprehensive guide will cover everything from selecting the right seeds to harvesting your Saag, along with FAQs to help you every step of the way.
1. Understanding Sarson Saag
1.1 What is Sarson Saag?
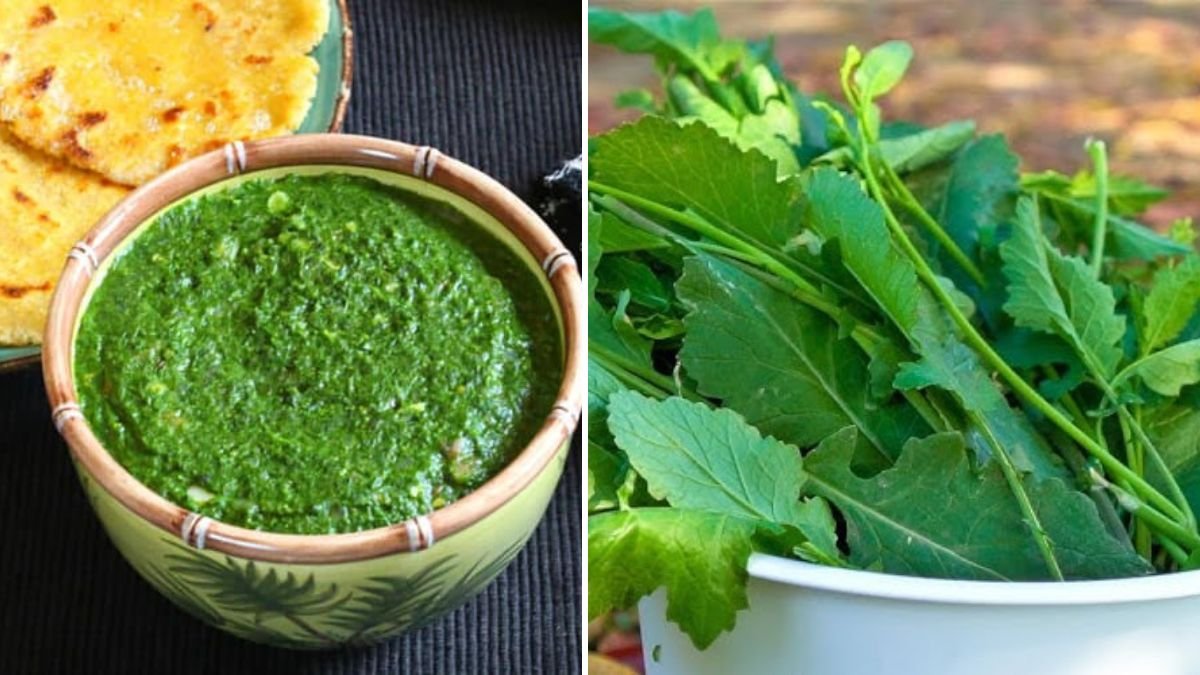
Sarson Saag primarily consists of the leaves of the mustard plant, known scientifically as Brassica rapa subsp. rapa. The leaves are nutritious, packed with vitamins A, C, and K, along with fiber and various minerals. Sarson Saag is known for its slightly spicy flavor profile, which adds depth to various dishes, including the famous Sarson da Saag, typically served with Makki di Roti (corn flatbread).
1.2 Nutritional Benefits
- Rich in Vitamins: High in antioxidants, mustard greens have anti-inflammatory properties and aid in lowering cholesterol levels.
- Mineral Content: Contains calcium, iron, magnesium, and potassium, vital for maintaining overall health.
- Low in Calories: A great addition to any diet without the worry of high caloric intake.
2. Choosing the Right Seeds
Before you start planting, the first step in growing Sarson Saag is selecting the right seeds.
2.1 Best Varieties
Some popular varieties of mustard greens include:
- Yellow Sarson: Known for its mild flavor and tender leaves.
- Black Mustard: Offers a stronger taste, ideal for more robust dishes.
- White Mustard: Commonly used for oil extraction but also edible.
2.2 Where to Buy Seeds
You can purchase mustard seeds from:
- Local Garden Centers: Often offer seeds suitable for your local climate.
- Online Retailers: Websites like Amazon or specific gardening retailers will have a variety of seeds to choose from.
3. Preparing to Grow Sarson Saag
3.1 Soil Requirements
Sarson Saag thrives in well-drained, fertile soil. Here are some tips for soil preparation:
- pH Level: Aim for a pH level between 5.5 and 7.0.
- Organic Matter: Mix in compost or well-rotted manure to enrich the soil.
- Aeration: Ensure the soil is light and aerated to promote healthy root growth.
3.2 Choosing the Right Location
Sarson Saag requires ample sunlight and should ideally be planted in a spot that receives 6-8 hours of sunlight a day. A south-facing garden plot works best.
3.3 Tools You’ll Need
- Trowel: For digging and planting.
- Rake: To level the soil surface.
- Watering Can: For consistent watering.
- Garden Fork: Useful for aerating the soil.
4. Planting Sarson Saag
4.1 When to Plant
The ideal time to plant Sarson Saag is during the late summer to early fall, or in early spring, depending on your region’s climate. The seeds germinate best in cooler temperatures (around 60°F to 70°F).
4.2 How to Plant
- Seed Preparation: You can soak the seeds in water for 24 hours before planting to encourage faster germination.
- Sowing: Plant seeds about ¼ to ½ inch deep, spaced 6-12 inches apart.
- Row Spacing: Keep rows 18-24 inches apart to allow sufficient space for the plants to grow.
4.3 Watering
After planting, water the seeds gently but thoroughly. Keep the soil consistently moist but not waterlogged. Use mulch to help retain moisture and suppress weed growth.
5. Caring for Your Sarson Saag
5.1 Fertilization
Once your plants are established (about 2-3 weeks), you may apply a balanced fertilizer every 4-6 weeks to boost growth. Organic fertilizers are recommended for home gardeners.
5.2 Pest and Disease Management
Common pests that affect mustard greens include aphids and caterpillars. Here’s how to manage them:
- Natural Repellents: Use neem oil or insecticidal soap to deter pests.
- Manual Removal: Regularly inspect your plants and remove any visible pests.
- Crop Rotation: Avoid planting in the same spot as the previous year to minimize disease.
5.3 Pruning and Thinning
As the plants grow, thin them out to ensure good air circulation and prevent overcrowding. Remove weaker plants while allowing the healthier ones to thrive.
6. Harvesting Sarson Saag
6.1 When to Harvest
Sarson Saag is ready to harvest when the leaves are about 6-10 inches long. This usually occurs approximately 6-8 weeks after planting. You can start harvesting when the lower leaves are mature, allowing the plant to continue growing.
6.2 How to Harvest
Use scissors or a sharp knife to cut leaves at the base, leaving the inner leaves to continue growing. Always harvest in the morning for the best flavor.
7. Storing Your Sarson Saag
After harvesting, wash the leaves thoroughly to remove soil and pests. You can store them:
- In the Fridge: Wrapped in a damp paper towel and placed in a plastic bag, Sarson Saag can last up to a week.
- Freezing: Blanch the leaves in boiling water for 2-3 minutes, cool them in ice water, then freeze in airtight containers for up to six months.
8. Simple Recipes Featuring Sarson Saag
8.1 Sarson da Saag
Ingredients:
- 500g Sarson Saag
- 2 tbsp mustard oil
- 1 onion, chopped
- 2-3 green chilies, slit
- Spices (salt, garam masala, etc.) to taste
Instructions:
- Wash and chop Sarson Saag. Boil in water for about 10 minutes.
- Heat mustard oil, add chopped onions, and sauté until golden brown.
- Add the boiled Sarson Saag and spices, and cook for 10-15 minutes. Serve with Makki di Roti.
8.2 Sarson Saag Salad
Ingredients:
- Fresh Sarson Saag
- Lemon juice, olive oil
- Salt and pepper to taste
Instructions:
- Toss the fresh Sarson Saag leaves with lemon juice, olive oil, salt, and pepper.
- Serve chilled as a refreshing salad!
FAQs
Q1: Can I grow Sarson Saag in pots?
Yes, Sarson Saag can be grown in pots or containers, provided they have enough depth and good drainage.
Q2: How often should I water my Sarson Saag?
Water your Sarson Saag regularly, especially during dry spells, to keep the soil moist but not soggy.
Q3: Does Sarson Saag require a lot of sunlight?
Sarson Saag prefers full sunlight. Ensure it gets 6-8 hours of sunlight daily for healthy growth.
Q4: Is it necessary to use fertilizers?
While not mandatory, using fertilizer helps boost growth and yields a more productive harvest.
Q5: Can I grow Sarson Saag in summer?
Sarson Saag prefers the cooler temperatures of spring and fall. If you live in a hotter climate, try to provide some shade during peak summer months.
Q6: How long does it take to grow Sarson Saag from seed to harvest?
Typically, it takes about 6-8 weeks from sowing to harvesting your Sarson Saag.
Q7: What is the best time to plant Sarson Saag?
The best time to plant Sarson Saag is late summer to early fall or early spring, depending on your climate.
Q8: Can I use the seeds from my Sarson Saag plants?
Yes, you can collect seeds from your Sarson Saag plants once they go to seed, usually at the end of their lifecycle.
Conclusion
Growing Sarson Saag at home is a gratifying endeavor that not only provides you with fresh, nutritious greens but also encourages you to engage with your garden. With the right techniques and a little patience, you can enjoy a bountiful harvest. Whether you use it in traditional dishes or experiment with new recipes, Sarson Saag will add unique flavor and nutrition to your meals. Happy gardening!