Growing your own cantaloupe at home is one of the most rewarding gardening experiences—especially when you learn that you can start an entire melon garden using nothing more than a store-bought cantaloupe and a small amount of soil. This method is perfect for home gardeners, beginners, balcony growers, or anyone who loves fresh, sweet, homegrown melons.
In this detailed 1200-word guide, you’ll learn how to select seeds, prepare the perfect growing environment, maximize growth in limited soil, and harvest delicious cantaloupes right from your home garden.
Introduction: From Market Fruit to Homegrown Melons
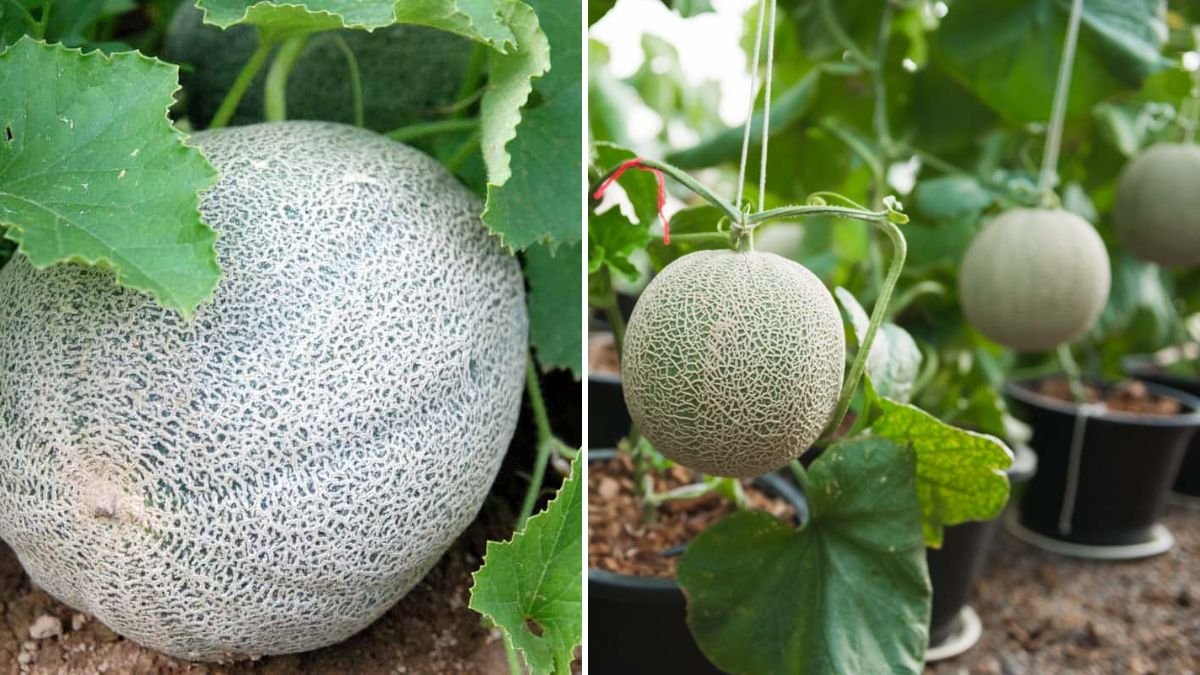
Cantaloupe (also known as muskmelon or rockmelon) is a warm-season fruit known for its juicy sweetness and refreshing aroma. Many people don’t realize that the seeds inside a store-bought melon are perfectly capable of growing healthy, productive vines.
With the right method, even a small grow bag, pot, or tiny soil bed can produce strong vines and multiple fruits. Cantaloupe roots aren’t very deep—they spread sideways—making them ideal for minimal-soil growing.
Step 1: Selecting and Preparing Seeds
Choose a ripe store-bought cantaloupe
A fully ripe, sweet cantaloupe usually contains well-matured seeds. Choose one that meets these qualities:
- Strong sweet aroma
- Slight softness at the stem end
- Golden or yellowish skin
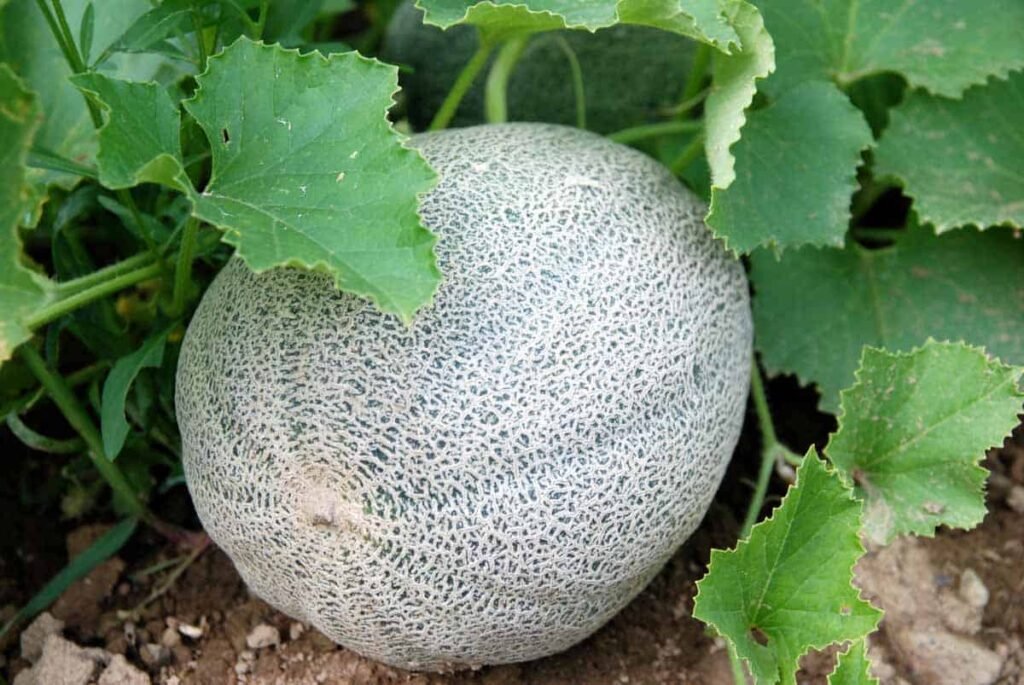
- Net-like pattern fully developed
Seed extraction
- Cut the cantaloupe in half.
- Scoop out the seeds with the attached fibers.
- Place everything in a bowl of water.
- Rub seeds between your fingers to remove pulp.
- Allow the seeds to settle—mature seeds sink, weak seeds float.
- Keep only the seeds that sink.
Drying the seeds
Spread the seeds on:
- A paper towel
- A tray
- A cloth
Let them dry for 24–48 hours. Dry seeds resist fungal diseases and germinate more successfully.
Step 2: Preparing Soil Using Only a Small Amount
Cantaloupe needs fertile, loose, aerated soil. Even with minimal soil, productivity can be high if the mix is nutrient-rich and well-balanced.
The ideal small-soil mix (for pots and bags)
Use this simple recipe:
- 40% garden soil
- 40% compost or well-rotted manure
- 20% sand/rice hulls/cocopeat for aeration
Add a handful of:
- Wood ash (potassium boost)
- Neem cake or powder (pest protection)
- Organic fertilizer pellets (slow-release nutrients)
This compact mix provides everything the plant needs even in a 10–15 liter container, or a small soil patch.
Step 3: Germinating Seeds the Easy Way
There are two excellent methods:
Method 1: Direct sowing into soil
- Make a small hole (1–2 cm deep).
- Place 2–3 seeds in each spot.
- Cover lightly with soil.
- Water gently.
Method 2: Pre-sprouting using a paper towel
This gives the highest success rate.
- Moisten a paper towel.
- Place seeds on it.
- Fold and put inside a plastic container or zip bag.
- Store in a warm place.
In 2–5 days, sprouts appear. Transplant sprouted seeds into small soil containers.
Step 4: Providing Light, Warmth, and Water
Cantaloupe is a sun-loving plant, and warmth encourages fast vine development.
Sunlight
- Needs 6–8 hours of direct sunlight daily.
- More sun = sweeter fruits.
Watering
Cantaloupe prefers:
- Moist soil during growth
- Less water during fruit ripening
Too much water near harvest reduces sweetness.
Temperature
Ideal range: 22°C–32°C
The warmer it is, the faster it grows.
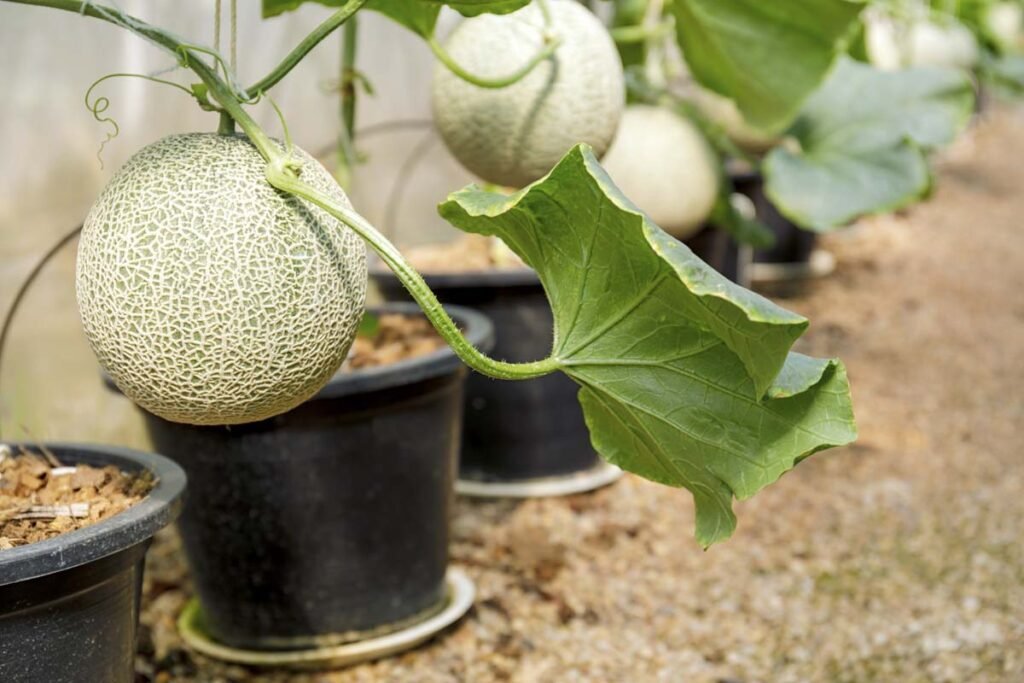
Step 5: Transplanting into Small Containers
Amazingly, cantaloupe can grow well even in limited soil.
Best container sizes
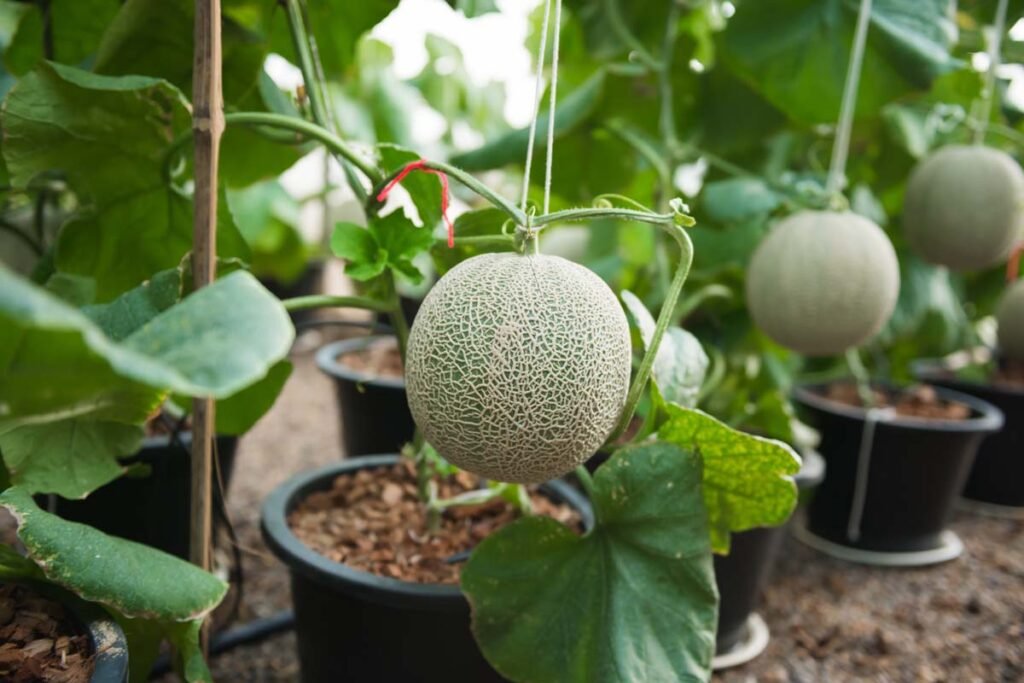
- 10–15 liter bags (recommended)
- Rectangular planters
- Deep buckets
- Raised bed corners
When transplanting:
- Place only one plant per pot.
- Ensure at least 5–6 small drainage holes.
- Add mulch on top (dry leaves, straw) to keep soil cool.
Space-saving techniques
Even with small soil, you can maximize space:
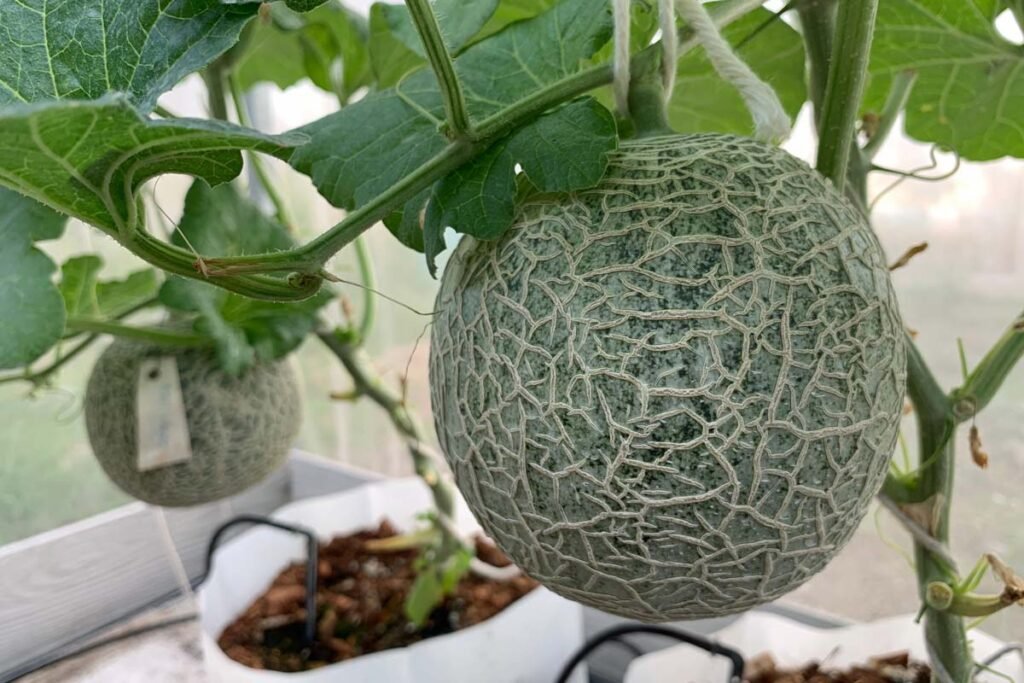
- Grow vertically using a trellis.
- Let vines trail along the ground.
- Use balcony railings for support.
Step 6: Nourishing the Plant for Maximum Growth
Cantaloupe grows rapidly, so feeding is important.
Every 10–15 days, apply:
Liquid compost tea
Banana peel fertilizer (for potassium)
Fish-amino solution (optional)
Vermicompost top-dressing
Flowering Booster
When vines grow 1–1.5 meters long:
- Add bone meal or rock phosphate
- This encourages more female flowers and increases fruit count
Step 7: Ensuring Proper Pollination
Cantaloupe produces both male and female flowers.
Male flowers:
- Appear first
- Thin stem
- No swelling at base
Female flowers:
- Have a tiny round baby melon at the base
If bees are active, nature will pollinate.
But in small-home settings, you can hand-pollinate:
Hand-pollination method
- Pick a fresh male flower.
- Remove petals.
- Gently touch the pollen to the center of the female flower.
- Do this early morning (6–8 AM).
Within 2–3 days, the fruit will start swelling.
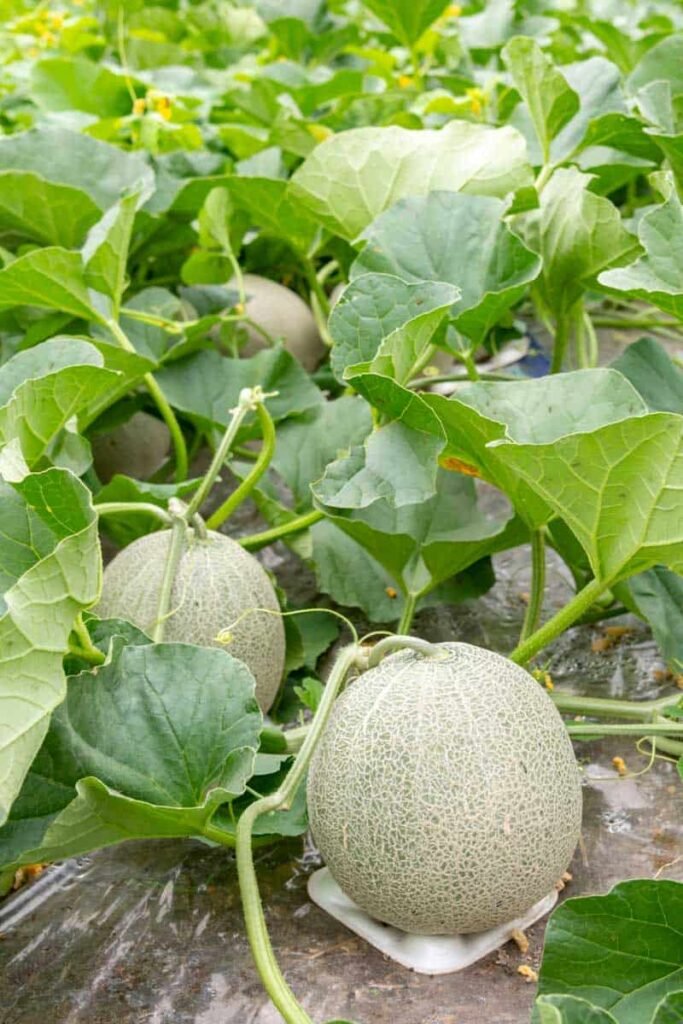
Step 8: Growing Big Fruits in Small Soil
Even with limited soil, you can get large, sweet cantaloupes.
Tips:
- Allow only 2–3 fruits per vine for maximum size.
- Support fruits with nets to prevent stem breakage.
- Reduce watering once fruits reach tennis-ball size.
- Keep soil slightly dry during last 10–12 days before harvest.
This increases sugar concentration.
Step 9: Pest and Disease Control (Organic)
Cantaloupe can occasionally face:
Common problems:
- Powdery mildew
- Aphids
- Fruit borers
- Fungus on leaves
Easy organic solutions:
- Neem oil spray (weekly)
- Baking soda + soap water spray (for mildew)
- Garlic-chili spray (pest prevention)
- Good airflow and sunlight
Step 10: Harvesting Sweet, Flavorful Cantaloupe
Signs your cantaloupe is ready:
- Strong sweet aroma
- Skin changes from green to yellow-tan
- Stem begins to crack naturally
- Net pattern becomes deeper
Do not wait too long—cantaloupe ripens quickly.
Flavor tip
Harvest in the morning for maximum sugar content.
Conclusion: A Simple Fruit That Brings Big Rewards
Growing cantaloupe from store-bought fruit with only a small amount of soil is not just possible—it’s incredibly productive and fun. With proper sunlight, minimal soil, a few nutrients, and a bit of care, you can enjoy sweet, juicy cantaloupes from your own home garden in just a few short months.
This method is perfect for:
- Balcony gardeners
- Small backyards
- Beginners
- DIY home growers
- Kids learning gardening
Delicious homegrown melons are just a few steps away—all starting from a store-bought cantaloupe!