Growing papaya in containers is one of the most rewarding and surprisingly simple gardening projects. Even if you don’t have a large yard or garden space, you can still harvest big, sweet, juicy papayas right from your balcony, terrace, or small patio. This Part 2 guide dives deep into advanced techniques, long-term care, fruiting strategies, and problem-solving—helping you succeed from seedling to a productive papaya tree.
This 1200-word article will give you everything you need to turn your young papaya plants into heavy-yielding fruit trees in containers.
Introduction: Why Grow Papaya in Containers?
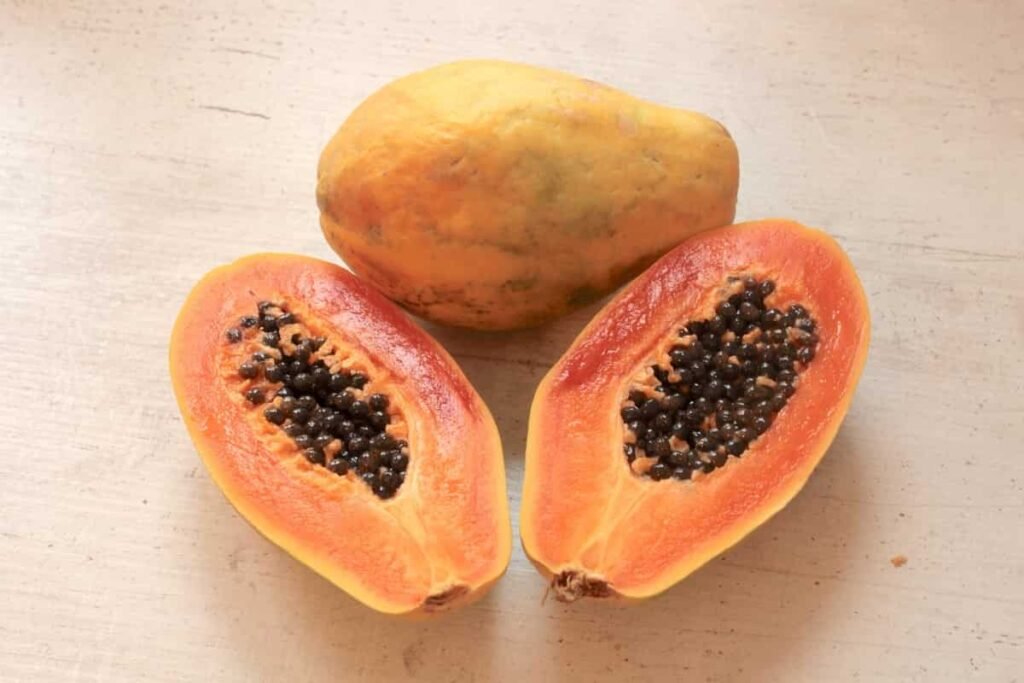
Papaya is a fast-growing tropical fruit tree known for its sweet taste, digestive health benefits, and minimal care requirements. Traditionally grown in open ground, papaya is now becoming extremely popular in urban homes, thanks to improved soil mixes, compact varieties, and smart container farming techniques.
Growing papaya in pots lets you:
- Control soil quality
- Move plants for sunlight
- Avoid soil-borne diseases
- Grow in tight spaces
- Enjoy earlier fruiting with proper care
If you followed Part 1 and successfully germinated seeds, your seedlings are ready to grow into strong, productive trees. This article focuses on growth management, repotting, pollination, pruning, pest control, fruiting stages, and harvesting.
Step 1: Choosing the Right Container for Growing Papaya

Papaya needs space for its roots to develop. Even though it grows fast, you can manage it easily in the right-sized pot.
Ideal container size:
- Minimum: 40–60 liters
- Best: 80–100 liters
- Material: Plastic drums, grow bags, cement pots, fiber pots
- Ensure 8–10 drainage holes for proper aeration.
Papaya roots expand downward, so choose a deep container rather than a wide one.
Step 2: Preparing the Perfect Soil Mix for Container Papayas
In containers, soil quality determines fruit size, plant health, and growth speed.
Best potting mix for papaya:
- 40% garden soil
- 30% compost or well-rotted manure
- 20% cocopeat
- 10% sand or perlite
Add boosters:
- 1 cup neem cake (prevents root rot)
- 1 cup bone meal (fruit development)
- 1 handful wood ash (potassium for bigger fruits)
Mix well and fill the container three-fourths full.
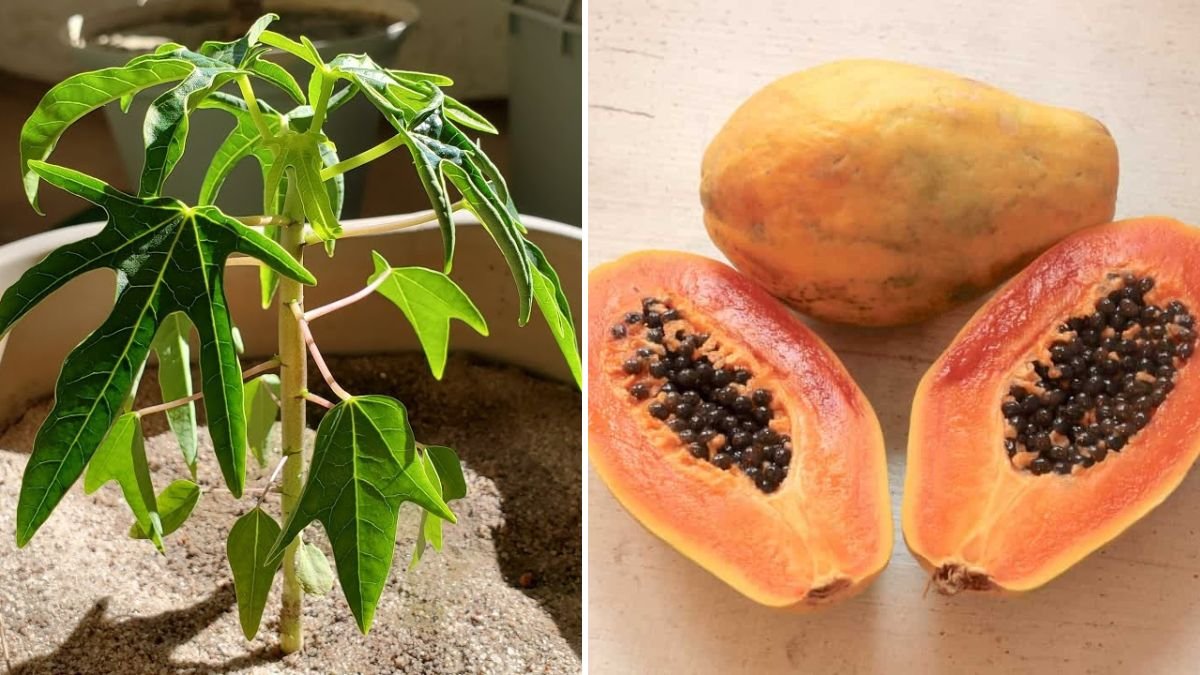
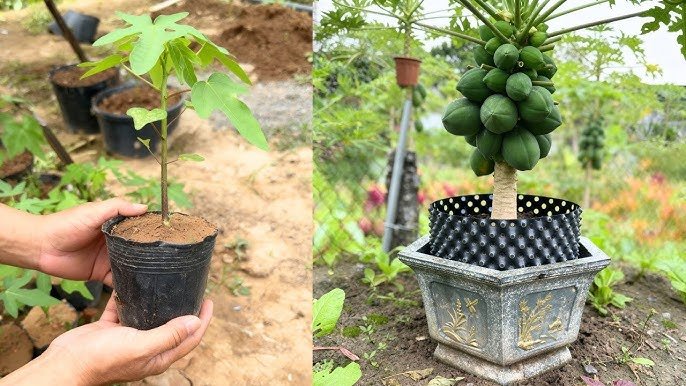
Step 3: Transplanting Seedlings into Containers

Once seedlings have:
- 4–5 true leaves,
- a height of 20–30 cm,
- and strong, straight stems,
they’re ready for transplanting.
How to transplant:
- Water seedlings a few hours before removing them.
- Gently lift them with soil around roots.
- Plant only one seedling per container for maximum fruiting.
- Keep the root collar slightly above soil level.
- Water lightly to settle soil.
Keep your newly transplanted papaya in partial shade for 2–3 days before moving to full sun.
Step 4: Sunlight and Temperature Requirements
Papaya LOVES sunlight.
Sun exposure:
- 6–8 hours minimum of direct sunlight daily
- More sunlight = sweeter, larger fruits
Ideal temperature:
- 21°C–35°C
If you live in a cooler region, keep the container in the warmest area of your home or terrace.
Step 5: Watering Your Container Papaya Correctly
Papaya grows fast and drinks a lot of water, but it hates waterlogging.
Watering rules:
- Keep soil moist but not soggy
- Water deeply 3–4 times a week
- Reduce watering in rainy season
- Avoid water on leaves during evenings to prevent fungal diseases
Tip:
Mulch with dry leaves, grass, or straw. This keeps roots cool and prevents soil from drying out.
Step 6: Feeding the Papaya for Fast Growth and Heavy Fruiting
Papayas in containers need regular feeding because nutrients wash out faster.
Feedings to apply every 15 days:
Compost tea
Banana peel liquid fertilizer
Fish amino solution
Seaweed extract
Vermicompost
At the flowering stage, add:
- 1 handful bone meal
- 1 handful wood ash
- Potassium-rich organic fertilizers
These boost fruit set and sweetness.
Step 7: Flowering and Pollination in Container Papayas
Papaya plants are usually:
- Male,
- Female, or
- Hermaphrodite (both male & female flowers on one plant).
When planting from seed, you often don’t know which type you’ll get until flowering.
Identifying flower types:
- Female flowers are large and close to the trunk
- Male flowers grow on long stems
- Hermaphrodite flowers look like elongated female flowers
Hermaphrodites are best because they self-pollinate.
Hand Pollination (for more fruits):
- Pick a fresh male flower.
- Gently brush pollen onto the center of female flowers.
- Best done early morning.
This ensures higher fruit yield in containers.
Step 8: Pruning and Height Control for Container Papaya
In pots, papaya can grow too tall. Pruning helps keep the tree manageable.
How to control height:
- When the plant reaches 3–4 feet, pinch the top.
- New branches will form and fruit at a lower height.
- Remove old yellow leaves for healthy airflow.
Benefits of pruning:
- Easier harvesting
- Stronger trunk
- More fruits
- Compact shape
Step 9: Common Problems and Solutions
Growing papaya in containers is easy, but here are typical issues:
1. Yellow leaves
Cause: Overwatering or nitrogen deficiency
Solution: Improve drainage & add compost
2. Flower drop
Cause: Heat stress, poor pollination
Solution: Hand pollinate, water regularly
3. Root rot
Cause: Water stagnation
Solution: Add sand/perlite, reduce watering
4. Small fruits
Cause: Lack of potassium
Solution: Add banana peel fertilizer, wood ash
5. Pests
Aphids, spider mites, and whiteflies
Solution: Neem oil + soap spray weekly
Step 10: Fruit Development and Care Until Harvest
Once fruits begin to appear:
Ensure proper nutrition:
- Add compost every 30 days
- Feed with liquid fertilizer weekly
Support the trunk
Container papayas can become top-heavy. Tie the trunk to a wooden or bamboo support to prevent falling.
Fruit maturity time:
Papayas take:
- 90–150 days from flowering to mature fruits
- Harvest when the skin turns light yellow
Pro Tip:
Harvest fruits early morning for maximum sweetness and juiciness.
Step 11: Harvesting Delicious Papayas in Containers
A ripe papaya will show:
- Light yellow patches
- Slightly soft skin
- Sweet aroma
- Glossy surface
Cut the fruit with a sharp knife. Avoid twisting, as it may harm the plant.
Papayas will continue fruiting for months if well cared for.
Bonus: Growing Papaya Again from the Same Container
Once the plant stops fruiting, you can:
- Remove old plant
- Refresh the top 20–30% of soil
- Add compost and new fertilizer
- Plant new seedlings
Containers can be used for several years with good maintenance.
Conclusion: Container Papaya Growing Is Easier Than You Think
Growing papaya from seeds to harvest in containers is a fun, rewarding, and productive gardening journey. With the right soil, big-enough pots, sufficient sunlight, proper nutrition, and strategic pruning, even beginners can grow tall papaya plants loaded with big, sweet fruits right at home.
What makes this method amazing:
Perfect for small spaces
Fruits within 8–12 months
Easy to maintain
No need for large land
Great for urban gardening lovers
Start your own papaya container garden today—you’ll be surprised at how quickly your plants grow, bloom, and reward you with delicious homegrown fruits!