Bitter melon, also known as bitter gourd or Momordica charantia, is a powerhouse vegetable renowned for its health benefits, from lowering blood sugar to improving digestion. Traditionally grown in gardens or fields, bitter melon requires space, soil, and careful care. But what if you could grow enormous bitter melons in just bottles at home? That’s right — using simple household bottles, you can produce a bountiful harvest that might even overwhelm your kitchen. Here’s everything you need to know to grow bitter melon in bottles and enjoy a harvest so big, you’ll be giving it away to friends and neighbors!
Why Grow Bitter Melon in Bottles?
Growing bitter melon in bottles is not just a quirky gardening trick — it’s practical and efficient. Here’s why:
- Space-Saving – Traditional bitter melon cultivation requires significant ground space. Using bottles, you can grow it on your balcony, windowsill, or any small area.
- Controlled Growth – Bottles help regulate water, nutrients, and soil, reducing disease risk and ensuring healthy plants.
- Eco-Friendly – Repurpose plastic bottles, reducing waste while growing your own nutritious vegetables.
- Early Harvest – Container growth accelerates germination and fruit development because roots are confined and nutrients are more concentrated.
- Fun and Educational – Perfect for kids or urban gardeners, bottle cultivation demonstrates plant growth in a visually rewarding way.
What You’ll Need
Before starting, gather these simple materials:
- Plastic bottles – 2-liter soda bottles work best; you’ll need 2-3 per plant.
- Potting soil – A mixture of garden soil, compost, and sand for proper drainage.
- Seeds – Bitter melon seeds, ideally soaked overnight for faster germination.
- Fertilizer – Organic options like compost tea or vermicompost.
- Watering can or spray bottle – To maintain consistent moisture.
- Knife or scissors – For cutting bottles and creating drainage holes.
- Support structure – Trellis, sticks, or string to support the vine.
Step-by-Step Guide to Growing Bitter Melon in Bottles
1. Prepare the Bottles
- Cut the top portion of the bottle (about 1/3) to make an opening for soil and planting.
- Poke 3–4 drainage holes in the bottom to prevent waterlogging.
- Optionally, cut a vertical slit on the side of the bottle to allow roots to expand.
2. Prepare the Soil
- Mix garden soil with compost in a 2:1 ratio for rich, fertile soil.
- Add a handful of sand to improve drainage and prevent root rot.
- Fill the bottle up to ¾ with this mixture.
3. Plant the Seeds
- Soak bitter melon seeds overnight to soften the hard shell.
- Plant 2–3 seeds per bottle, about 1–2 cm deep.
- Water gently to moisten the soil without washing away seeds.
4. Provide Support
- Bitter melon is a climbing vine, so install a trellis, stick, or string near the bottle.
- As the plant grows, guide the vine upward to maximize sunlight exposure and improve air circulation.
5. Watering and Fertilization
- Keep the soil consistently moist but not soggy.
- Fertilize every 10–15 days with organic compost or liquid fertilizer to boost growth.
- Avoid chemical fertilizers, as bitter melon is best grown organically.
Tips for Maximizing Your Harvest
- Sunlight – Bitter melon thrives in 6–8 hours of direct sunlight. Place bottles in a sunny balcony or near a window.
- Temperature – Ideal growing temperature is 24–30°C (75–86°F). Avoid extreme cold, which can stunt growth.
- Pruning – Trim excess leaves and side shoots to focus energy on fruit production.
- Pollination – If growing indoors, hand-pollinate flowers using a soft brush to ensure fruit formation.
- Mulching – Cover soil with straw or dry leaves to retain moisture and prevent weeds.
Watch Your Bitter Melon Grow
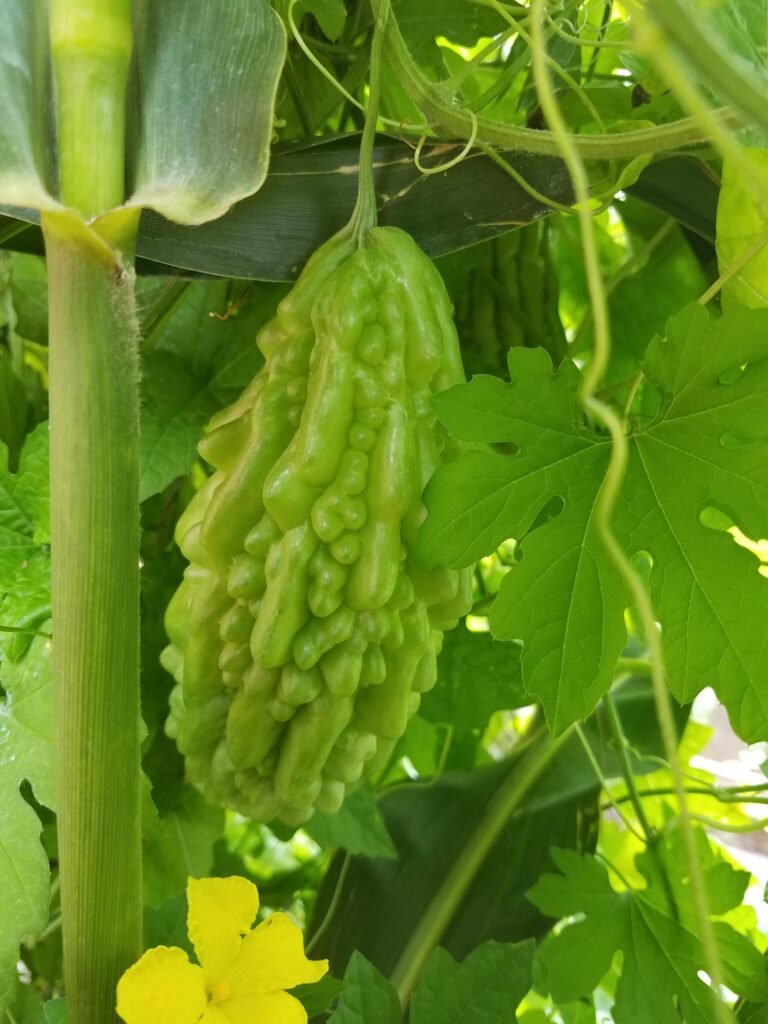
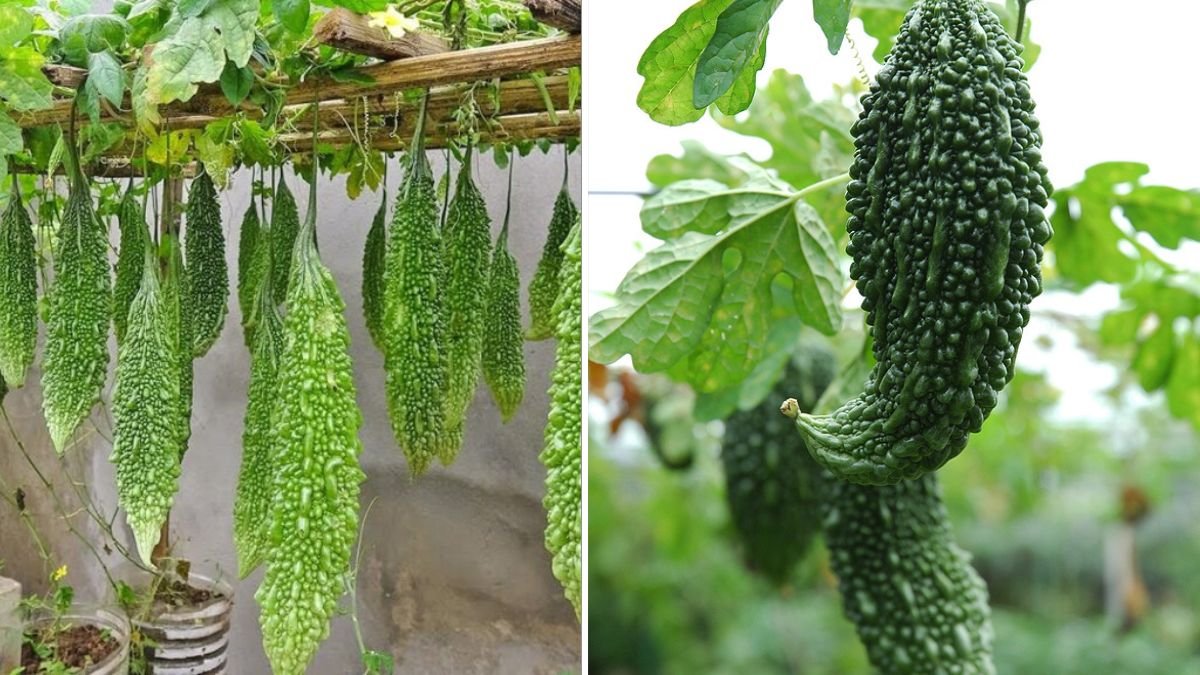
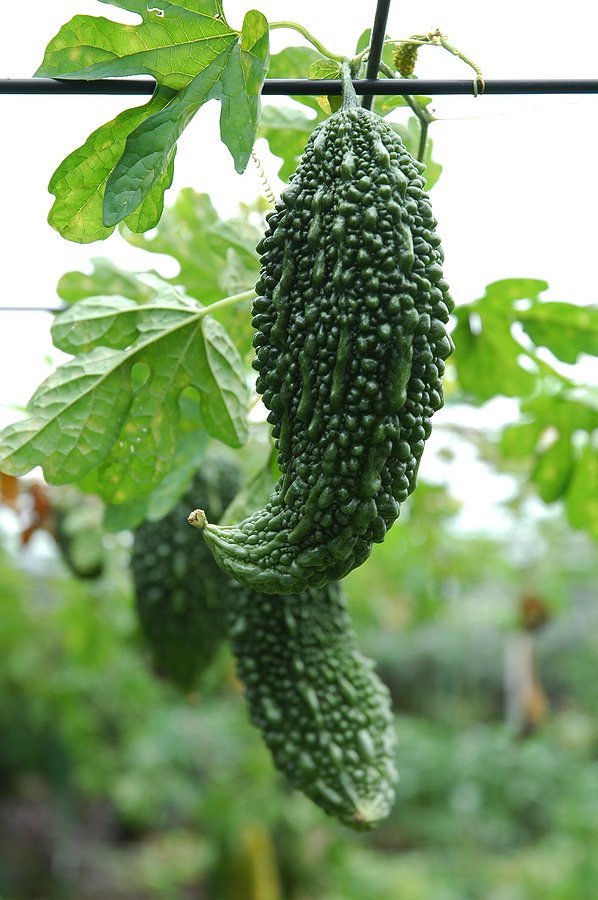
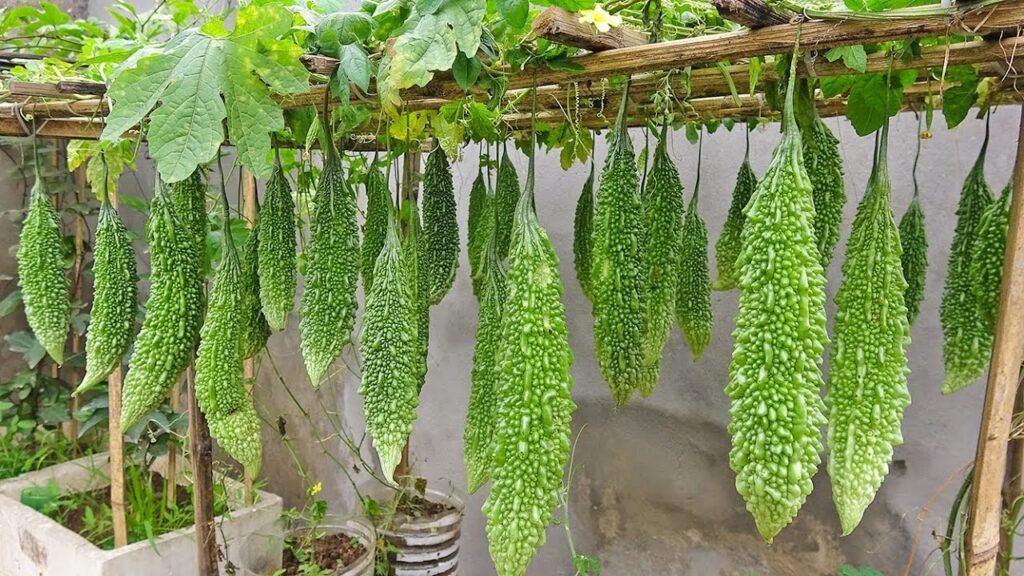
One of the most rewarding aspects of bottle cultivation is watching the vine climb and the fruits grow. Bitter melon typically takes 50–60 days from germination to harvest, depending on the variety. You’ll notice small green fruits emerging along the vine, gradually elongating and thickening.
For maximum harvest, allow the fruits to grow fully but pick them before they over-ripen, as overripe bitter melons turn yellow and lose their characteristic bitterness.
Troubleshooting Common Problems
- Yellowing Leaves – Often due to overwatering or nutrient deficiency. Reduce water and add compost.
- Pests – Aphids, whiteflies, and fruit flies are common. Use neem oil or natural predators.
- Flower Drop – Usually caused by heat stress or poor pollination. Ensure proper watering and hand-pollinate flowers if indoors.
- Small Fruits – Check sunlight exposure and fertilization; insufficient nutrients can stunt fruit growth.
Harvesting Your Bitter Melon
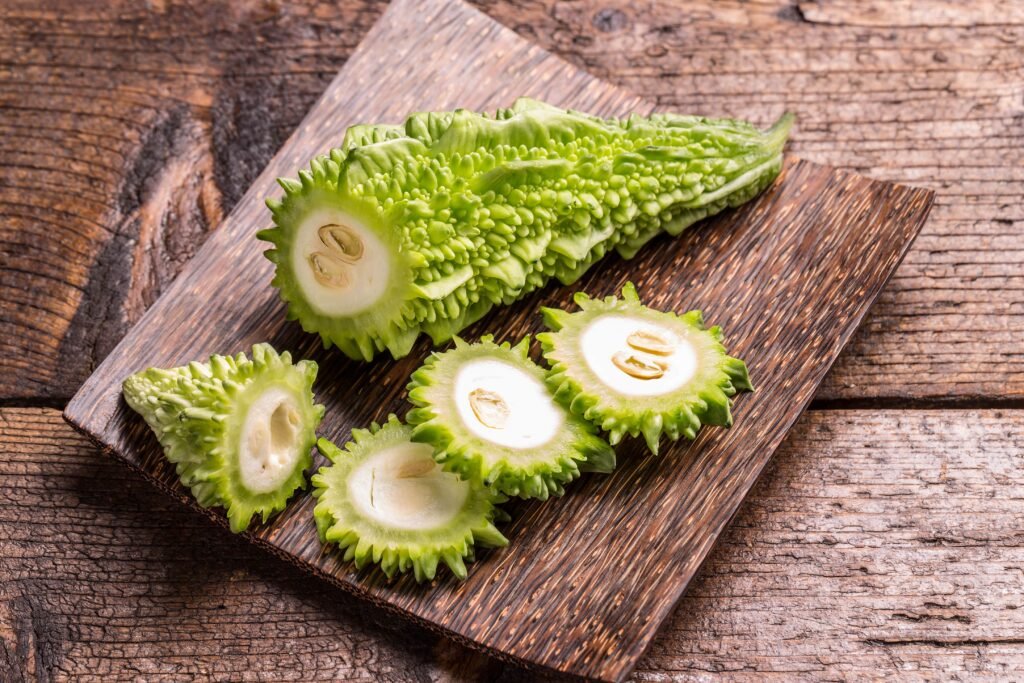
When your bitter melons are ready, they’ll be bright green, firm, and around 4–6 inches long (some varieties grow larger!). Harvest by cutting the fruit with scissors or a knife to avoid damaging the vine.
Pro tip: Harvest every 2–3 days once fruits start appearing. Regular picking encourages new fruit formation, ensuring a continuous supply.
Health Benefits of Bitter Melon
Bitter melon isn’t just a unique vegetable to grow at home — it’s packed with nutrients and medicinal properties:
- Lowers Blood Sugar – Contains charantin and polypeptide-p, natural compounds that help regulate blood sugar levels.
- Rich in Vitamins and Minerals – High in vitamin C, vitamin A, potassium, and iron.
- Boosts Immunity – Antioxidants help fight inflammation and improve overall immunity.
- Aids Digestion – Bitter properties stimulate digestion and liver function.
- Supports Weight Loss – Low in calories and high in fiber, perfect for healthy diets.
With a bottle-grown harvest, you can enjoy these benefits fresh every day, straight from your balcony or kitchen.
Creative Uses for a Big Harvest

When your harvest is so big, you can’t eat it all, here are some creative ways to use bitter melon:
- Juices and Smoothies – Blend with other fruits and vegetables for a health-boosting drink.
- Stir-Fries – Sauté with garlic, onions, and spices for a classic dish.
- Pickles – Preserve bitter melon for months with a tangy pickle recipe.
- Soups and Curries – Add to soups or curries for flavor and nutrition.
- Share with Neighbors – Spread the health benefits by giving away surplus produce.
Conclusion
Growing bitter melon in bottles is a fun, rewarding, and productive way to enjoy one of nature’s healthiest vegetables. With minimal space, simple materials, and proper care, you can achieve a bountiful harvest that might even be too big to eat alone. From the thrill of watching the vines climb to the joy of harvesting nutritious fruits, bottle cultivation is an innovative gardening method perfect for urban spaces, beginners, and anyone passionate about healthy living.
So, grab a few bottles, prepare your soil, and start growing bitter melon today — your kitchen, and your health, will thank you!