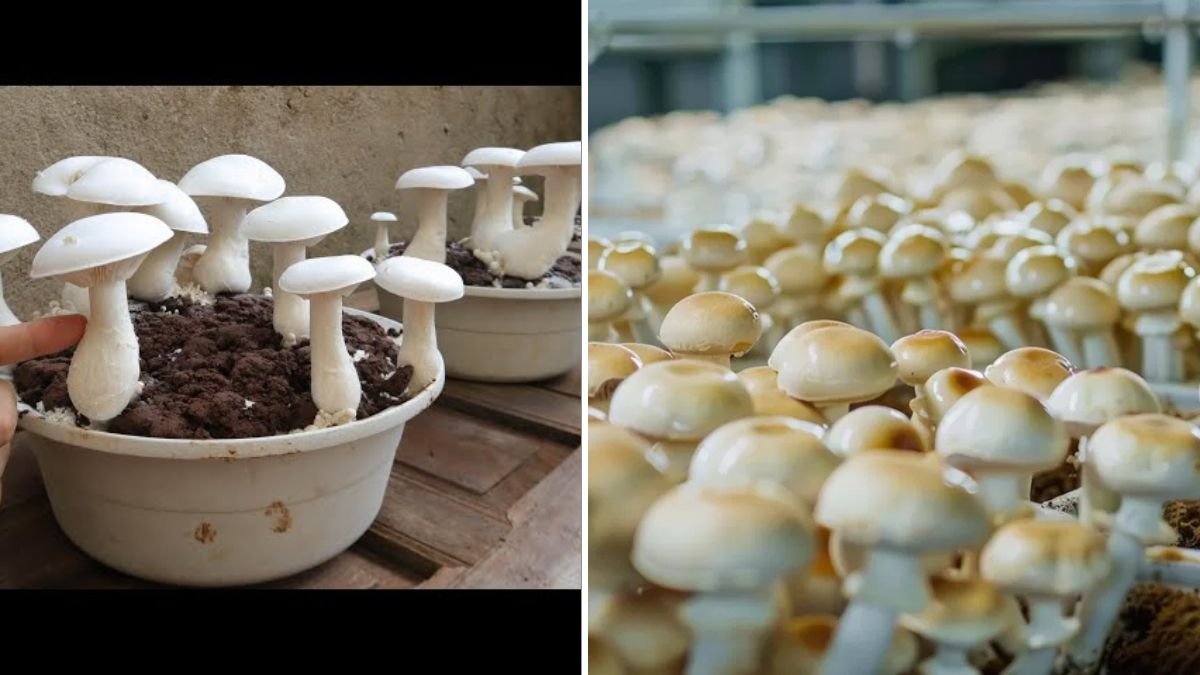
Growing mushrooms at home might seem like a mysterious or complicated process, but the truth is much simpler—you can successfully grow delicious, fresh mushrooms using store-bought mushrooms! Whether you love cooking with mushrooms, enjoy gardening projects, or simply want a sustainable source of fresh food, cultivating supermarket mushrooms is one of the easiest and most rewarding indoor growing activities.
This complete 1200-word guide will walk you step-by-step through how mushrooms grow, what materials you need, and how to turn those mushrooms from the grocery store into your own thriving mini mushroom farm.
Why Grow Mushrooms from Supermarket Mushrooms?
Supermarket mushrooms are usually sold for cooking, but many varieties still contain living mycelium—the white, thread-like “root” network of the fungus. As long as the mushrooms are fresh and not cooked or dried, they can often regrow in the right environment.
Benefits of Growing Your Own Mushrooms:
- Extremely low cost – You can start with just a few scraps of store-bought mushrooms.
- Fast results – Many mushrooms grow in just 2–4 weeks.
- Space-saving – Perfect for small apartments, kitchens, balconies, and indoor shelves.
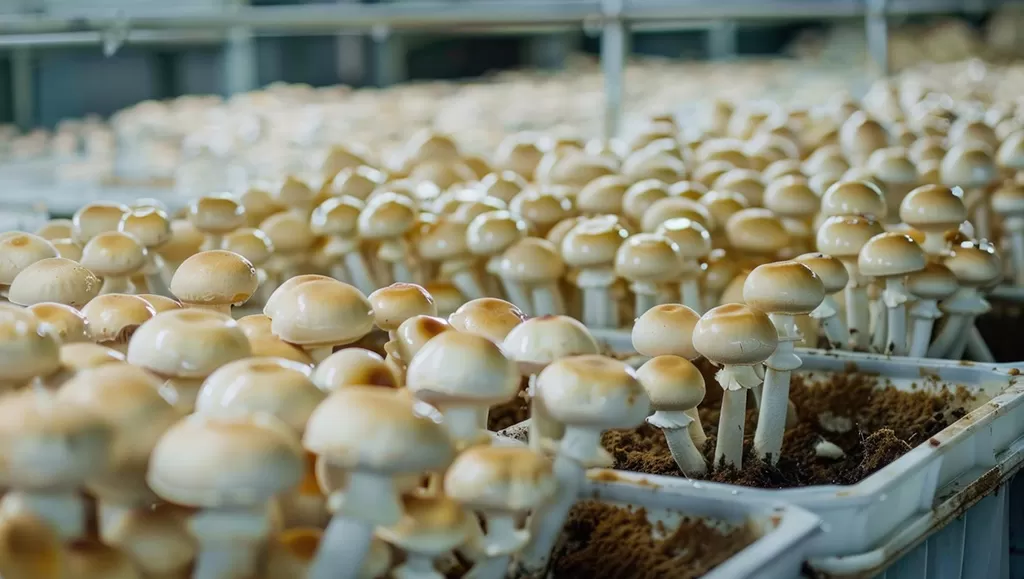
- Continuous supply – Once established, mycelium can produce multiple flushes (harvest cycles).
- Sustainable – Mushroom scraps become living food again instead of waste.
Whether you enjoy oyster, shiitake, or button mushrooms, you’ll be amazed at how easy it is to regrow them at home.
Understanding Mushroom Growth: Mycelium Comes First
Mushrooms are only the fruiting bodies of a much larger hidden network called mycelium. Think of mycelium as the root system of the fungus. When you plant mushroom scraps, you’re actually cultivating this underground network.
Once the mycelium spreads through the growing medium, it produces mushrooms in cycles known as flushes.
Growing mushrooms from store-bought mushrooms requires:
- A healthy piece of mushroom tissue
- A clean environment
- A nutritious growing medium (straw, cardboard, sawdust, or compost)
- Moisture and fresh air
Once these conditions are met, your mushroom project comes to life.
Best Mushroom Varieties to Regrow from the Store
Not all mushrooms from supermarkets will regrow successfully, but many common varieties do very well:
Best Choices
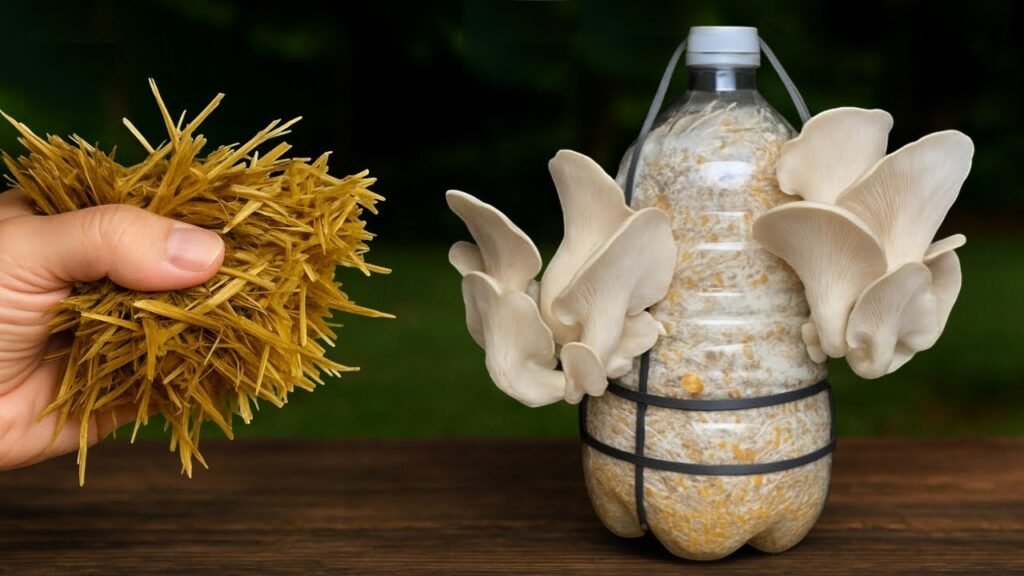
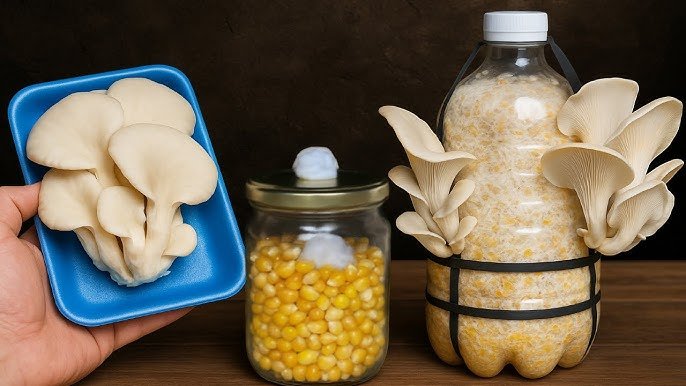
- Oyster mushrooms – Fast-growing and beginner-friendly.
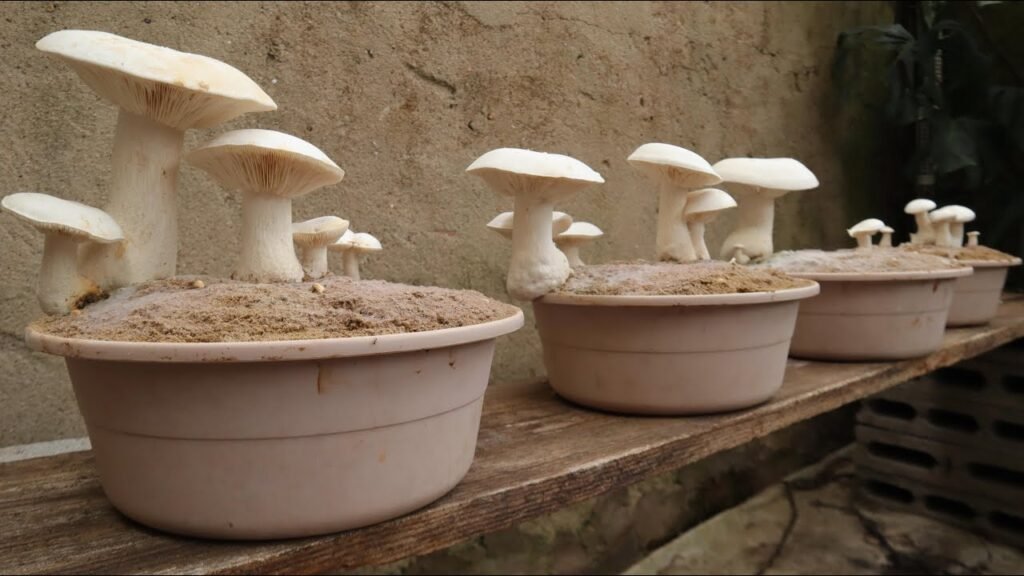
- King oyster mushrooms – Grow large and meaty.
- Shiitake mushrooms – Slower but flavorful and easy to regrow from stems.
- Enoki mushrooms – Thin, delicate, and quick to fruit.
Mushrooms NOT suitable:
- White button mushrooms (Agaricus bisporus) are harder because they’re often sterilized before packaging. Some may still grow but success rates are low.
To maximize success, choose the freshest mushrooms in the store—the ones that still look firm with white, healthy inner stems.
What You Need to Start Growing
You don’t need a lab or complicated equipment. Just gather these simple materials:
Materials:
- Fresh supermarket mushrooms (stems or caps can work)
- Clean scissors or knife
- Growing container (plastic box, tub, bucket, or jar)
- Growing medium:
- Pasteurized straw
- Shredded cardboard
- Sawdust (best for shiitake)
- Coconut coir (mixed media)
- Spray bottle for misting
- Breathable cover (plastic wrap with holes or cloth)
- Gloves (optional but helpful)
That’s it—you’re ready to start your mushroom farm.
Step-by-Step Guide: How to Grow Mushrooms from Store-Bought Mushrooms
Step 1: Prepare the Mushroom Tissue
You can propagate mushrooms using the inner stem tissue. This part is clean, alive, and ready to grow.
- Take a fresh mushroom.
- Tear it open with your fingers—do NOT cut (tearing reduces contamination).
- Extract a small piece of the inner white tissue.
- Repeat with several mushrooms for better success.
The inner tissue is sterile and gives the mycelium a head start over competing bacteria.
Step 2: Prepare the Growing Medium
Mushrooms grow best on moist—but not soggy—substrate.
For beginners, shredded cardboard is perfect:
- Soak cardboard in hot water for 30 minutes.
- Squeeze out excess water.
- Tear into small pieces.
The cardboard should feel damp like a wrung-out sponge.
For oyster mushrooms:
- Pasteurized straw works beautifully.
- Soak, heat, drain, then fill into container.
For shiitake mushrooms:
- Sterilized sawdust is ideal.
Step 3: Inoculate the Medium with Mushroom Tissue
Now place the mushroom pieces into the growing substrate.
- Fill your container halfway with the moist medium.
- Insert the tissue pieces throughout the substrate.
- Add more substrate to cover them.
- Gently press to compact the material.
Avoid exposing the tissue to too much open air.
Step 4: Create the Perfect Incubation Environment
Mycelium loves:
- Warm temperatures (22–26°C / 72–78°F)
- Darkness or low light
- High humidity
To incubate:
- Cover the container with breathable plastic wrap (poke small holes).
- Store in a warm cabinet, drawer, or closet.
What you’ll see:
- After 5–10 days: white mycelium begins spreading
- After 2–3 weeks: substrate turns fully white
If the substrate is fully colonized, you’re ready for fruiting.
Step 5: Trigger Mushroom Fruiting
Once the substrate is covered in white mycelium, it’s time to move the container into fruiting conditions.
Mushrooms fruit when they sense:
- Fresh air
- Humidity
- Indirect light
- Cooler temperatures
Setup:
- Move container to a room with indirect sunlight.
- Keep humidity high (80–90%).
- Open the lid slightly for airflow.
- Mist the container walls 1–2 times daily.
Avoid spraying directly on baby mushrooms.
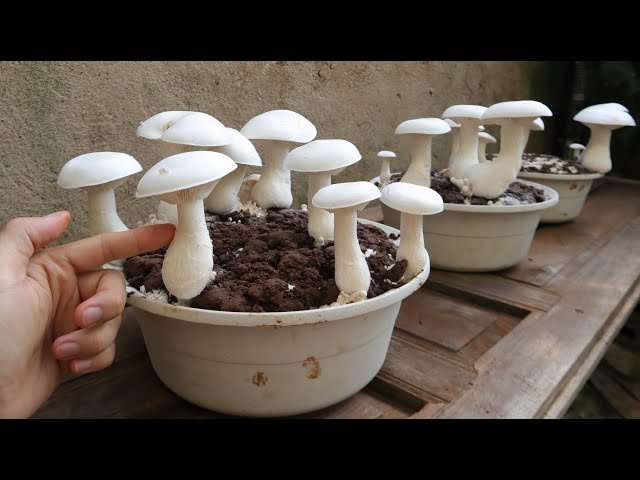
Within days, you’ll notice tiny “pins” forming—baby mushrooms emerging from the mycelium.
Harvesting Your Homegrown Mushrooms
Most mushrooms grow incredibly fast.
Typical growth timeline:
- Day 1: Pins appear
- Day 3–5: Mushrooms double
- Day 7–10: Ready to harvest
How to harvest:
- Gently twist at the base and pull
- Or cut cleanly with a knife
Never yank the mushroom roughly—you can damage the mycelium.
Enjoy Multiple Flushes
A single container can give:
- 2 to 5 harvests
- Each flush spaced 7–14 days apart
After each flush:
- Let the substrate rest
- Mist lightly
- Provide fresh air
The mycelium continues producing until nutrients are depleted.
How to Use Your Harvested Mushrooms
Homegrown mushrooms are:
- More flavorful
- More aromatic
- Fresher than anything store-bought
Use them in:
- Stir-fries
- Soups
- Noodles
- Omelets
- Grilled dishes
- Pasta
- Risotto
Or dry them for later use.
Tips for Best Success
Always start with fresh mushrooms
Old mushrooms have weak mycelium.
Keep everything clean
Contamination is the biggest threat.
Don’t overwater
Too much moisture causes rot and mold.
Choose easy species
Oyster mushrooms are by far the easiest for beginners.
Be patient
Mycelium grows quietly but steadily.
Final Thoughts: From Supermarket Mushrooms to Your Own Mini Farm
Cultivating mushrooms from store-bought mushrooms is a fun, educational, and highly rewarding process. With just a few scraps, a handful of simple materials, and a bit of patience, you can transform kitchen leftovers into a sustainable source of fresh, nutritious mushrooms.
Whether you’re growing mushrooms for cooking, gardening, or simply curiosity, you’ll soon discover how fascinating and easy this process can be. Your first harvest will feel like magic—but it’s a magic you can recreate again and again.