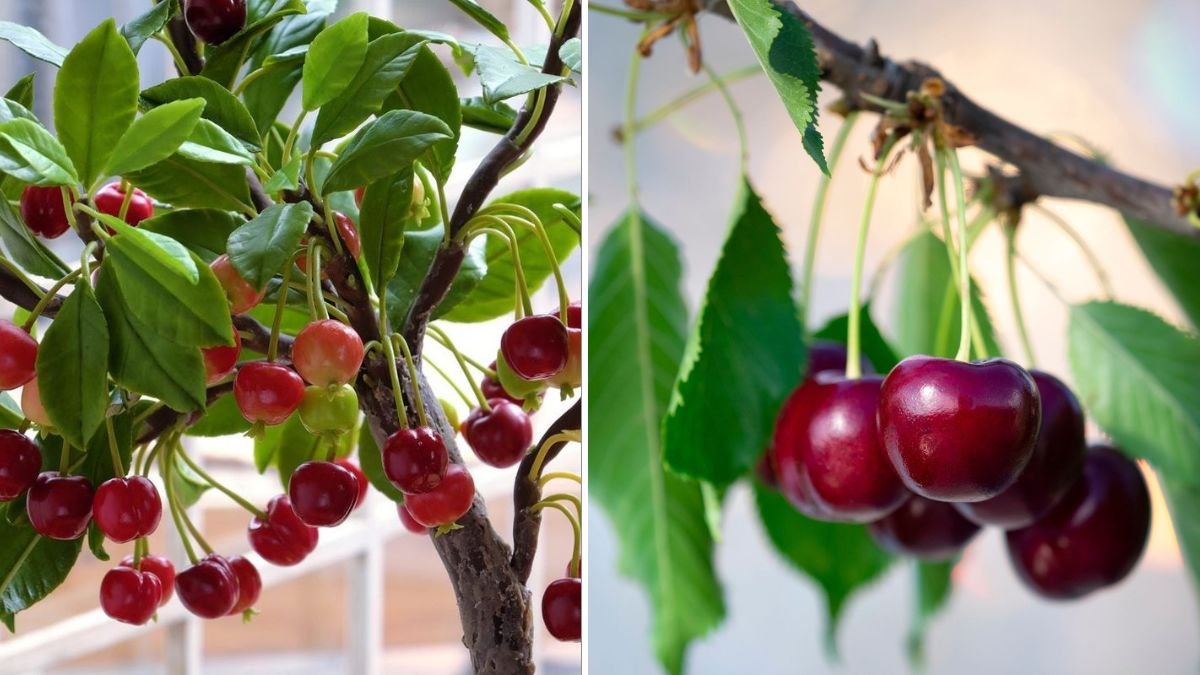
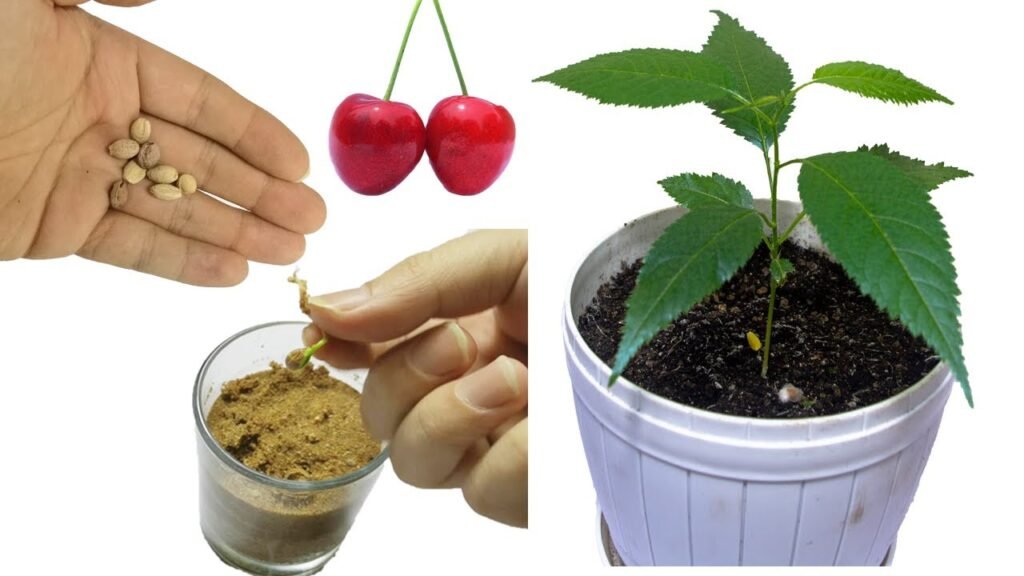
Growing cherry trees from seeds may sound like a slow and uncertain process, but with the right method, it becomes a rewarding journey that works every single time. Whether you dream of harvesting your own juicy cherries or simply want to enjoy the beauty of a flowering cherry tree, this complete guide will walk you through the exact steps—from choosing the right fruits to germinating seeds and nurturing healthy young trees.
Unlike many seeds that sprout easily when planted, cherry seeds need patience and a special environment to break their deep dormancy. But once you learn the trick, germinating cherry seeds becomes almost effortless. Let’s explore the tried-and-true technique that guarantees success.
1. Choosing the Right Cherry Seeds
Before you begin, your success depends heavily on the type of cherries you use.
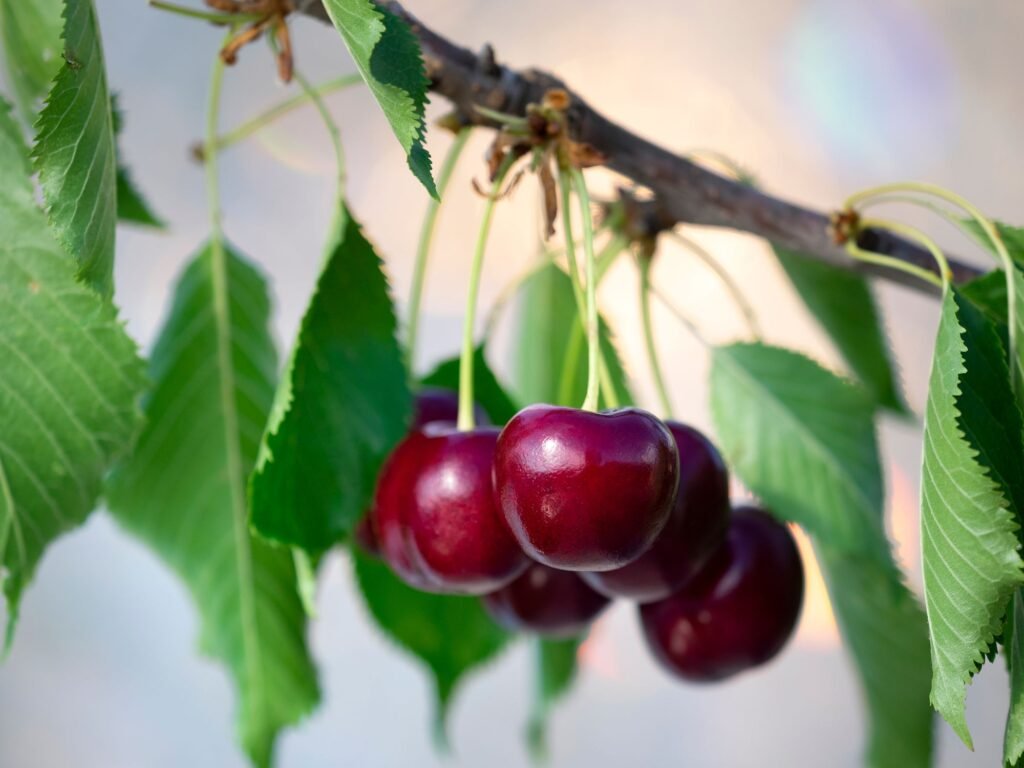
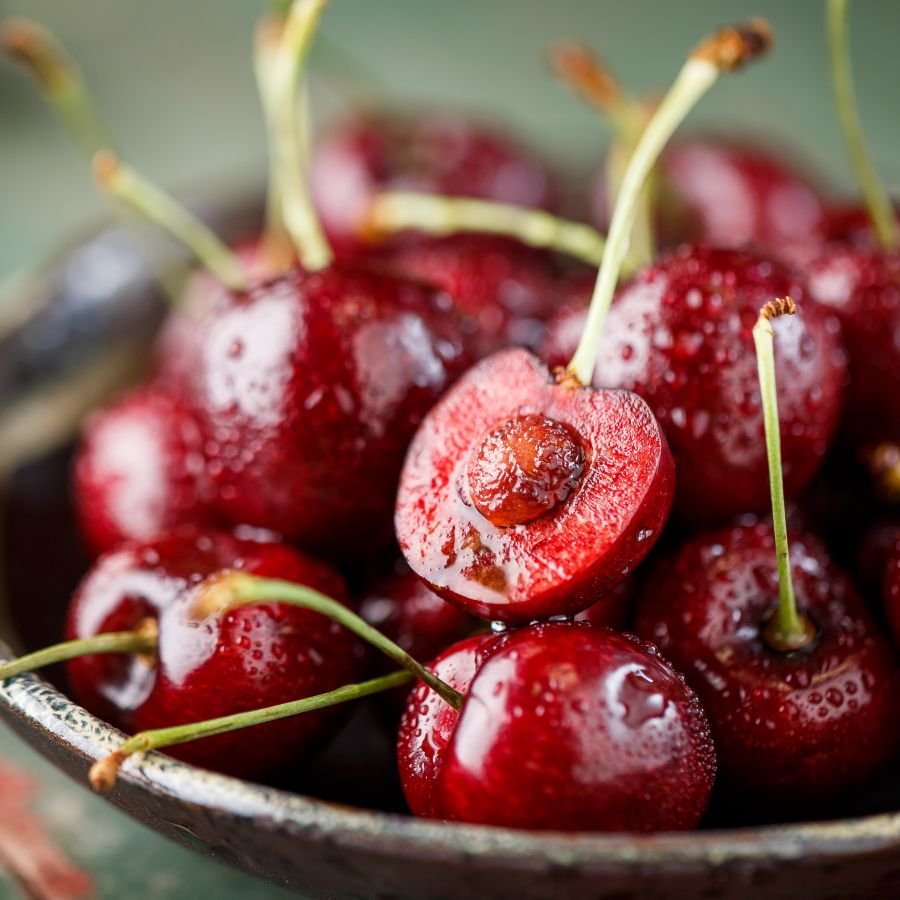
Use Fresh, Fully Ripe Cherries
Seeds taken from ripe or overripe fruits germinate better because they are fully mature.
Sweet vs. Sour Cherry Varieties
Both can grow successfully from seeds, but note:
- Sweet cherries (Bing, Rainier) thrive best in warmer climates.
- Sour cherries (Montmorency) are more cold-tolerant and easier to grow.
Avoid Frozen or Canned Cherries
These have been heat-treated or processed, which kills the seed embryo.
Whenever possible, choose organic cherries so the seeds are less likely to have chemical residues that affect germination.
2. Preparing the Seeds Properly
Cherry seeds have a very hard outer shell. This shell protects the embryo but also delays germination. So, preparing them correctly is essential.
Step 1: Remove the Pits
Eat the fruit or cut it open and extract the pit. Wash away all flesh since remaining pulp can cause mold.
Step 2: Clean and Soak the Pits
Place the pits in warm water and soak for 24 hours.
This softens the shell and improves germination.
Step 3: Crack the Shell (Optional but Highly Effective)
If you want faster germination:
- Use a nutcracker or pliers.
- Gently crack just the edge of the shell without damaging the seed inside.
This helps moisture reach the embryo and dramatically increases success rates.
3. Cold Stratification – The Secret to Guaranteed Germination
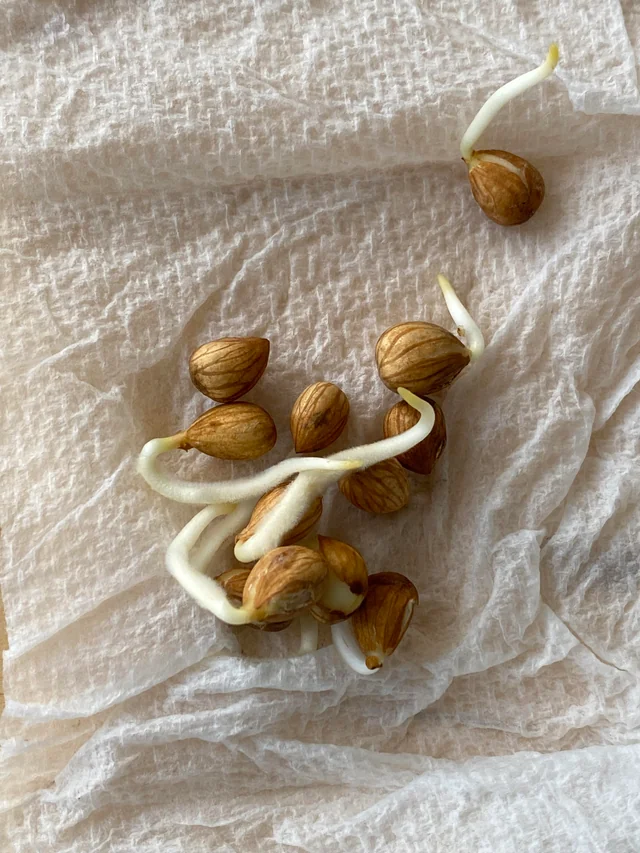
Cherry seeds must go through cold stratification. In nature, this happens during winter when seeds lie in the cold soil before sprouting in spring.
To mimic this:
Step 1: Prepare a Moist Growing Medium
You can use:
- Moist peat moss
- Vermiculite
- Sand
- Paper towel
Make sure it is damp but not dripping.
Step 2: Place the Seeds Inside
Place the seeds in the medium and seal them in a zip-lock bag or container.
Step 3: Refrigerate
Store the container in your refrigerator (not freezer!) at 1°C to 5°C (34°F to 41°F).
Step 4: Stratification Time
Keep the seeds refrigerated for 8 to 12 weeks.
During this time:
- Check monthly for mold.
- If mold appears, rinse seeds and replace the medium.
By the end of this chilling period, most seeds begin to sprout roots.
4. Planting the Germinated Cherry Seeds
Once the seeds crack open and tiny roots appear, they’re ready for planting.
Choosing the Right Soil
Cherry seedlings prefer a light, well-draining mix:
- 50% garden soil
- 30% compost
- 20% sand or perlite
Planting Depth
Plant each sprouted seed about 2 cm (1 inch) deep with the root pointing down.
Containers
Start them in small pots or seed trays with drainage holes.
Light & Temperature
- Keep the pots in a sunny spot.
- Ideal indoor temperature: 18–25°C (65–77°F).
Watering
Keep the soil lightly moist, never soggy.
Water gently so the root is not disturbed.
5. Caring for Young Cherry Seedlings
Once the seedlings appear, they need proper care to grow into strong saplings.
Sunlight
Cherry seedlings require 6–8 hours of sunlight daily.
If growing indoors, supplement with a grow light.
Watering Routine
Water when the top soil layer feels dry.
Avoid overwatering because cherry roots dislike constantly wet soil.
Feeding
After 6 weeks, begin feeding with a diluted balanced fertilizer (NPK 10-10-10).
Feed once a month during the growing season.
Transplanting to Bigger Pots
When the seedlings reach 15–20 cm (6–8 inches) tall, transplant them into larger pots to allow root expansion.
6. Transferring Cherry Saplings Outdoors
Once your trees are strong enough, you can move them outdoors permanently.
Best Time to Transplant
- Early spring
- Late fall (dormant season)
Choosing the Planting Spot
Cherry trees need:
- Full sun
- Good air circulation
- Well-drained soil
Avoid areas where water collects after rain.
Planting in the Ground
Dig a hole twice the width of the root ball but no deeper.
Backfill with native soil (avoid pure compost).
Spacing
If planting more than one cherry tree, space them 8–10 feet apart to allow full canopy growth.
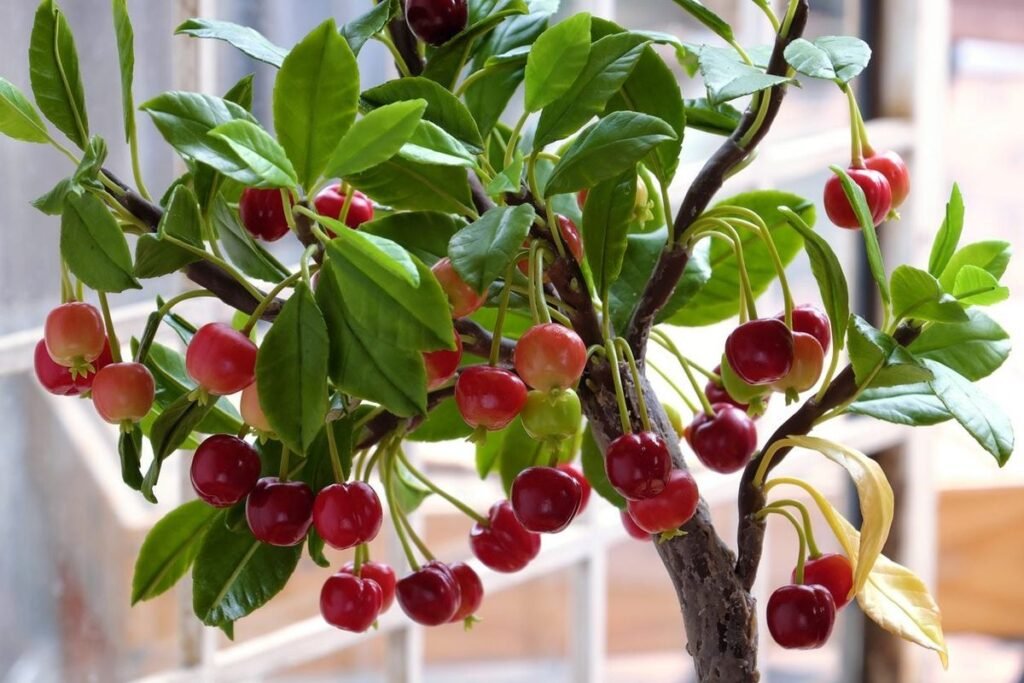
7. When Will a Cherry Tree Grown From Seed Produce Fruit?
Growing cherry trees from seeds requires patience.
Fruit-Bearing Timeline
- Standard cherry trees: 5–10 years
- Dwarf varieties: 3–5 years
Seed-grown trees may produce cherries different from the parent fruit, but that adds an exciting element of surprise for gardeners.
8. Tips for Success and Faster Growth
Choose the right variety for your climate
Cold-hardy varieties do better in cooler regions, while sweet cherries prefer warm zones.
Protect seedlings from pests
Use netting or covers to shield young trees from birds and insects.
Mulch the base of outdoor trees
This helps retain moisture and stabilizes soil temperature.
Prune annually
Proper pruning encourages strong structure and improves fruit production later.
9. Common Problems and Easy Solutions
Mold during stratification
→ Rinse seeds, replace medium, and ensure it’s only slightly damp.
Seedlings becoming leggy
→ Increase sunlight or use a grow light.
Slow or no germination
→ Seeds likely didn’t chill long enough.
Add 2–4 more weeks of stratification.
Leaves yellowing
→ Usually overwatering. Allow the soil to dry slightly between watering.
Final Thoughts
Germinating cherry seeds and growing a cherry tree from scratch is one of the most rewarding gardening experiences. By understanding their natural dormancy and providing the right environment, you can achieve impressive germination rates—almost guaranteed every time.
From a simple cherry pit to a blossoming tree that beautifies your garden and offers sweet, juicy fruits, the journey is filled with satisfaction and connection to nature.
If you’ve always dreamed of growing your own cherry tree, now you have the complete roadmap. Start today, and in a few years, you’ll have a beautiful tree grown entirely by your own hands.