Mung beans—also known as green gram—are among the easiest and quickest vegetables you can grow at home. Whether you have a garden, balcony, rooftop, or even a sunny windowsill, mung beans thrive in small spaces and require very little maintenance. They germinate fast, grow vigorously, and produce fresh, tender green beans packed with nutrition.
Inspired by techniques used by home gardeners like NY Sokhom, this guide walks you through every step: choosing seeds, germinating them, caring for the plants, and finally harvesting your own nutritious green beans. With proper care, you’ll enjoy fresh pods in as little as 7–10 weeks.
Let’s dive into this simple, rewarding gardening project.
1. Understanding Mung Beans: Why They’re Perfect for Home Gardeners
Mung beans (Vigna radiata) are warm-season legumes known for:
- Fast growth
- High yield
- Low maintenance
- Suitability for small containers or garden beds
- High nutritional value (fiber, protein, minerals)
They grow well in tropical and subtropical climates but can also adapt to temperate regions during summer.
Because they enrich the soil with nitrogen, mung beans are excellent for crop rotation and improving garden soil naturally.
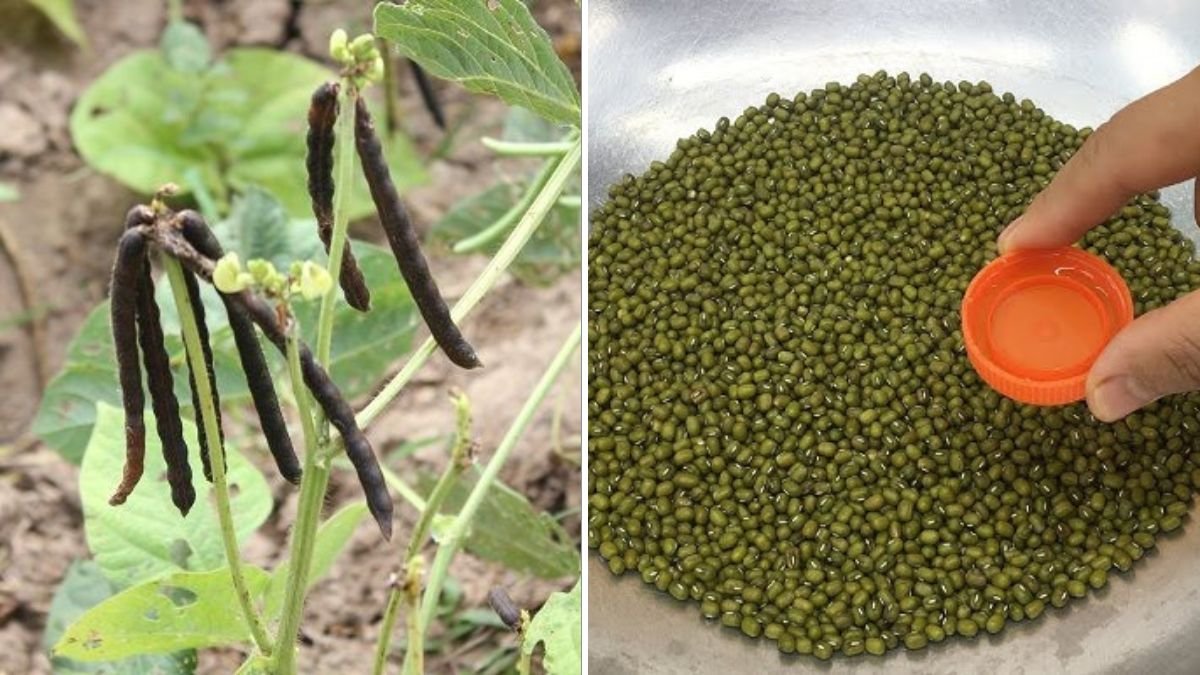
2. Choosing Quality Mung Bean Seeds
Success begins with good seeds. You can use:
- Purchased seed packets
- Organic mung beans from the market
- Leftover beans from previous crops
However, avoid split or polished beans—they will not germinate.
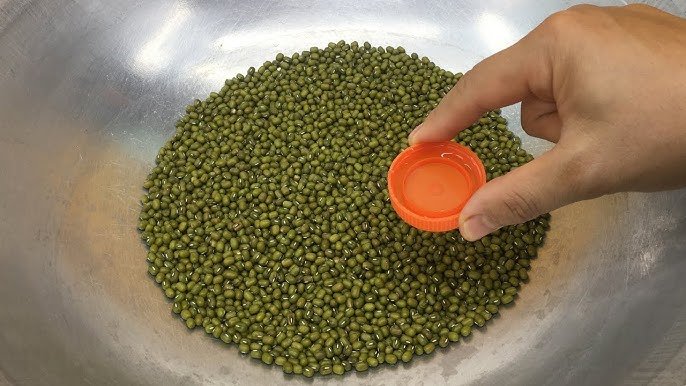
Selecting the Best Seeds
Choose beans that are:
- Whole and unbroken
- Uniform in size
- Green and fresh (not dull or shriveled)
High-quality seeds give vigorous seedlings and better yields.
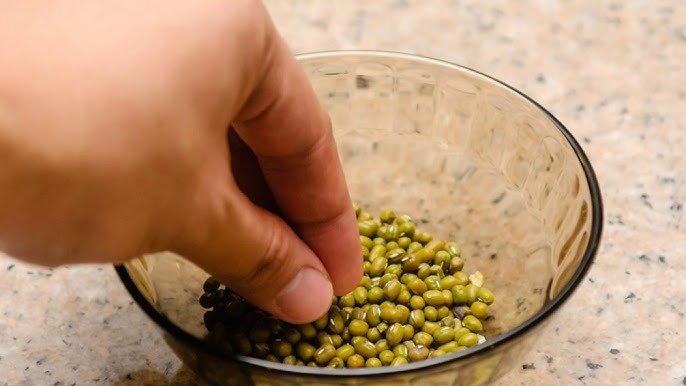
3. Preparing the Seeds for Germination
Mung beans germinate quickly, often within 24–48 hours when prepared correctly.
Step 1: Rinse the Seeds
Wash thoroughly to remove dust or chemicals.
Step 2: Soak Overnight
Place the seeds in a bowl and cover with water.
- Soak for 8–12 hours.
- Seeds will swell, absorbing water to activate germination.
Step 3: Drain and Prepare for Planting
After soaking, drain the water. Your seeds are now ready to sow directly in soil.
4. Choosing the Best Growing Location
Mung beans love sunlight and warmth.
Ideal Conditions
- 6–8 hours of direct sunlight daily
- Temperature between 20°C and 35°C
- Good air circulation
- Light to moderate rainfall
They do not tolerate cold weather or frost, so plant them after winter or during the warmer months.
5. Soil Preparation: The Secret to Strong Plants
Mung beans grow best in:
- Well-draining soil
- Loose texture
- Slightly sandy or loamy soil
- Neutral pH
Perfect Soil Mix for Containers
- 50% garden soil
- 30% compost
- 20% sand or cocopeat
Compost provides nutrients, and sand improves drainage.
Important Tip
Avoid heavy clay soil—it holds too much water and may cause root rot.
6. How to Plant Mung Beans From Seeds
Mung beans can be grown:
- In garden beds
- In pots or containers
- In grow bags
- On balconies or terraces
Planting in Soil or Containers
- Make holes 2–3 cm deep.
- Space the seeds 3–4 inches apart.
- Cover lightly with soil.
- Water gently to settle the soil.
Spacing for Garden Beds
- Rows should be 30–40 cm apart to allow airflow and easier harvesting.
7. Watering the Seeds and Seedlings
Mung beans require careful watering.
During Germination
Keep soil moist but not soggy.
Overwatering can cause seeds to rot.
After Seedlings Appear (3–5 Days)
Water every 2–3 days depending on weather.
General Rule
Allow the top 2–3 cm of soil to dry slightly between watering.
Mung beans are drought-tolerant, but consistent moisture supports better pod development.
8. Caring for Mung Bean Plants Through All Stages
Sunlight
Maximum sunlight = maximum yield.
Weeding
Remove weeds regularly—they compete for nutrients.
Mulching
Use dried leaves or straw around the base to:
- Retain moisture
- Suppress weeds
- Improve soil fertility
Fertilizing
Mung beans need minimal fertilizer because they naturally fix nitrogen.
Still, you can boost growth with:
- Compost tea
- Diluted liquid fertilizer
- Homemade organic fertilizers
Avoid heavy nitrogen-rich fertilizers—they encourage leaf growth instead of pods.
Supporting the Plants
While many varieties grow bushy, some lean or sprawl. Use sticks or small trellises if needed.
9. Pests and Diseases: Prevention and Control
Although mung beans are hardy, they may face:
- Aphids
- Leaf miners
- Whiteflies
- Caterpillars
Natural Solutions
- Spray neem oil weekly
- Use garlic or chili spray
- Keep plants clean and well-ventilated
Disease Prevention
Fungal infections occur in overly wet conditions.
Avoid:
- Overwatering
- Watering at night
- Splashing water on leaves
Good airflow prevents most issues.
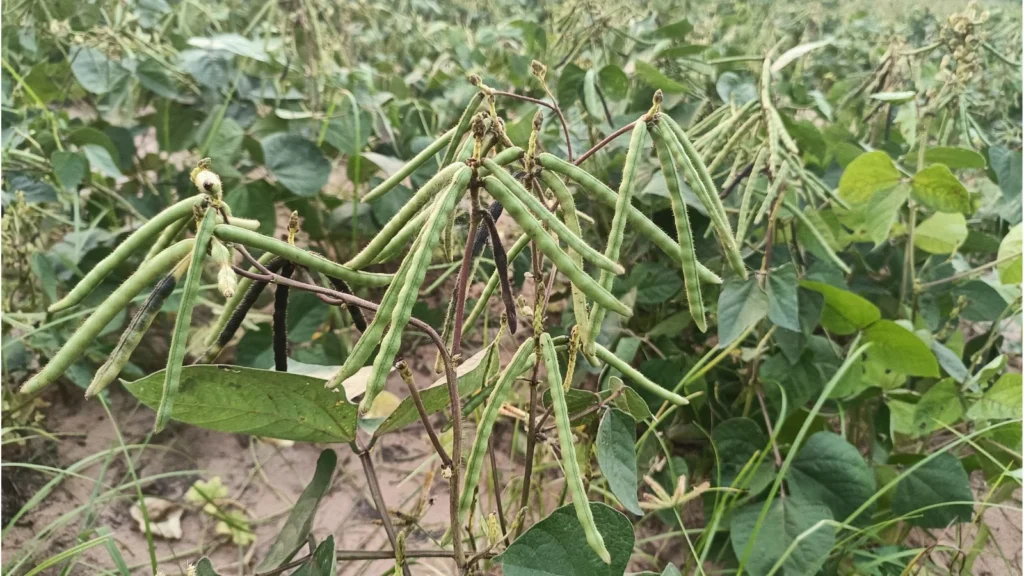
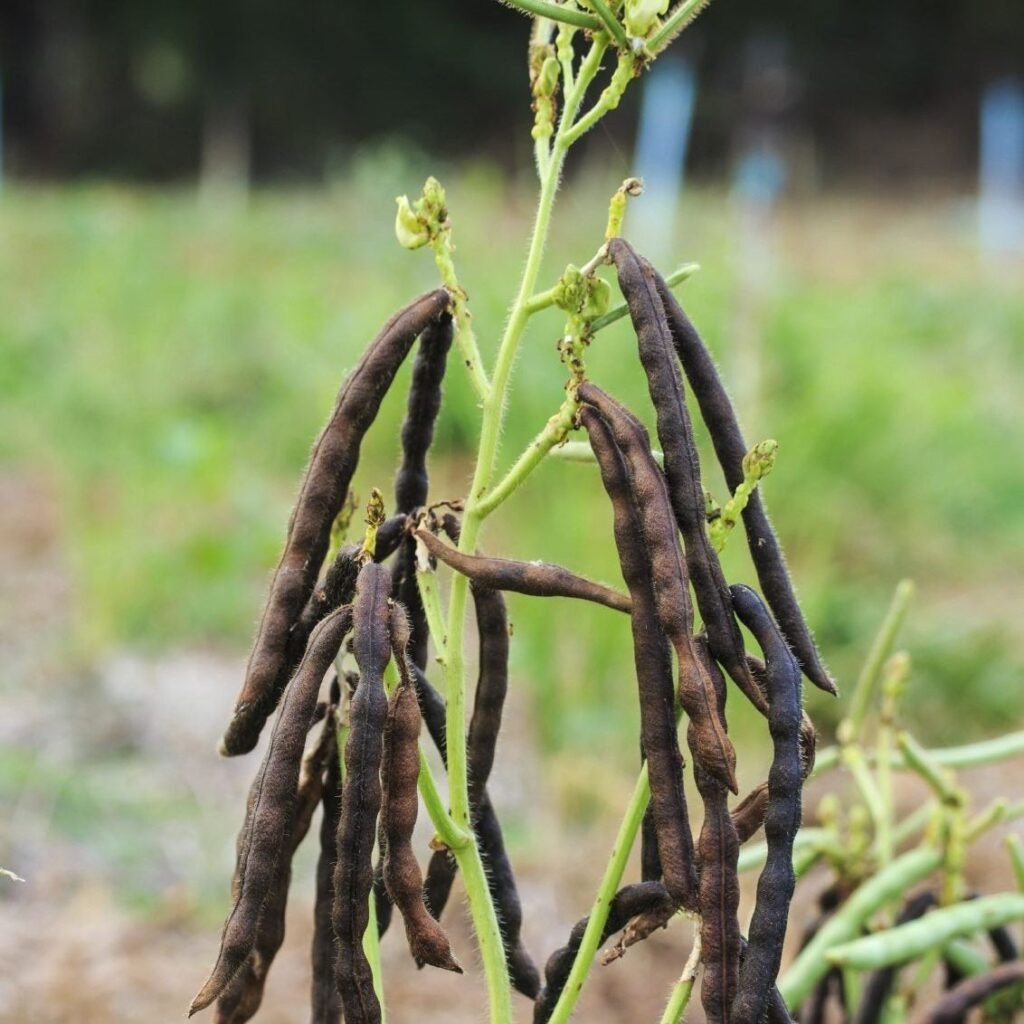
10. Flowering and Pod Development
Mung bean plants flower in 30–40 days.
Flowers are small, yellow, and appear in clusters.
Pod Development
Pods start forming soon after flowering.
Within a few weeks, the pods grow:
- 8–10 cm long
- Green and tender
- Containing 10–15 small beans each
Proper watering during this stage ensures full, healthy pods.
11. Harvesting Mung Beans: When and How
You can harvest mung beans in two ways depending on your purpose.
1. Harvesting Fresh Green Pods
Harvest 50–70 days after planting.
Pick pods when:
- They are green
- Firm but tender
- Seeds are visible but not fully hardened
Regular picking encourages the plant to produce more pods.
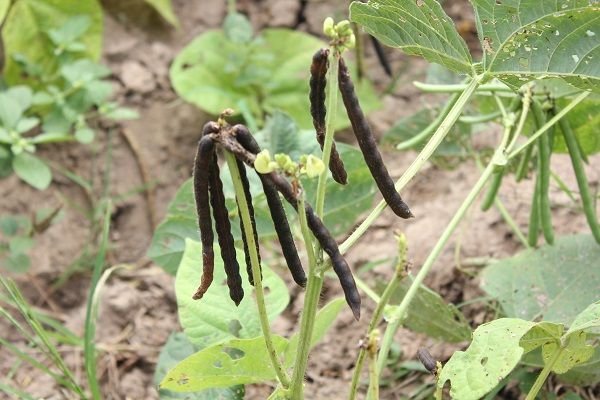
2. Harvesting Mature Dry Beans
If you want dry beans for storage:
- Wait until pods turn brown
- Let them dry on the plant
- Collect before they split open
Dry the beans in sunlight for 1–2 days before storing.
12. Saving Seeds for the Next Season
Mung beans saved from your harvest can be used for future planting.
How to Save Seeds
- Select the healthiest plants
- Let pods fully dry
- Store beans in a cool, dry place
- Use airtight glass jars or cloth bags
Properly stored seeds remain viable for 1–2 years.
13. Growing Mung Beans in Containers: Space-Saving Tips
If you live in an apartment or have limited space, mung beans still grow beautifully.
Tips for Container Gardening
- Use 10–15 inch pots or grow bags
- Ensure good drainage
- Avoid overcrowding
- Place containers in full sun
- Rotate pots weekly for even light
Container plants may produce slightly fewer beans but are still highly productive.
14. Benefits of Growing Mung Beans at Home
Growing your own mung beans gives you:
- Fresh, chemical-free vegetables
- High-protein harvests
- Beans rich in antioxidants, fiber, and vitamins
- Soil improvement through nitrogen fixation
- A fast-growing crop suitable for beginners
- A rewarding gardening experience for kids and adults alike
15. Final Thoughts: Start Growing Your Own Mung Beans Today
Mung beans are one of the easiest, fastest, and most rewarding crops to grow from seeds at home. Whether you want fresh green pods for cooking, sprouts for salads, or dry beans for storage, mung beans offer multiple uses with minimal effort.
From seed soaking to harvesting, the process is simple, affordable, and ideal for homes of all sizes. With proper sunlight, well-draining soil, and moderate watering, you’ll have a steady supply of fresh beans in just a few weeks.