For many gardeners, the end of a harvest is a moment of satisfaction—baskets full of vegetables, herbs, and fruits, all grown with care. But after the excitement settles, one question remains: What should I do with the used soil?
Contrary to popular belief, used garden soil is not “dead.” It may be depleted, compacted, or low in nutrients, but with the right methods, it can be revived and reused season after season. Learning how to reuse soil after a harvest is not only cost-effective, but also a sustainable practice that supports a healthy, thriving garden.
This guide explores everything you need to know—why soil reuse matters, how to rejuvenate and sterilize old soil, and the best ways to prepare it for new planting cycles.
Why Reusing Soil Is a Smart Gardening Choice
Every gardening season, millions of kilograms of potting soil and garden soil are thrown out. This leads to unnecessary waste, both environmentally and financially. Reusing soil offers several advantages:
1. Saves Money
Good-quality soil is expensive. Rejuvenating old soil costs only a fraction of buying new bags each season.
2. Reduces Environmental Waste
Discarded soil contributes to landfill waste. Reusing it reduces the carbon footprint associated with soil production, packaging, and transport.
3. Builds Better Soil Over Time
Healthy soil improves as it matures. Revitalized soil often becomes more nutrient-rich and structurally stable after multiple cycles.
4. Encourages Sustainable Gardening
Circular gardening—reusing, recycling, and regenerating materials—keeps your garden eco-friendly and efficient.
Understanding What Happens to Soil After Harvest
After a full growing season, soil undergoes several changes:
- Nutrient depletion: Plants absorb nitrogen, phosphorus, potassium, calcium, and other minerals.
- Compaction: Repeated watering and root growth reduce soil aeration.
- pH imbalance: Fertilizers, rainfall, and plant residue can alter soil acidity.
- Salt accumulation: Overuse of synthetic fertilizers leads to salt buildup.
- Pest eggs or fungi: Soil can house larvae, pathogens, and spores from the previous crop.
Reusing soil without addressing these issues can lead to poor seedling growth, nutrient deficiencies, or disease in your next planting cycle.
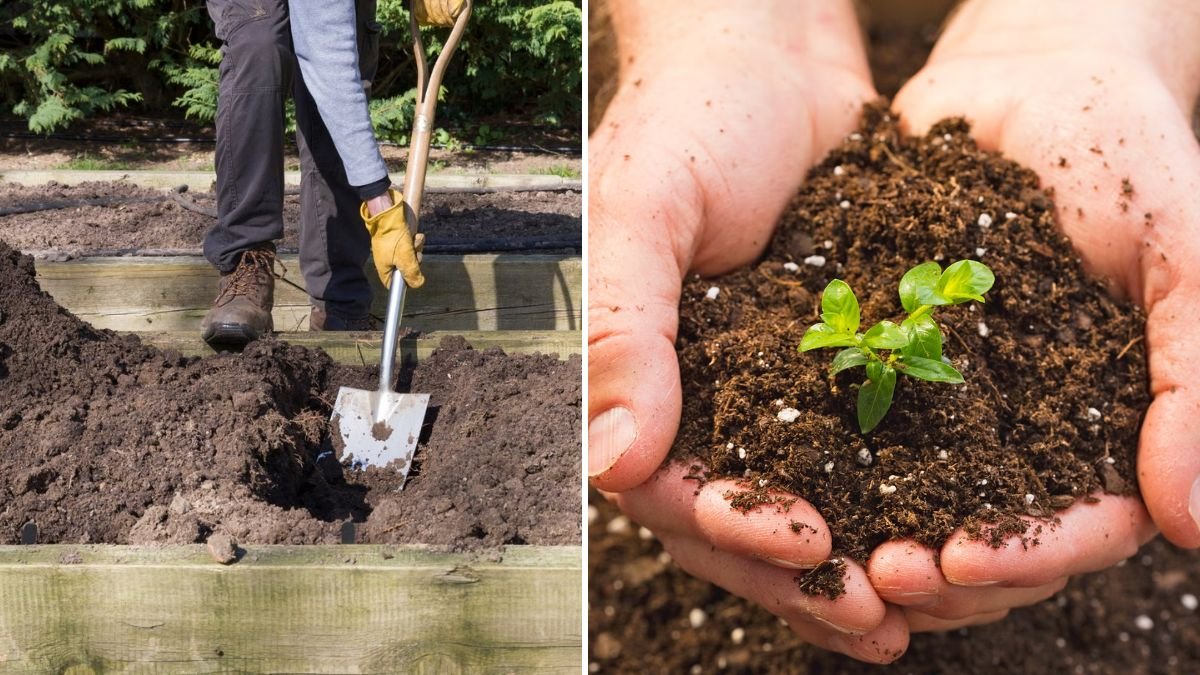
Step-by-Step Guide: How to Reuse Soil After Harvest
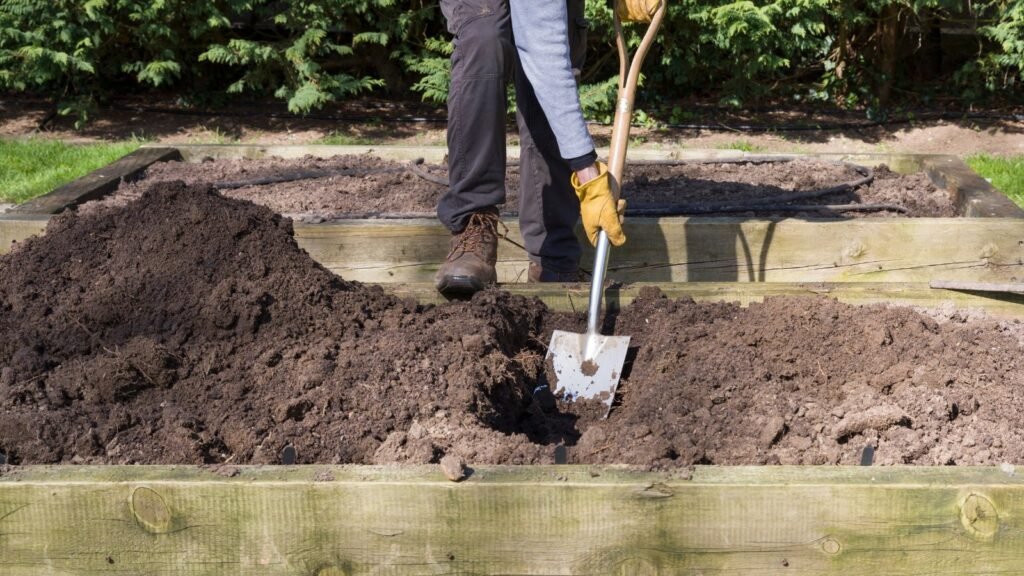
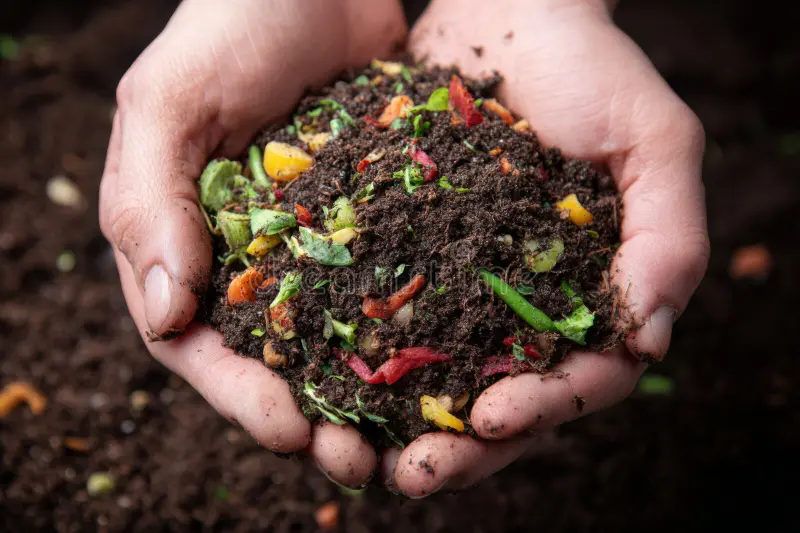
Step 1: Remove All Plant Debris
Start by emptying your pots or clearing your garden bed. Remove:
- Dead stems
- Roots
- Leaves
- Weed residues
- Mulch leftovers
Leaving decaying plant matter may invite pests or diseases. If the plants were healthy, you can compost the residues. If not, discard them to avoid spreading pathogens.
Step 2: Break Up the Soil
Used soil tends to clump due to root penetration and repeated watering. Loosen the soil with:
- A garden fork
- Your hands
- A small trowel
This restores airflow, making it easier to blend amendments and revive soil structure.
Step 3: Sterilize the Soil (Optional but Recommended)
If your previous crop had pests or fungal issues, sterilization is essential.
Methods include:
1. Solarization
Spread soil on a tarp in full sun, cover with clear plastic, and leave for 4–6 weeks. Heat eliminates harmful organisms.
2. Oven Sterilization
Bake small batches at 82–93°C (180–200°F) for 30 minutes.
(Only advisable for small quantities due to smell and energy use.)
3. Freezing
For potting mixes, freezing soil for a week can kill some pests.
Sterilization protects your next crops from unseen threats lingering in old soil.
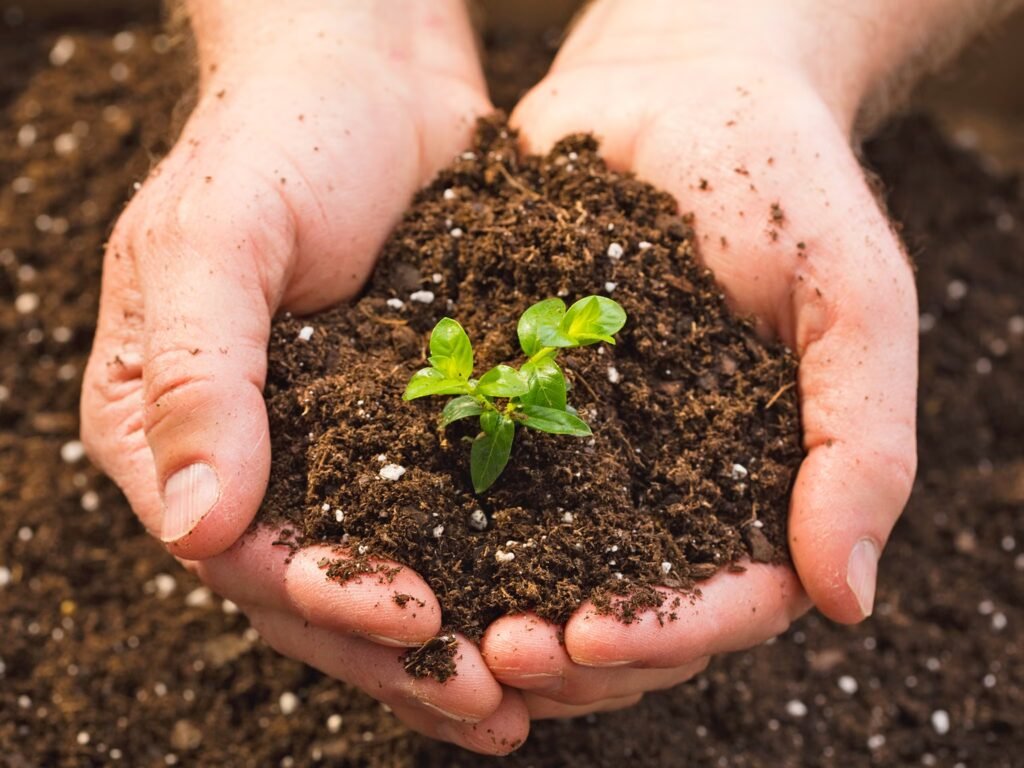
Step 4: Add Fresh Organic Matter
Used soil lacks organic content. Replenish it with:
- Compost
- Vermicompost
- Aged manure
- Leaf mold
- Coco peat
- Mushroom compost
Mix in 20–40% organic matter by volume. This restores nutrients, improves texture, and revives microbial life.
Step 5: Check and Adjust the pH
Crops prefer different pH ranges, but most vegetables grow best between 6.0 and 7.0.
- To raise pH (less acidic): add garden lime or crushed eggshells
- To lower pH (more acidic): add sulfur or pine needles
pH correction ensures nutrients stay available and roots stay healthy.
Step 6: Add Soil Amendments
Depending on your next crop, consider adding:
1. Nutrient Boosters
- Bone meal (phosphorus)
- Blood meal (nitrogen)
- Wood ash (potassium)
- Fish meal
- Seaweed powder
2. Microbial Enhancers
- Mycorrhizae
- Trichoderma
- Beneficial bacteria
These organisms boost nutrient absorption and help plants resist disease.
3. Soil Conditioners
- Perlite or pumice for aeration
- Coco peat for moisture retention
- Sand for drainage
Mix thoroughly to create a balanced growing medium.
Step 7: Allow the Soil to Rest
Just like compost needs time, rejuvenated soil benefits from resting.
Let the soil sit for 2–4 weeks, keeping it slightly moist.
This allows microbes to activate, organic matter to break down, and soil structure to stabilize.
Soil Reuse Best Practices
1. Rotate Crops
Never plant the same family of vegetables in reused soil immediately.
Example:
- Don’t plant tomatoes after tomatoes
- Don’t grow cabbage after cabbage
Rotation prevents nutrient depletion and reduces disease risk.
2. Mix Old and New Soil
If soil is extremely depleted, mix:
- 70% reused soil + 30% fresh potting mix
This blend gives stability, nutrients, and good structure.
3. Add Mulch After Planting
Mulching helps retain moisture and regulates temperature, improving soil conditions for new crops.
4. Conduct a Simple Soil Test
Check:
- Texture (rub between fingers)
- Moisture retention
- Drainage
- Color (dark = healthier)
For detailed analysis, home soil test kits are inexpensive and informative.
When Not to Reuse Soil
While soil is reusable, there are exceptions.
Avoid reusing soil if:
- Plants died from bacterial wilt or fungal rot
- The soil is infested with fungus gnats, nematodes, or ant colonies
- The soil has a foul smell
- Salt crust forms on the top layer
Such soil needs sterilization or complete replacement to protect future crops.
Benefits of Rejuvenated Soil for Future Crops
Healthy, refreshed soil boosts:
- Root development
- Nutrient availability
- Plant vigor
- Disease resistance
- Yield quality and quantity
It also becomes more biologically active, supporting earthworms and microorganisms that create long-term fertility.
Conclusion: Turning Old Soil Into New Life
Reusing soil after harvest is more than just a gardening technique—it’s a philosophy. It teaches sustainability, patience, and the wisdom of regeneration. With the right methods, old soil can be transformed into a thriving medium that supports countless growing cycles.
From removing plant debris to adding compost, balancing pH, and inviting beneficial microbes, each step breathes life back into what once seemed depleted.
In the garden, nothing truly goes to waste. Soil that has supported one harvest can be revived to nurture the next. With care, knowledge, and persistence, you can turn yesterday’s soil into tomorrow’s success—proving that in nature, everything has the power to be reborn.