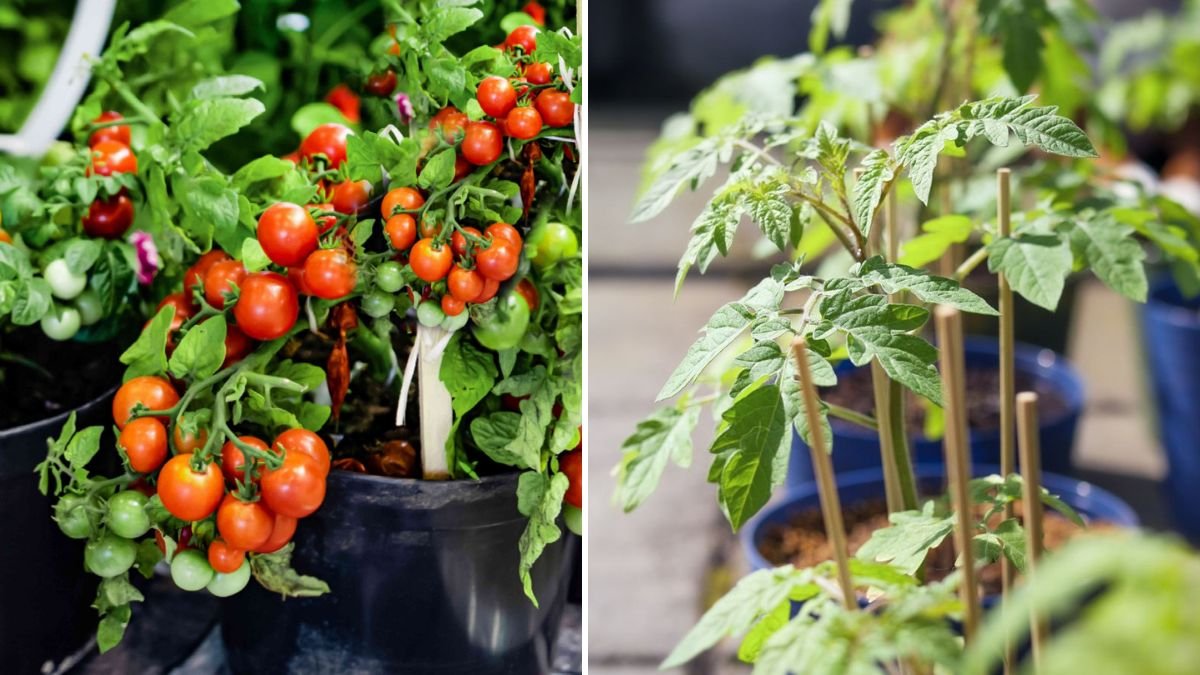
Tomatoes are among the most rewarding crops to grow, whether in containers, raised beds, or a large garden. But the secret to a heavy harvest begins long before the plants start producing flowers and fruit—it begins with strong, healthy tomato seedlings. When seedlings are grown properly, they develop thick stems, deep roots, and excellent disease resistance. Weak seedlings, however, struggle throughout the growing season and produce fewer and smaller fruits.
In this detailed, step-by-step guide, you’ll learn everything about growing tomato seedlings successfully—from choosing the best variety and preparing seed trays to watering, lighting, fertilizing, and transplanting. Whether you’re a beginner or an experienced gardener, this method will help you produce professional-quality seedlings at home.
1. Choosing the Right Tomato Seeds
Before you start, select seeds that match your climate and growing space.
Best Tomato Types to Grow as Seedlings:
Cherry Tomatoes:
Sweet, fast-growing, disease-resistant
Roma Tomatoes:
Perfect for sauces, compact, and very productive
Beefsteak Tomatoes:
Large fruits, good for slicing, requires strong support
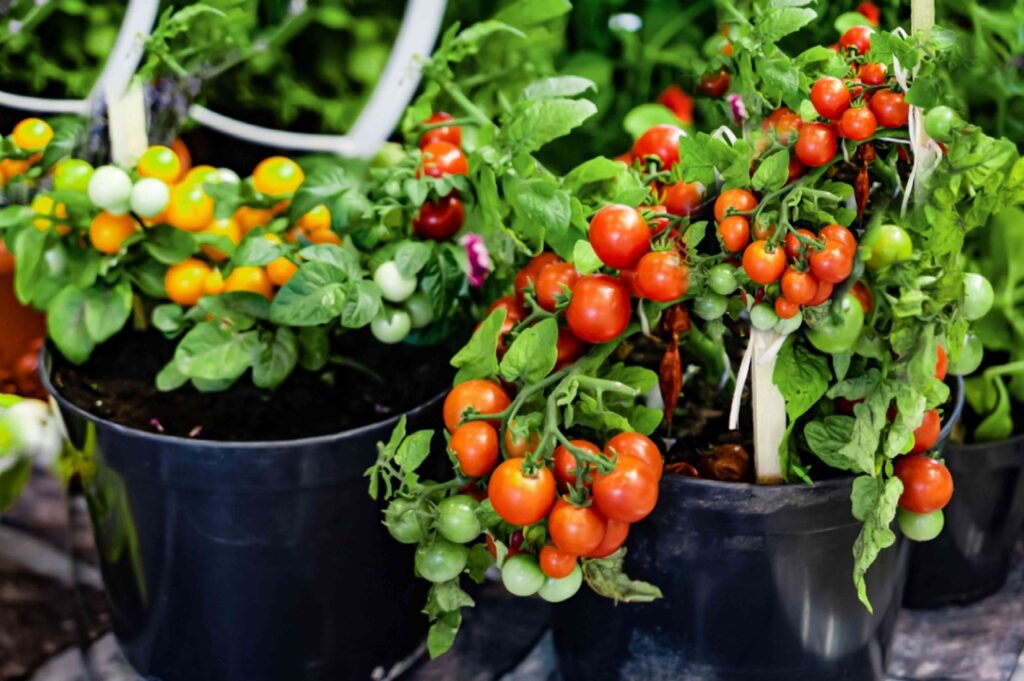
Container Varieties:
Patio, Tiny Tim, Balcony—ideal for small spaces
Choose fresh seeds, as older ones have lower germination rates. Always check the packing date and viability.
2. Preparing the Seed-Starting Mix
Tomato seeds need a light, airy, well-draining medium so their tiny roots can grow easily.
Perfect Seed-Starting Mix:
40% coco peat
30% vermicompost or compost
20% perlite or sand
10% garden soil (optional)
Additives:
- A tablespoon of neem cake powder to prevent damping-off disease
- A pinch of Trichoderma for fungal protection (optional but helpful)
Mix well before filling your trays or pots.
3. Selecting Seed Trays or Containers
You can grow tomato seedlings in many types of containers:
Seedling trays (most convenient)
Small cups
Egg cartons
Recycled yogurt cups
Mini pots
Make sure each container has drainage holes to prevent root rot.
4. Sowing Tomato Seeds: Step-by-Step
Now it’s time to plant the seeds properly.
Step 1: Fill the tray with seed mix
Tap gently to remove air pockets. Keep the surface smooth.
Step 2: Water the soil before sowing
Moisten the mix lightly. It should be damp, not soaked.
Step 3: Make small holes
Use a pencil or your finger to make 0.5–1 cm deep holes.
Step 4: Drop one seed per hole
This prevents overcrowding and transplant shock later.
Step 5: Cover seeds lightly
Sprinkle a thin layer of the seed mix on top.
Step 6: Mist the surface
Use a spray bottle to avoid disturbing the seeds.
Step 7: Cover the tray
Use a plastic lid or cling wrap to retain moisture. This speeds up germination.
Place the tray in a warm but shaded spot until seeds sprout.
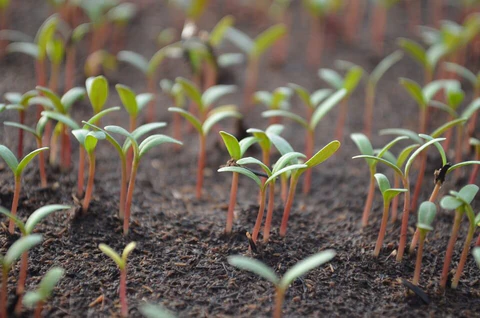
5. Germination: What to Expect
Tomato seeds usually germinate in 5–8 days, depending on temperature.
Ideal germination temperature:
22–28°C
Once seedlings appear:
✔ Remove plastic covering
✔ Move the tray to a bright, sunny location
✔ Avoid direct harsh afternoon sun in the first week
Tomato seedlings need 6–8 hours of light daily to develop strong stems.
6. Watering Tomato Seedlings Properly
Overwatering is the number one killer of young tomato seedlings.
Watering Rules:
- Water only when the top layer feels dry
- Use a spray bottle or bottom watering method
- Avoid waterlogging
- Water early in the morning
If seedlings look weak or yellow, reduce watering and improve airflow.
7. Providing Enough Sunlight or Grow Lights
Tomato seedlings require plenty of light to prevent legginess (thin tall stems).
Natural Light:
- Place seedlings near a south-facing window
- Provide 6–8 hours of bright sunlight
- Avoid intense midday heat initially
Grow Lights (if needed):
Use 20–40W LED grow lights placed 12–18 inches above the seedlings.
Turn lights on for 12–14 hours daily.
8. Feeding Seedlings for Strong Growth
Seedlings don’t need fertilizer for the first 10–12 days because seeds contain stored nutrients.
After 2 weeks:
Feed with:
- Diluted seaweed extract (1:30 ratio)
- Compost tea
- Vermiwash (mild dose)
Apply every 7–10 days.
Never use strong chemical fertilizers—they burn young roots.
9. Pricking & Transplanting to Bigger Pots
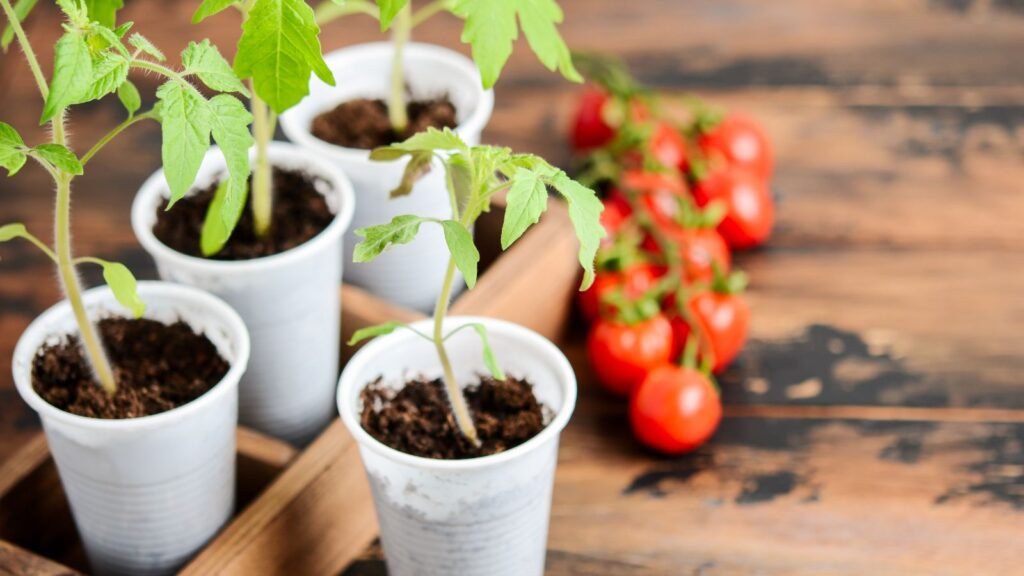
Once seedlings have 2–3 true leaves, they are ready for repotting.
How to Transplant Tomato Seedlings:
Step 1: Prepare new pots
Use 4-inch pots with rich soil mix.
Step 2: Water the seedlings beforehand
Moist roots are easier to remove.
Step 3: Gently remove the seedlings
Use a spoon or stick; avoid pulling by the stem.
Step 4: Plant deeper
Bury the stem up to the first leaves.
This encourages strong root development.
Step 5: Water lightly
Just moisten the soil—don’t flood it.
Step 6: Keep in shade for 2 days
Gradually introduce sunlight after the plant recovers.
10. Hardening Off: Preparing Seedlings for Outdoor Planting
Before seedlings are transplanted into garden beds or large containers, they must adapt to outdoor conditions.
Hardening Steps (7 days):
- Day 1–2: Keep outside for 2 hours
- Day 3–4: Increase to 4 hours
- Day 5: Allow morning sunlight
- Day 6: Leave outdoors the whole day
- Day 7: Keep outdoors overnight (if warm enough)
Hardening prevents transplant shock and strengthens plants.
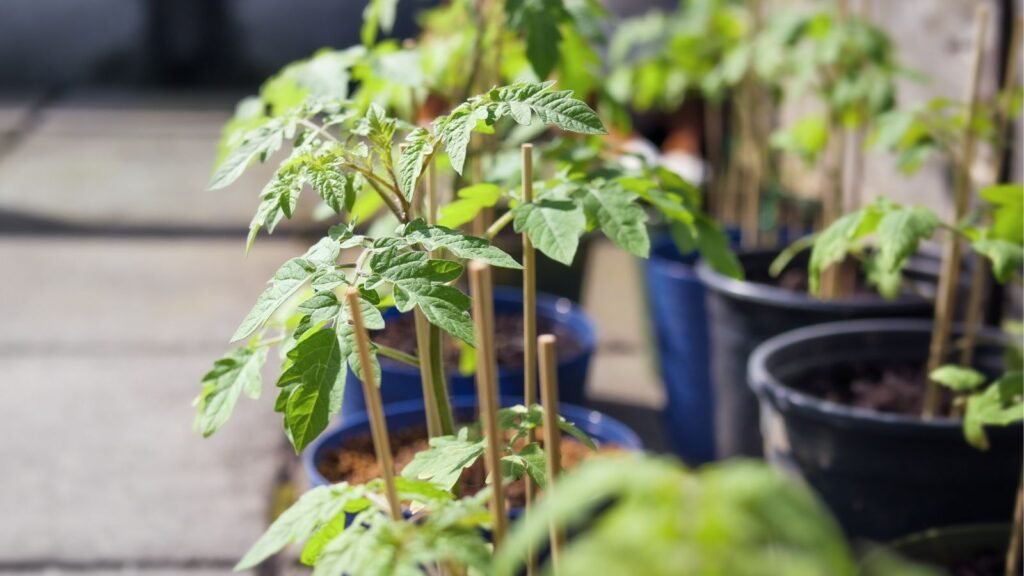
11. Final Transplanting to the Garden or Container
Once seedlings are 20–25 days old and 6–10 inches tall, they’re ready for final planting.
Steps:
- Choose a pot of 20–30 liters (for one plant)
- Add rich organic soil
- Plant deep again
- Install stakes or cages
- Water thoroughly
- Mulch the top with straw or dry leaves
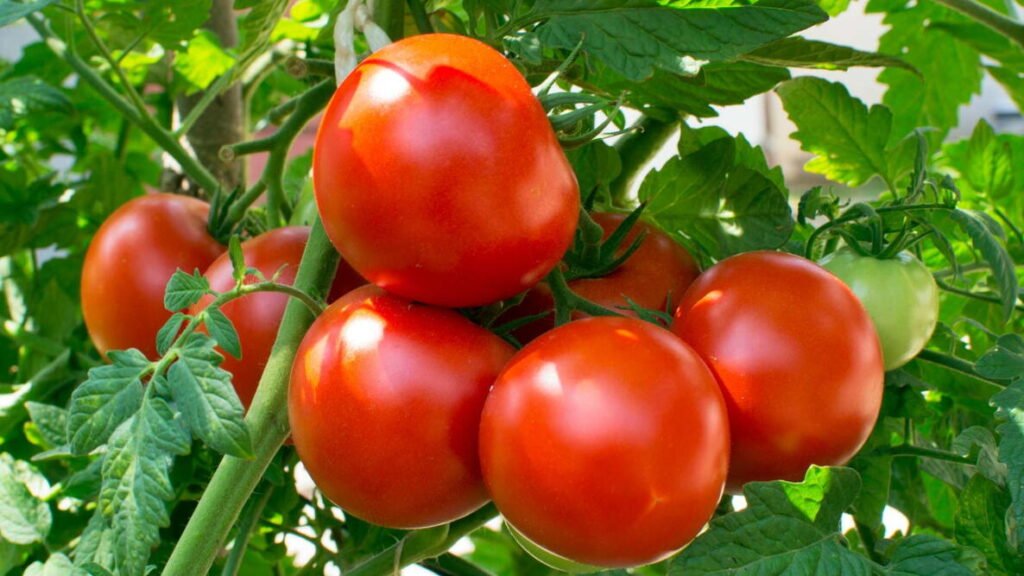
Your tomato plant is now ready for productive growth!
12. Protecting Young Seedlings from Pests
Seedlings are vulnerable, so keep an eye out for:
- Aphids
- Fungus gnats
- Damping-off disease
- Whiteflies
Remedies:
- Neem oil spray (weekly)
- Cinnamon powder on soil for fungus
- Remove infected plants immediately
Good airflow keeps diseases away.
13. Signs of Healthy Tomato Seedlings
Healthy seedlings will have:
✔ Short, thick stems
✔ Dark green leaves
✔ Compact growth
✔ Strong root system
If seedlings stretch too much, they need more sunlight.
14. When to Start Fertilizing Strong Plants
Once the plant reaches 6–8 inches:
✔ Add bone meal
✔ Use liquid fertilizer weekly
✔ Start tomato-specific feed during flowering
Avoid heavy nitrogen; it causes bushy plants with fewer tomatoes.
Final Thoughts: The Secret to Perfect Tomato Seedlings
Growing tomato seedlings may seem delicate, but once you master the steps—sowing, watering, lighting, feeding, and transplanting—you can produce strong, disease-resistant, high-yield tomato plants right at home. Healthy seedlings give you:
Faster growth
More flowers
Bigger fruits
Longer harvesting season
Whether you are growing tomatoes for containers, trellises, or a backyard garden, this step-by-step method will ensure your success from the very first leaf to the final harvest.